
Seamlessly Downgrading a MacBook from Ventura13 to macOS Big Sur
This post was translated from Chinese by AI. If anything reads oddly, the Chinese original is authoritative. 中文原文
Background
Device
I have a macbook pro 2019 128G model. The storage is a bit small and it runs quite hot, but otherwise it works fine.
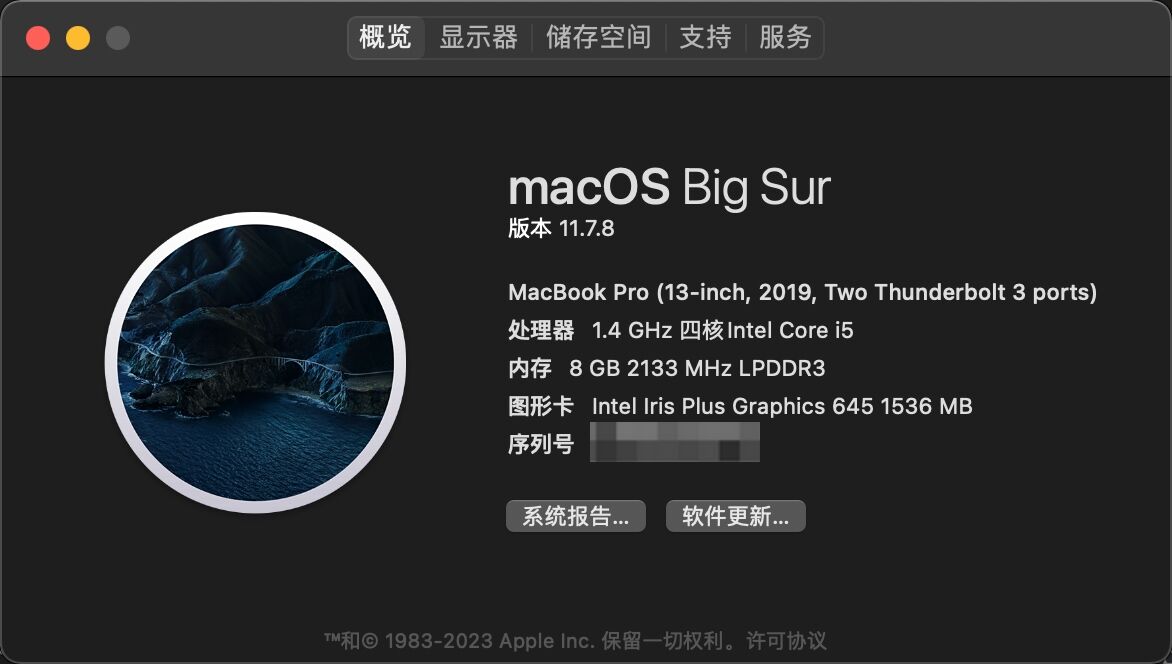
I had been using Ventura for quite a while without any major issues. After installing a virtual machine, though, I had less than 10 GB of free disk space left. The system became sluggish and ran very hot—even the touch bar froze. I booked a Genius Bar appointment and visited Apple's PEEZ store at Songjiang InCity (probably a third-party partner store; they didn't seem very professional). They said the storage was too small and the device was old (???). I just wanted them to clean out the dust. I'd heard that this was free, but the store said it would cost 300 just to open the machine. I decided to handle it myself instead. I haven't opened it up yet; first, I'm downgrading the system.
I'd downgraded once before, and because Time Machine couldn't restore my backup, I spent two days working with Apple Support. After downgrading, I couldn't resist the newer system and upgraded again. So I have some experience, and I still have the emails from that time. I'm documenting the process here for anyone who needs it.
The whole process takes about 3 hours. Since mine is the 2019 model, I need to downgrade to 10.15 first, then upgrade to 11, then reinstall to restore my data.
Prerequisite: A Time Machine Backup
Make sure you back up! A seamless downgrade depends on keeping all your apps and files, so a backup is essential.
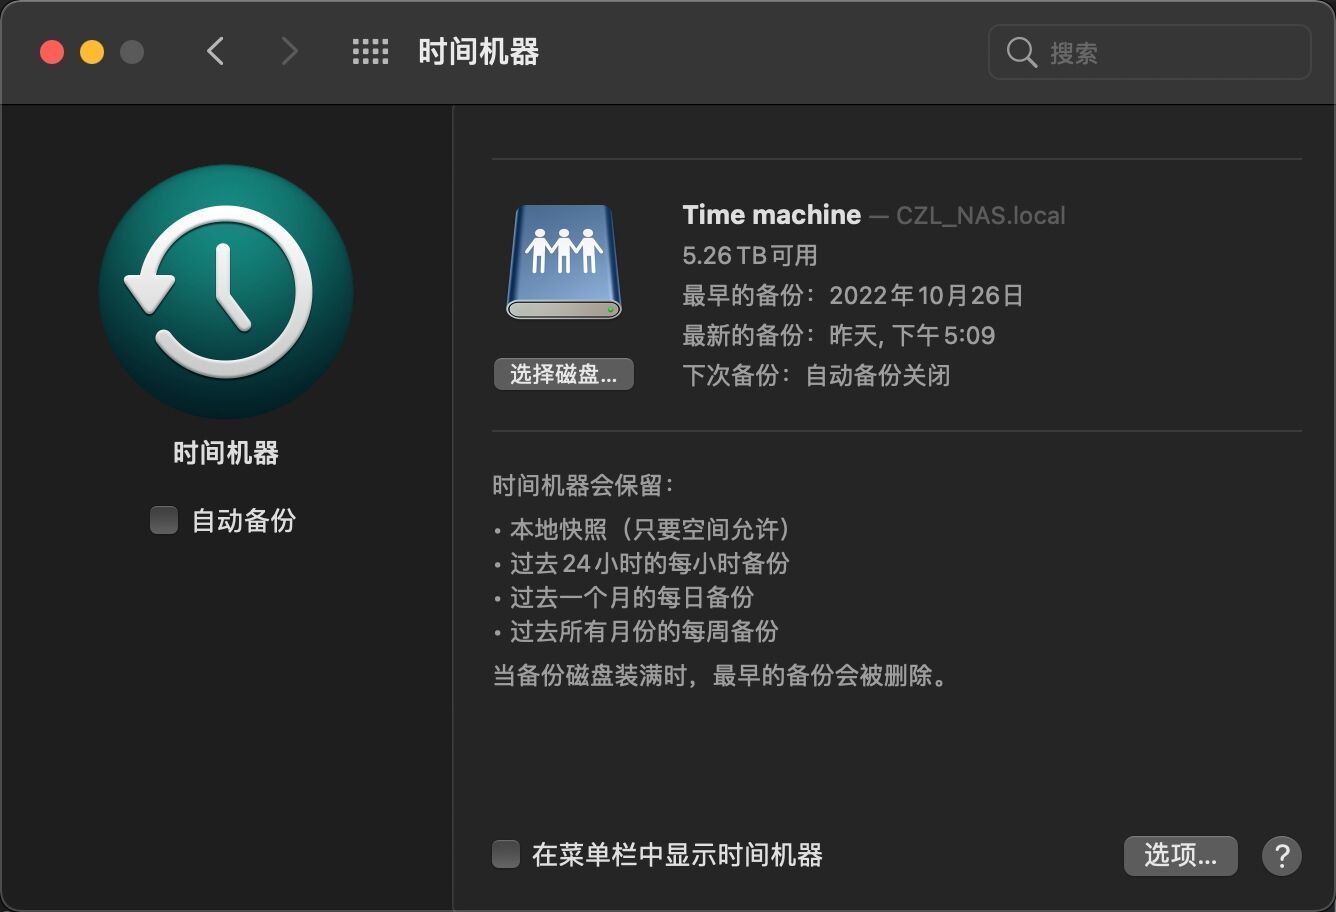
I backed up to an unofficial Synology NAS on my local network.
Go to: Settings-General-Time Machine
Downgrade to 10.15Catalina
My laptop came with 10.15, so after backing up, I reinstalled 10.15 first.
- Shut down.
- Press the power button, then hold
Shift + Option + Command + R. Reinstallation will start automatically; wait for it to finish. - Once finished, it will boot automatically into Catalina.
Upgrade to 11
After the reinstallation above, the setup screens will appear. Set it up as a new computer; there's no need to restore your backup, since it won't work yet. Connect to wifi or plug in an Ethernet cable, then follow these steps to install 11.
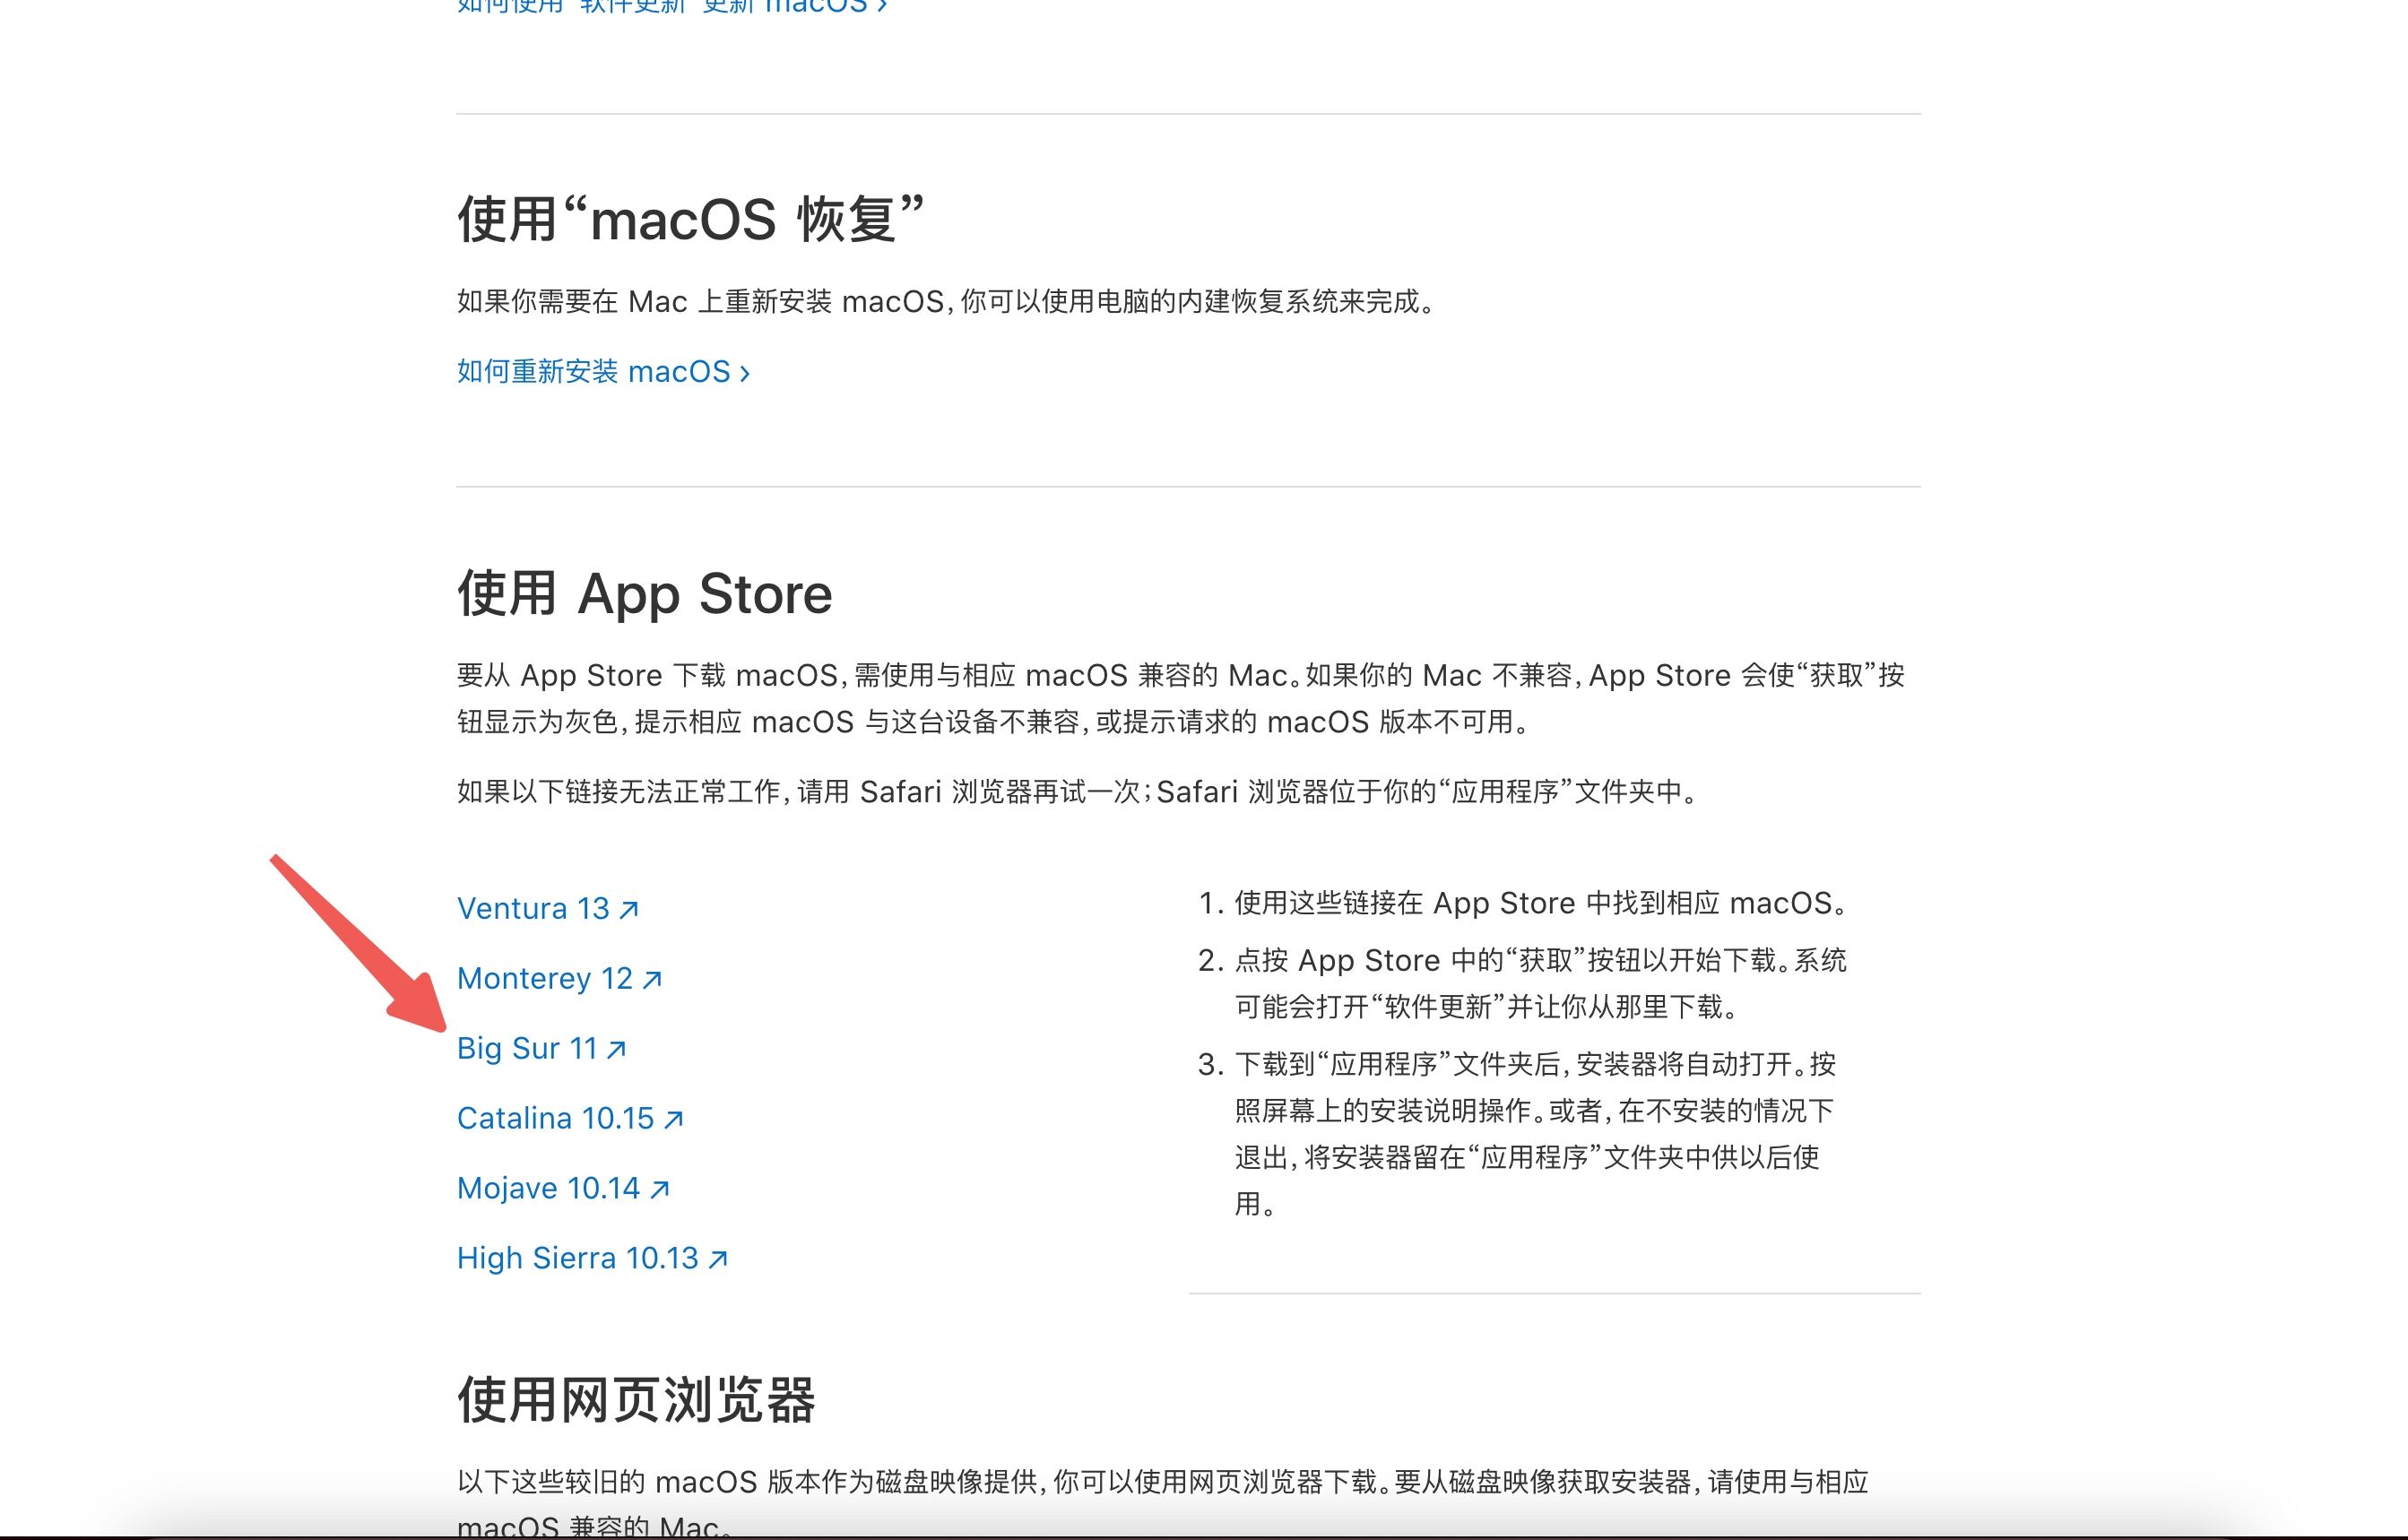
- Open safari and enter this URL: https://support.apple.com/zh-cn/HT211683
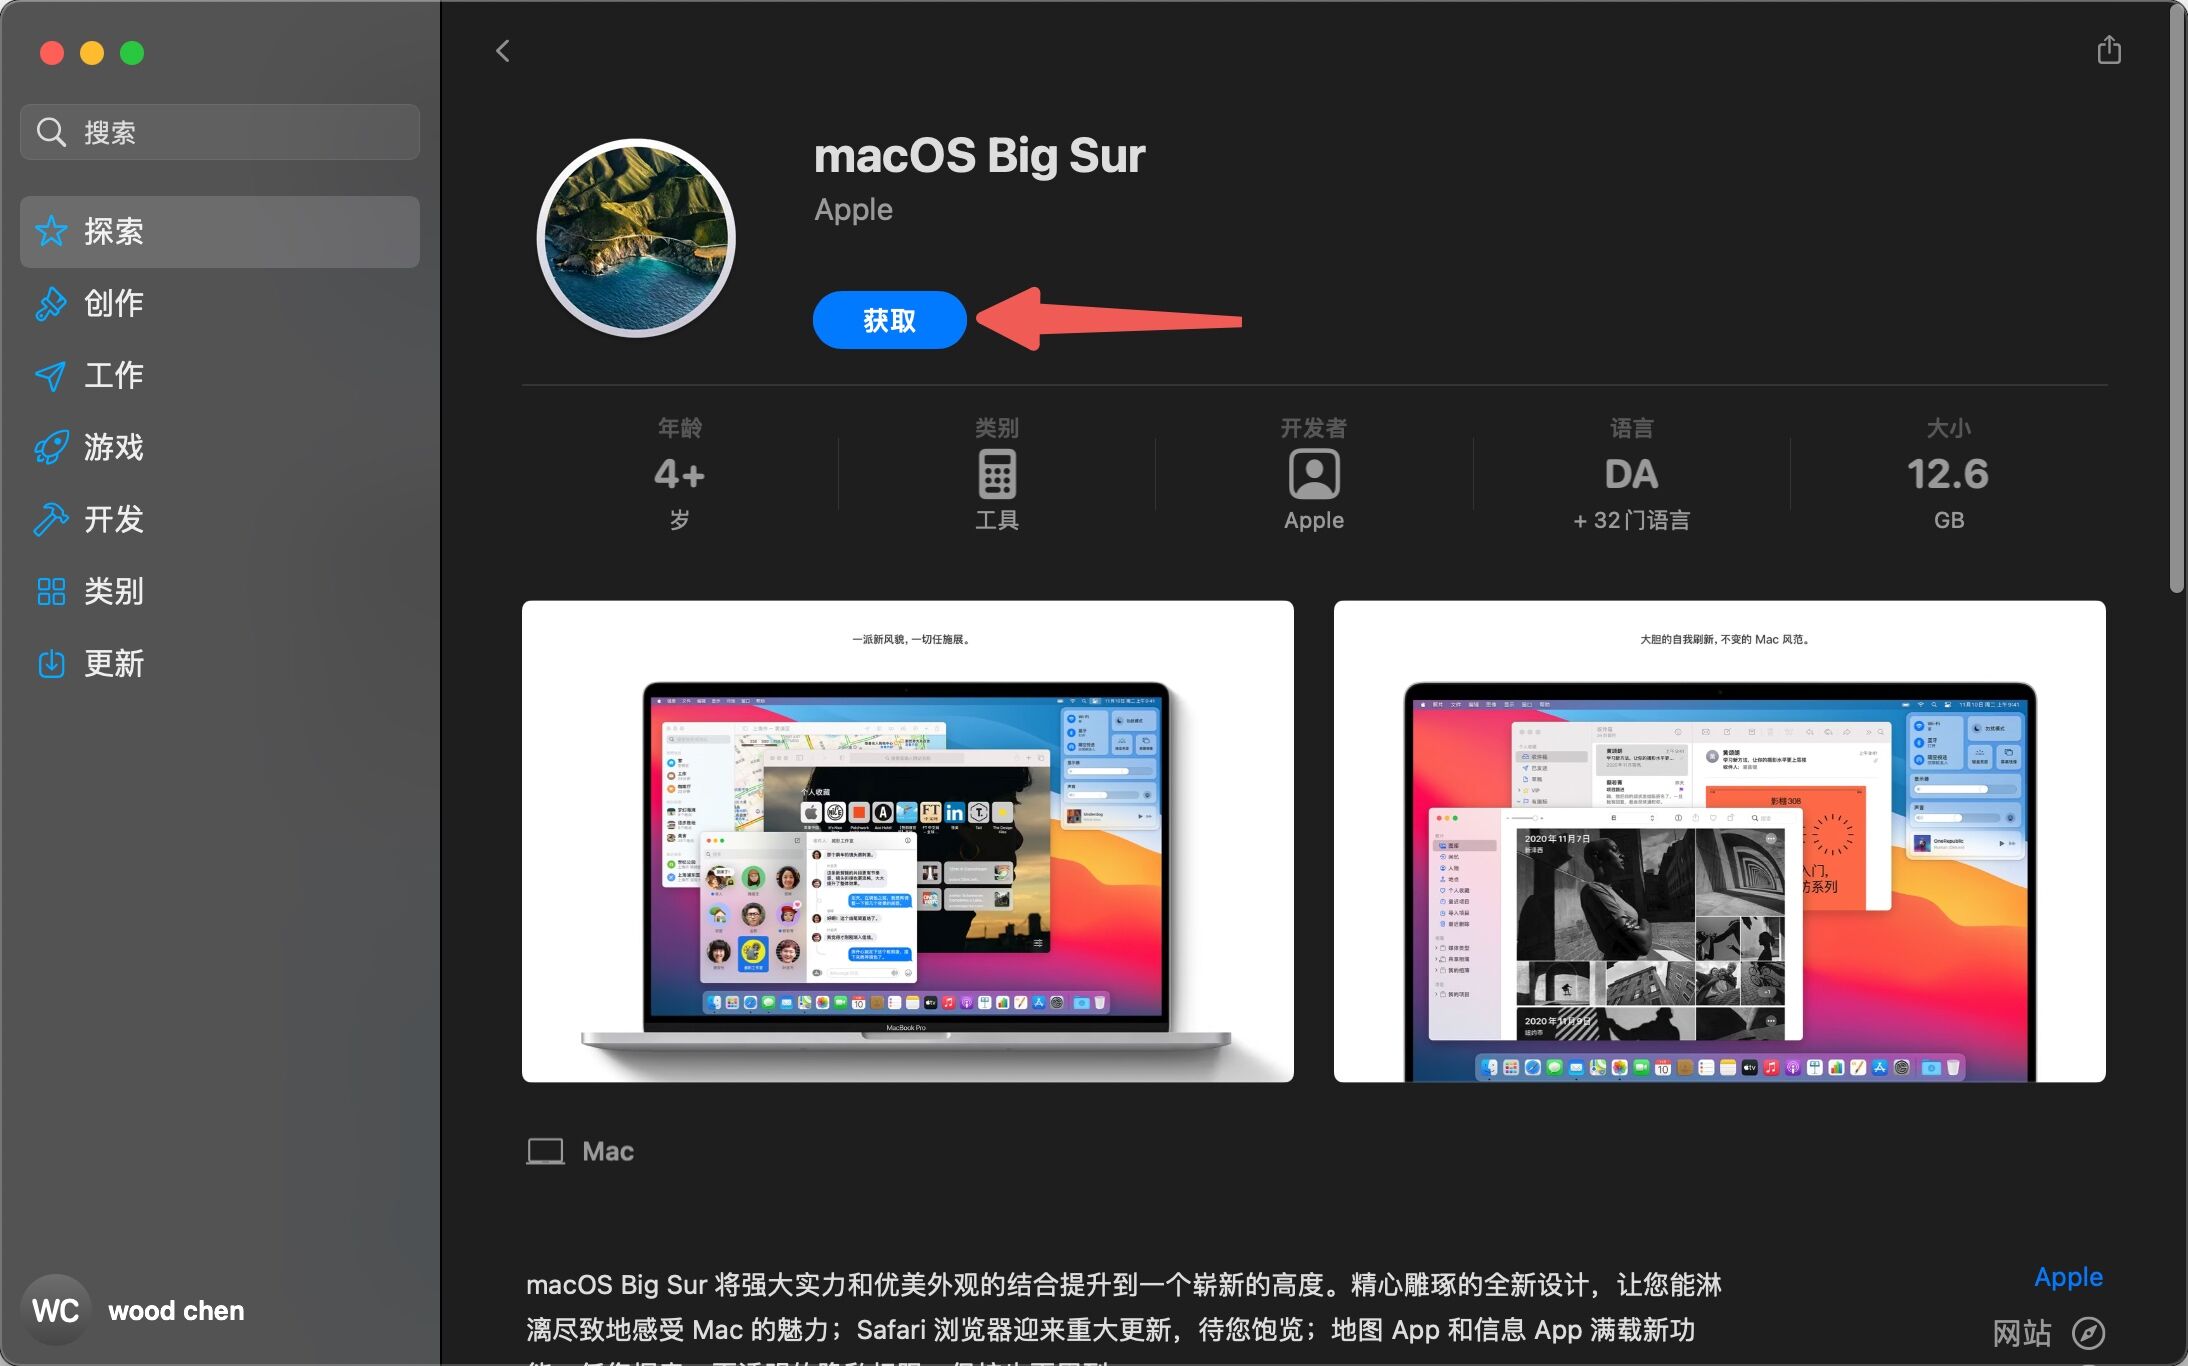
- Click the link to open Appstore. Click Get, and Settings will open automatically to download it. Click OK, wait for the download, then install it.
- After clicking Install, wait for it to finish. The computer will restart automatically.
Reinstall 11Big Sur After Upgrading
Why reinstall? Because you've already booted into the system in the previous step, you can no longer perform a full restore through Time Machine. You need to reinstall and reset the system.
- Shut down.
- Press the power button, then hold
Command + Rto enter macos Recovery. - Erase the disk first, then click Reinstall Big Sur to start the reinstallation.
- Once finished, the computer will restart automatically and display the setup screens.
Restore Your Data
- After restarting, go through the initial setup as usual until you reach Migration Assistant. Follow the screenshots below to configure it and restore your data.
- When restoring applications, the system helpfully detects incompatible software automatically.
- Once the restore is complete, log in to the system.
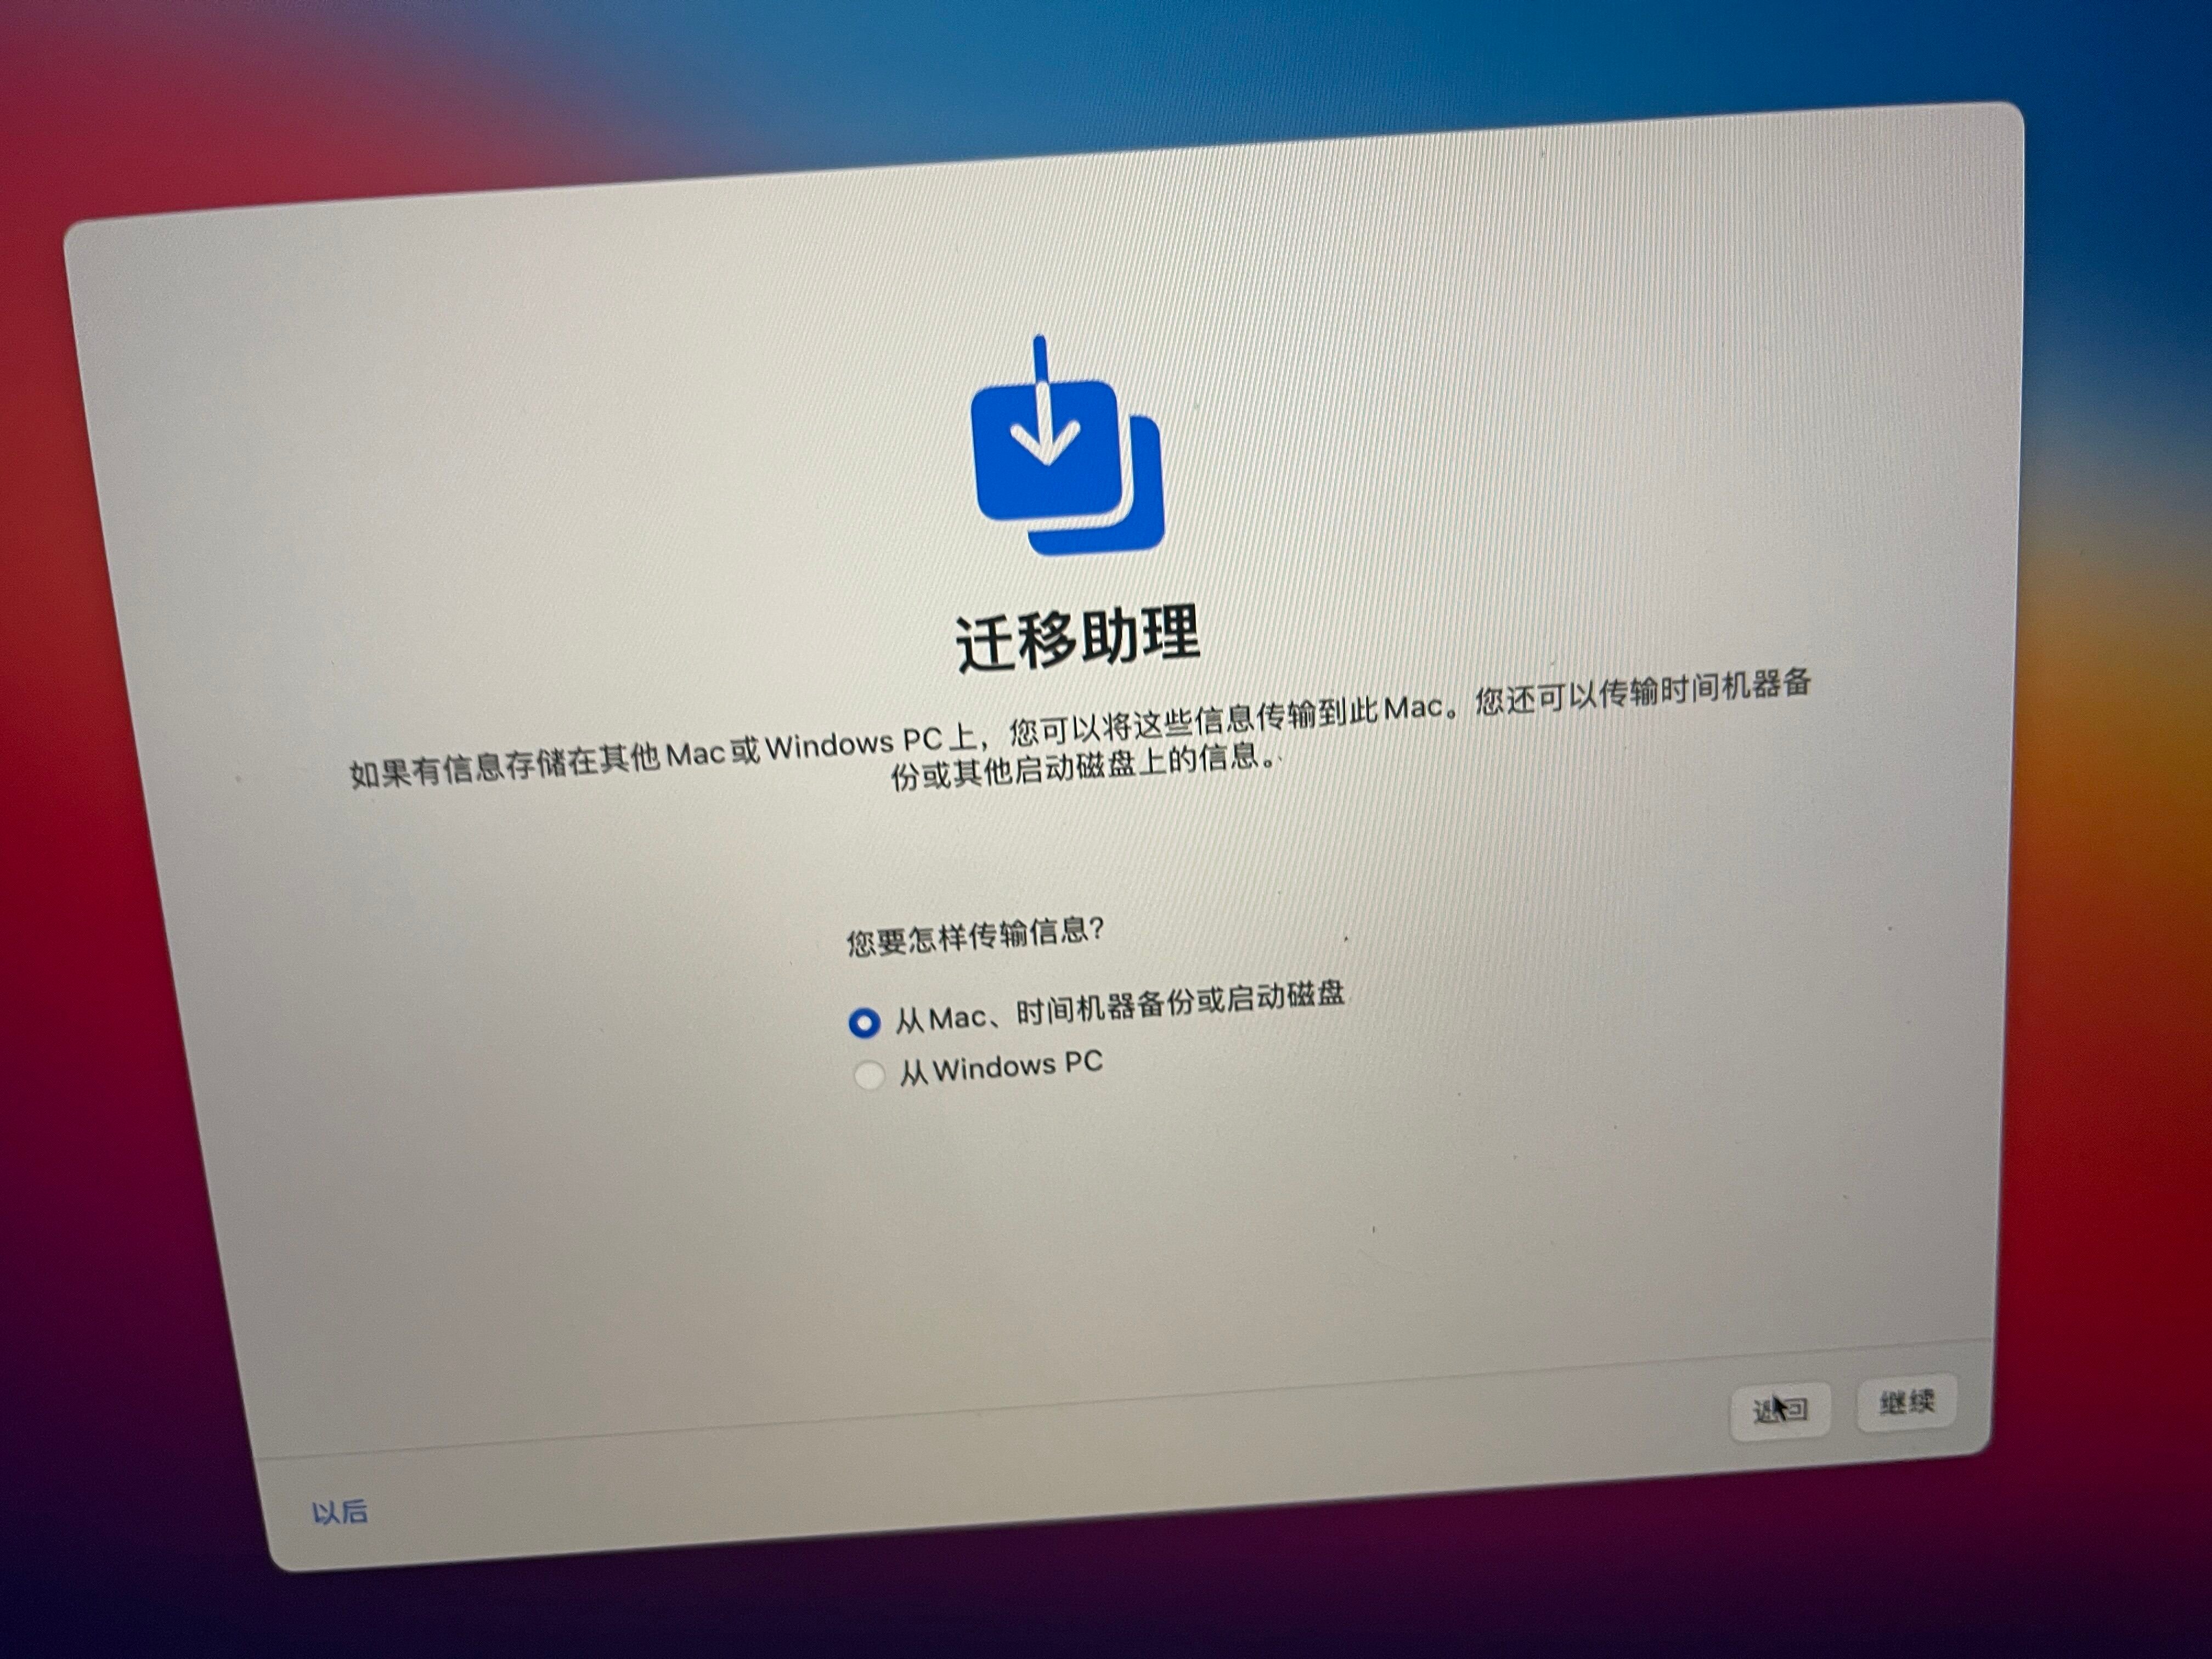
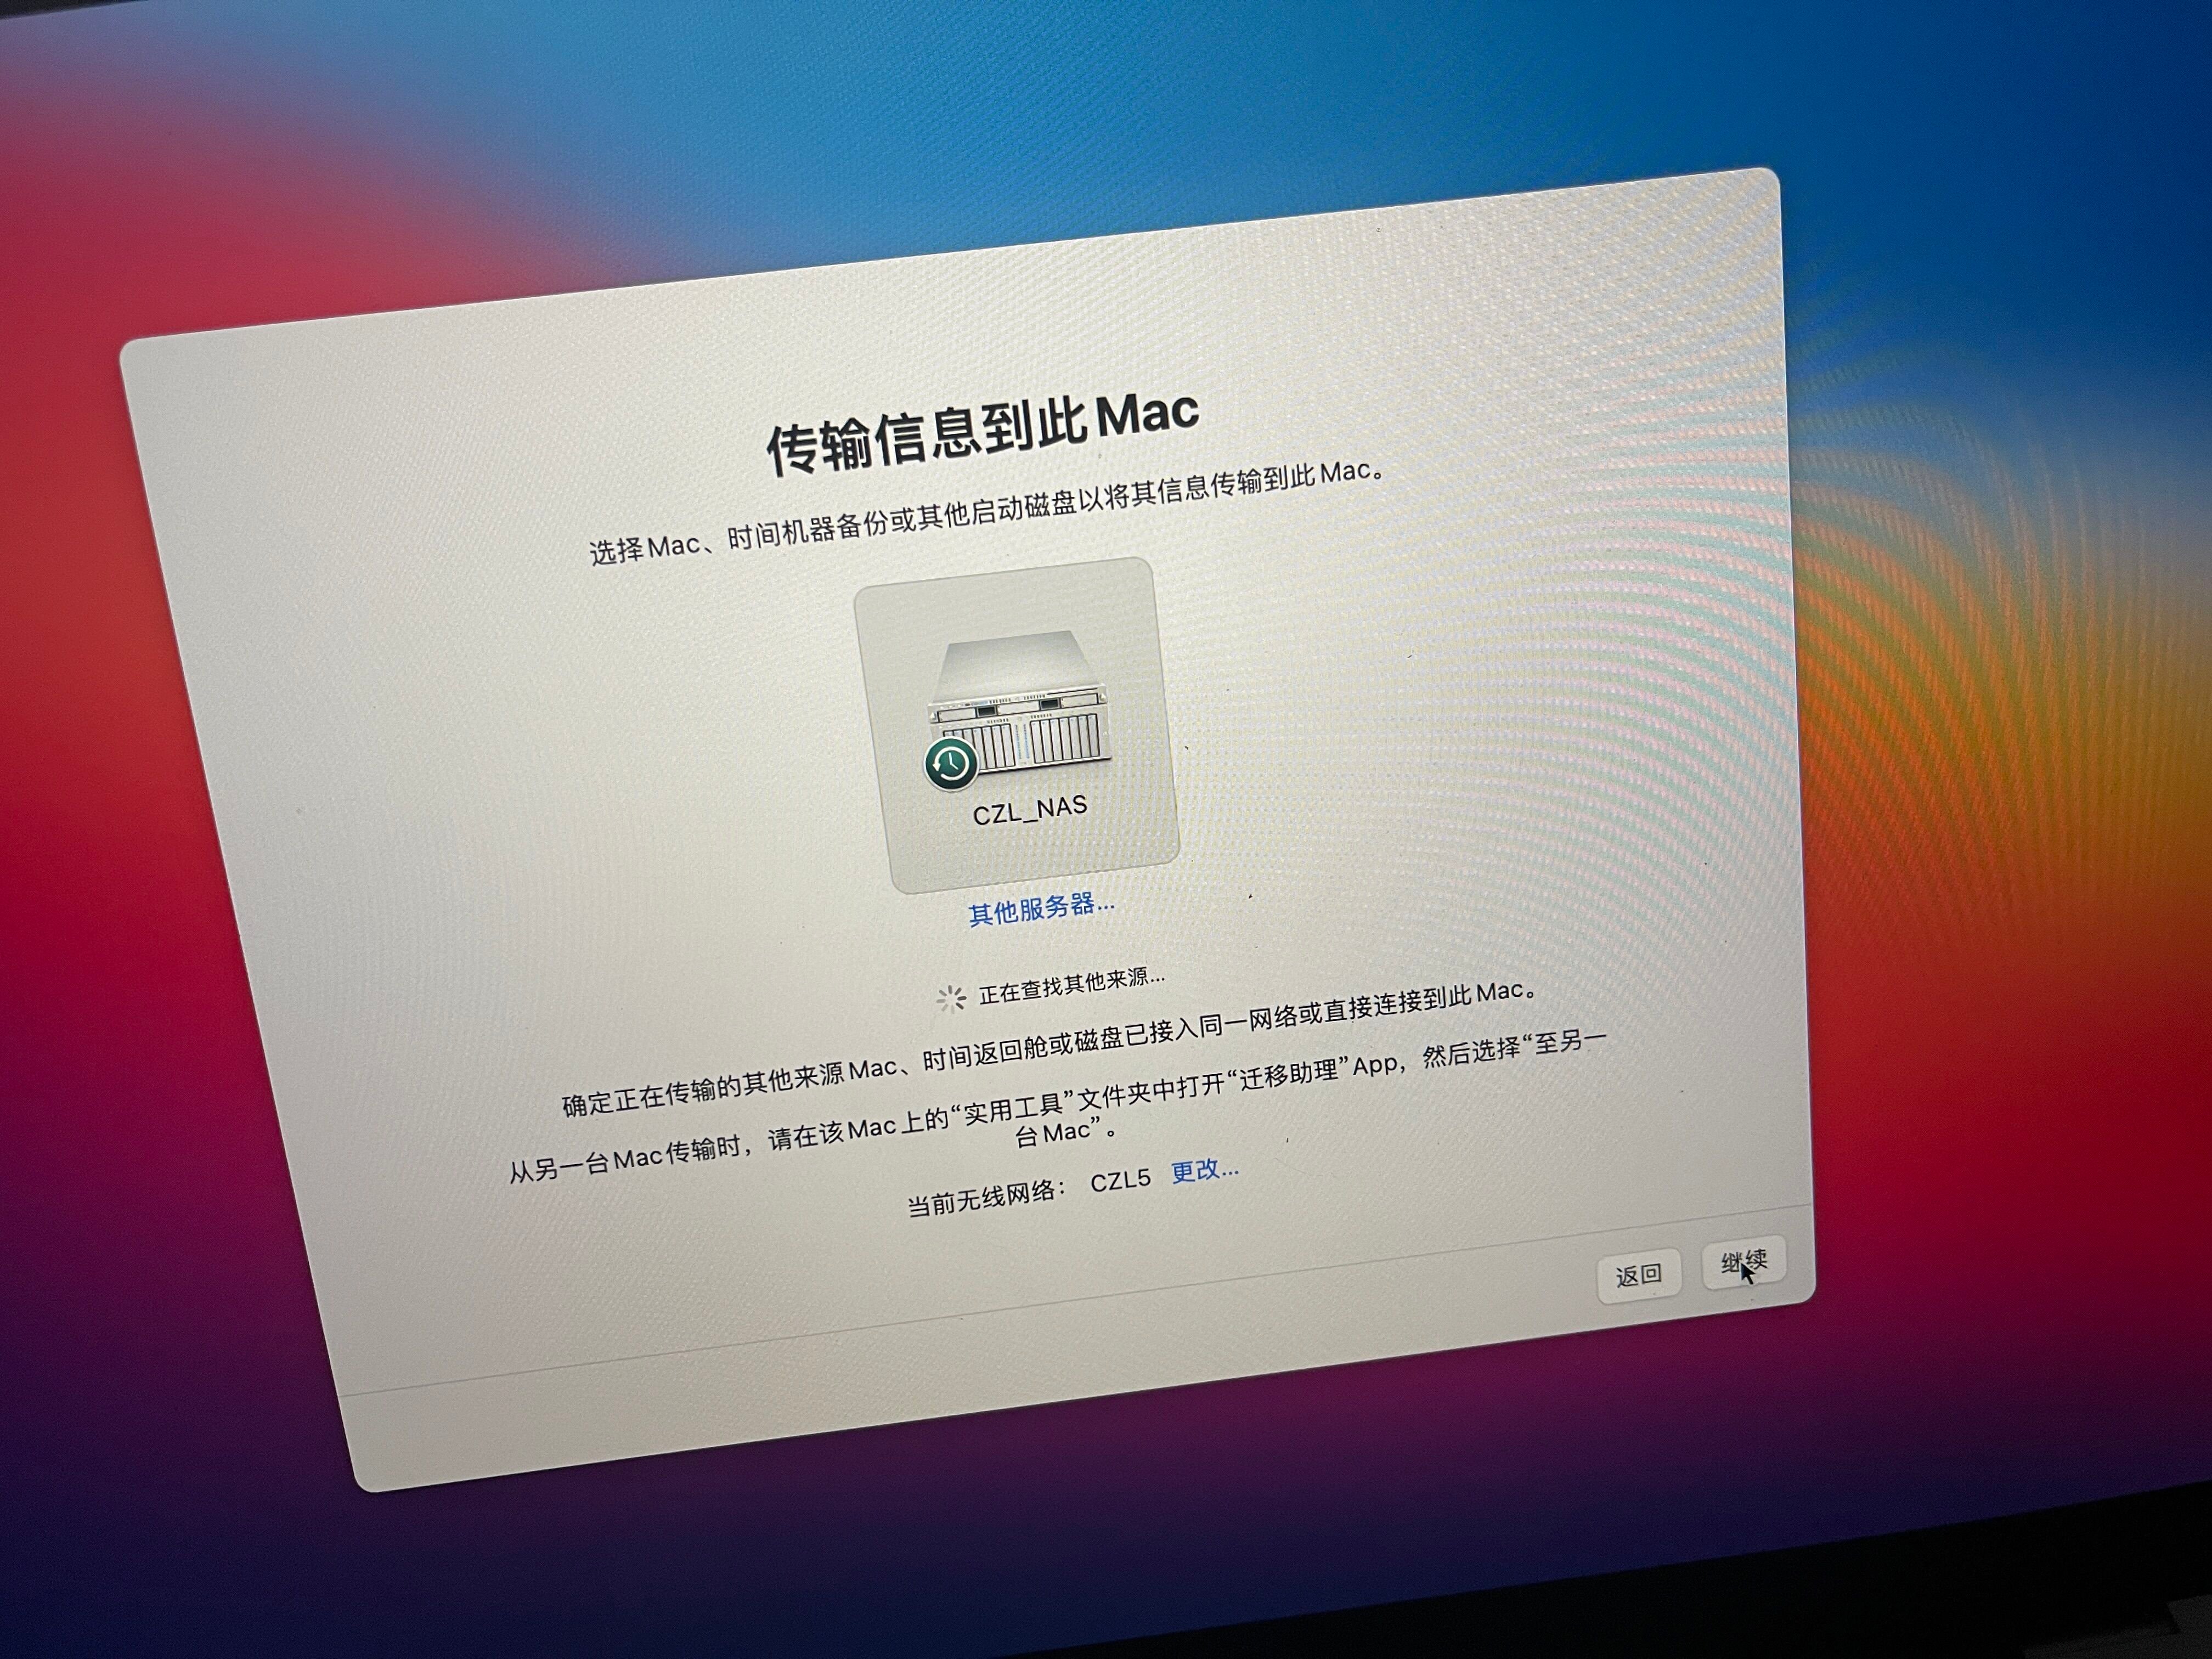
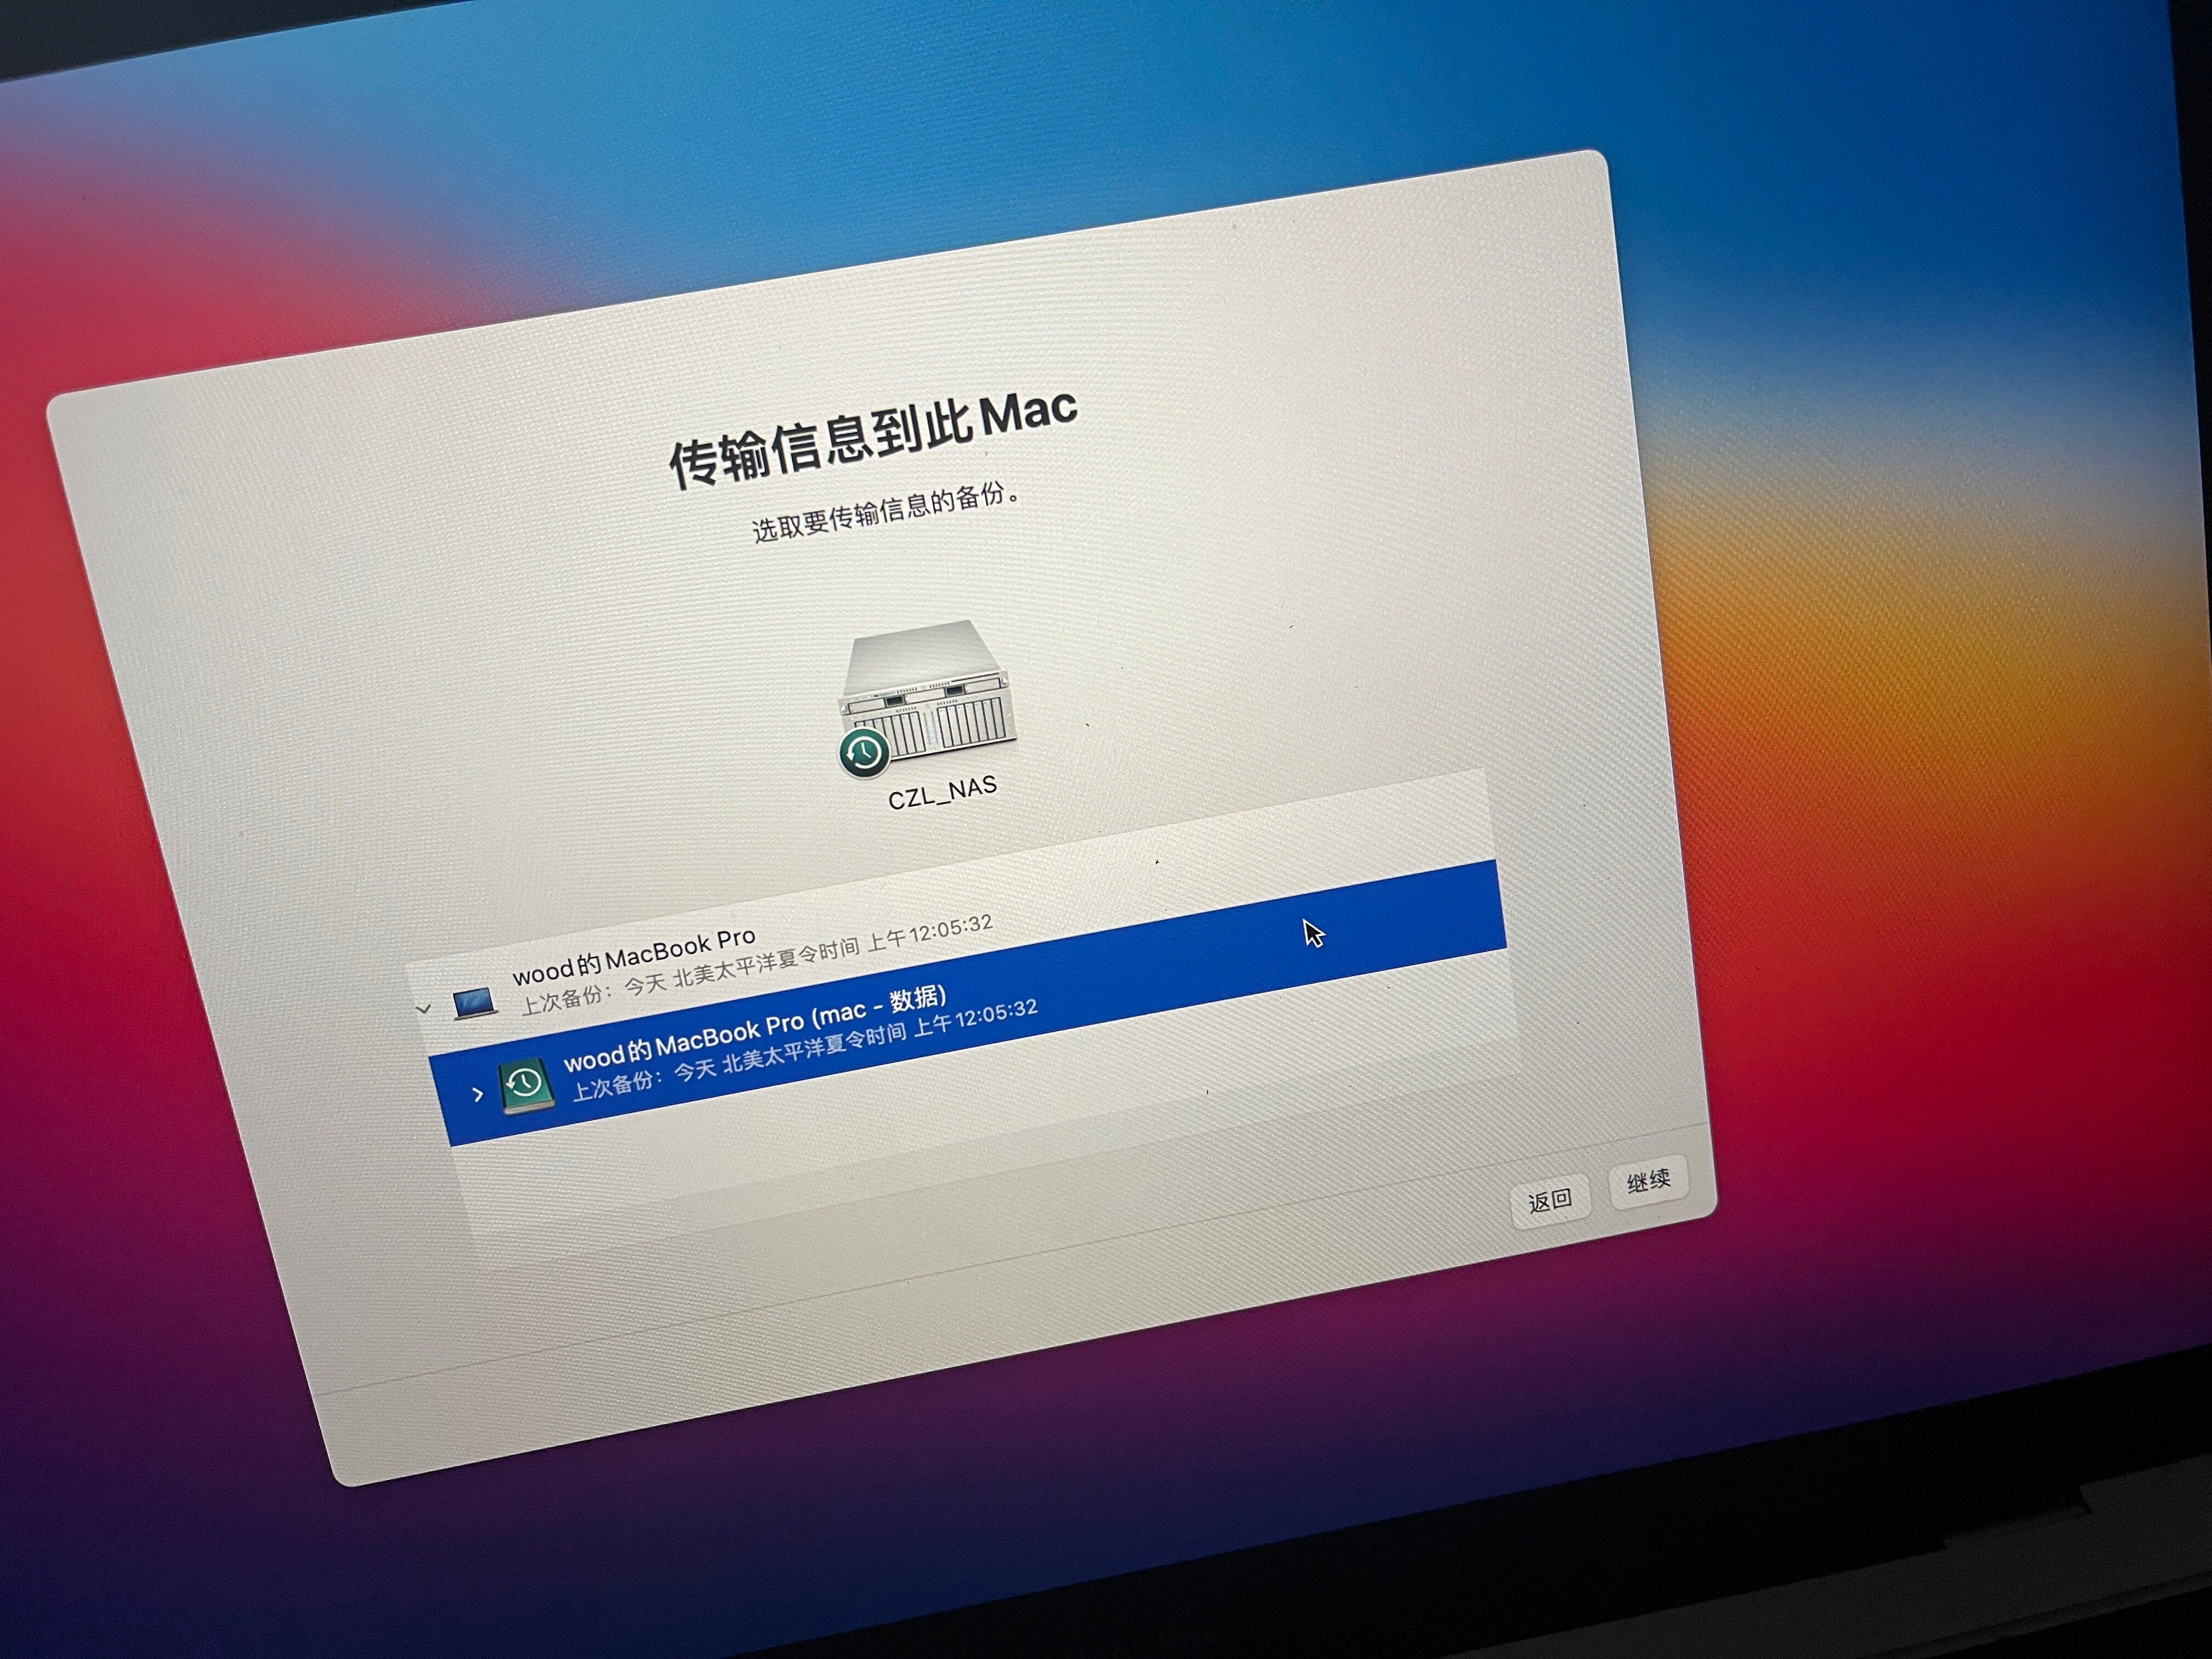
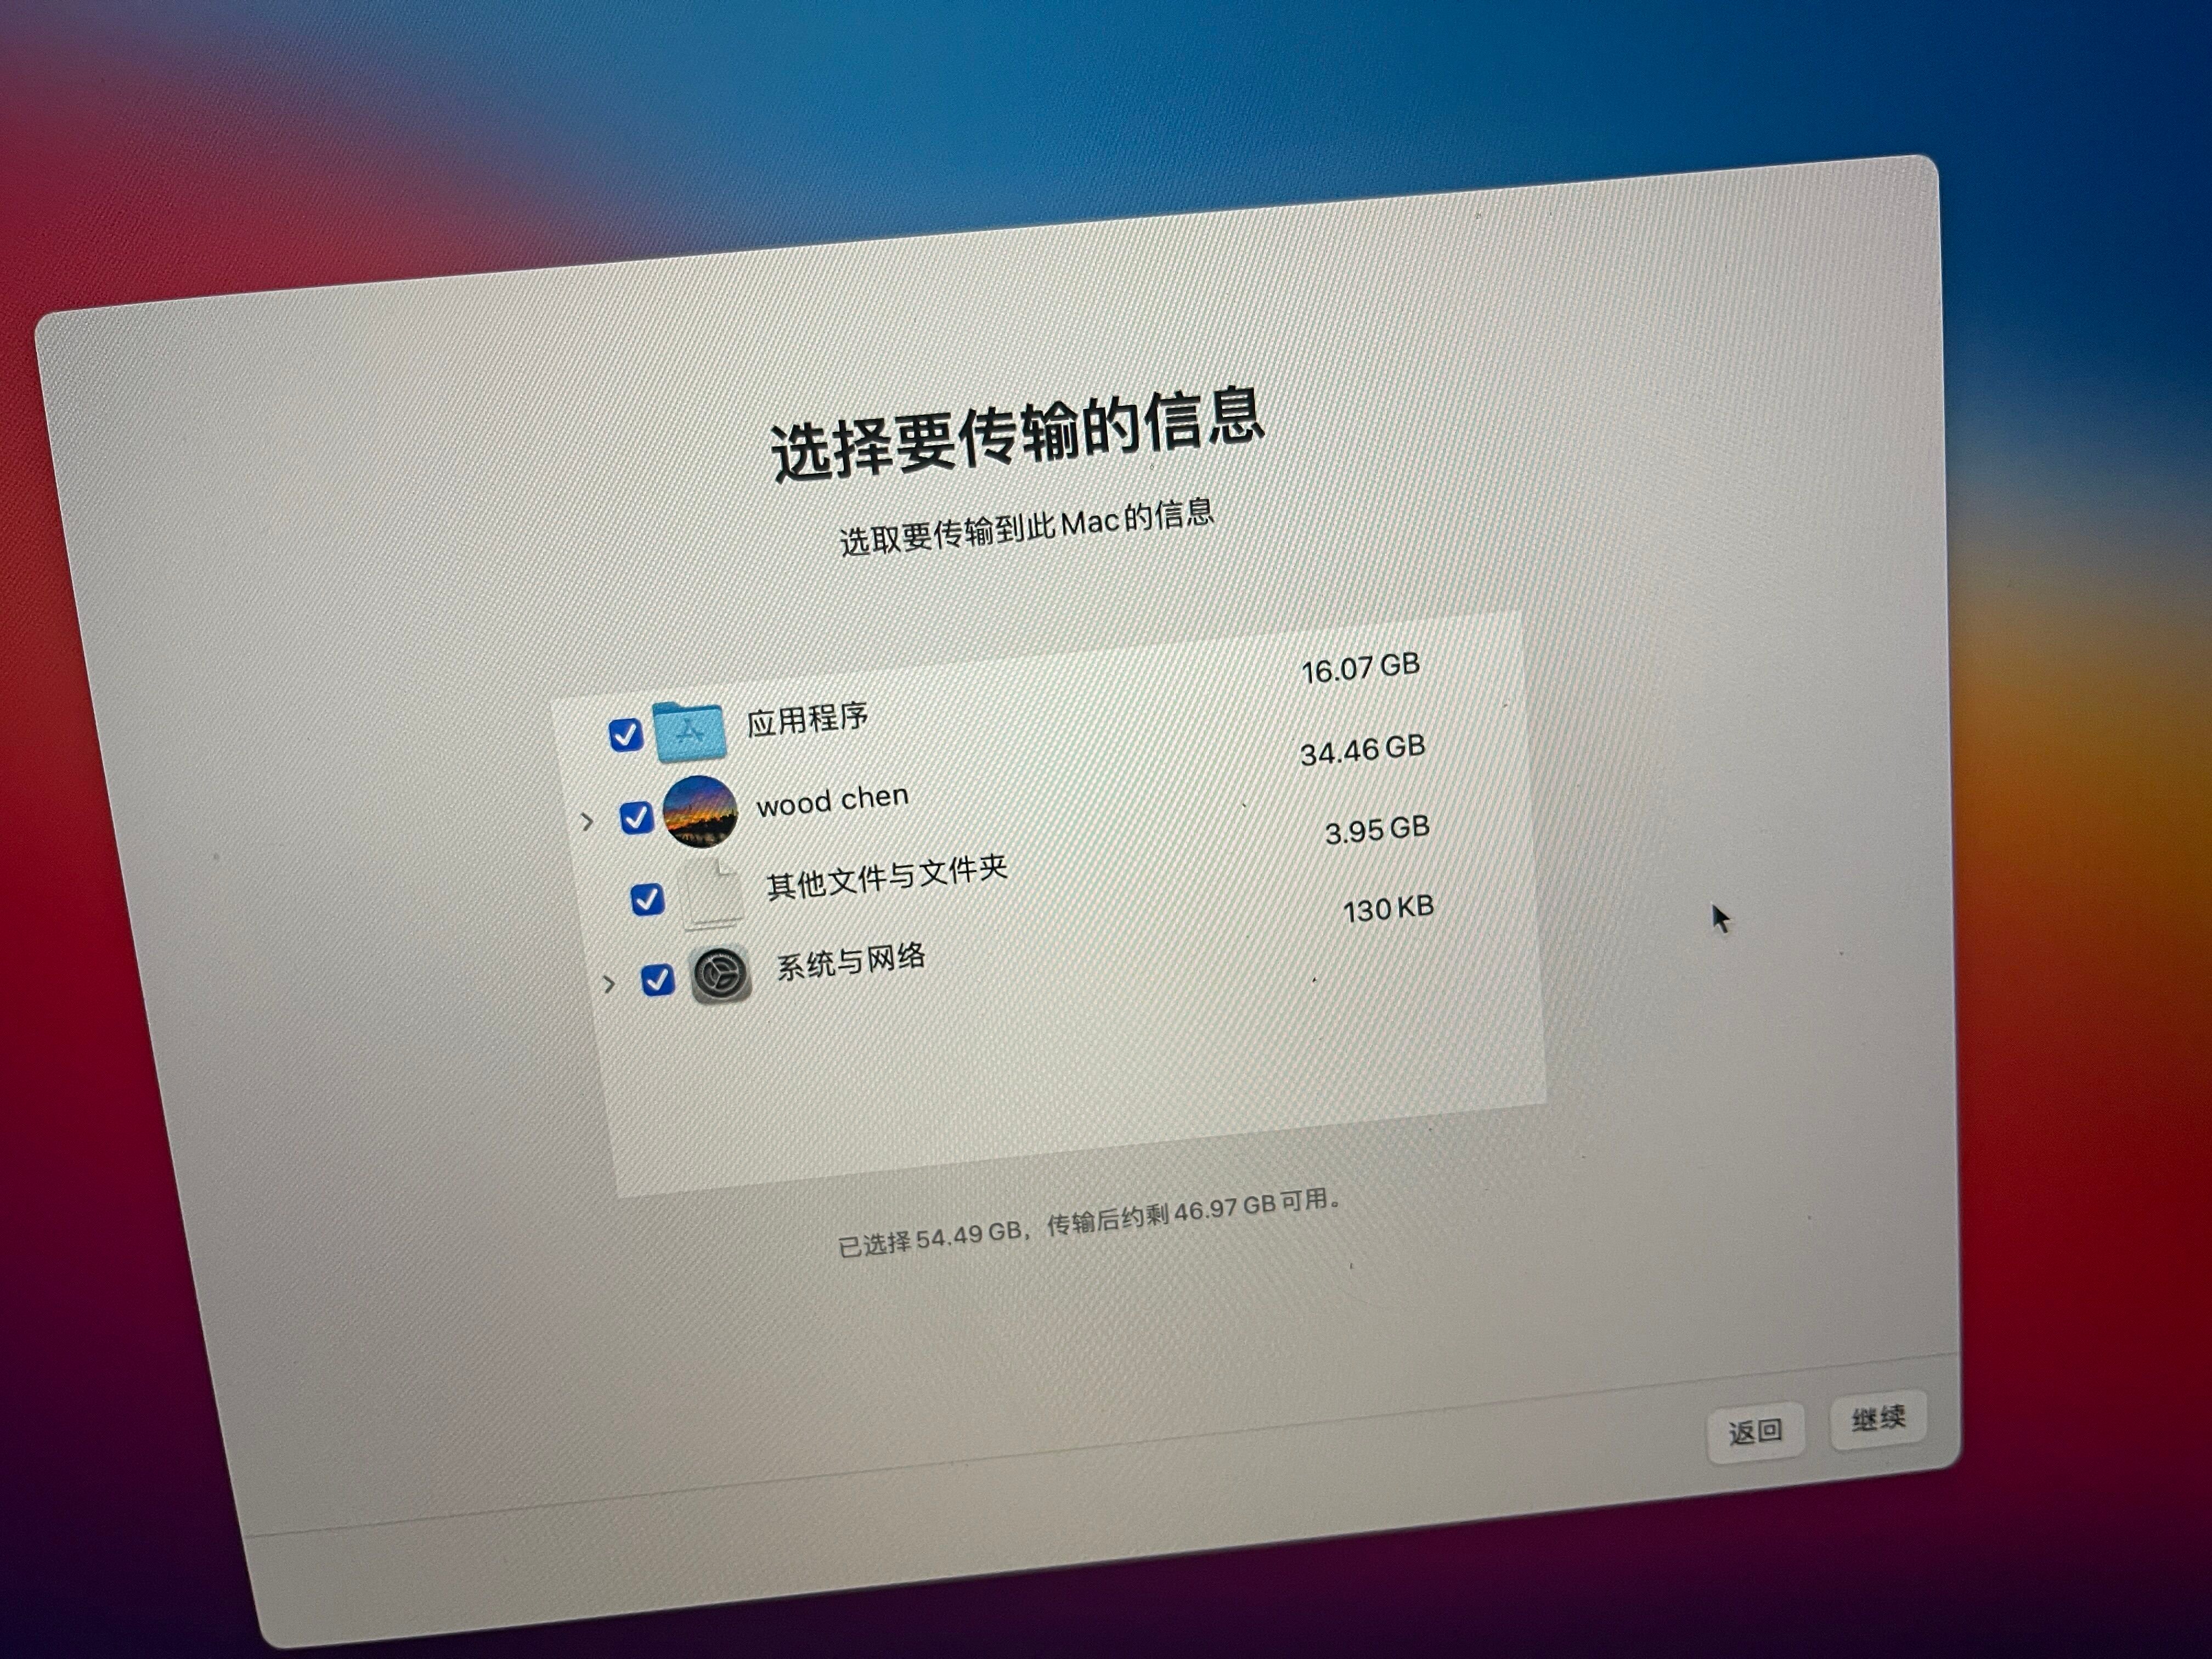
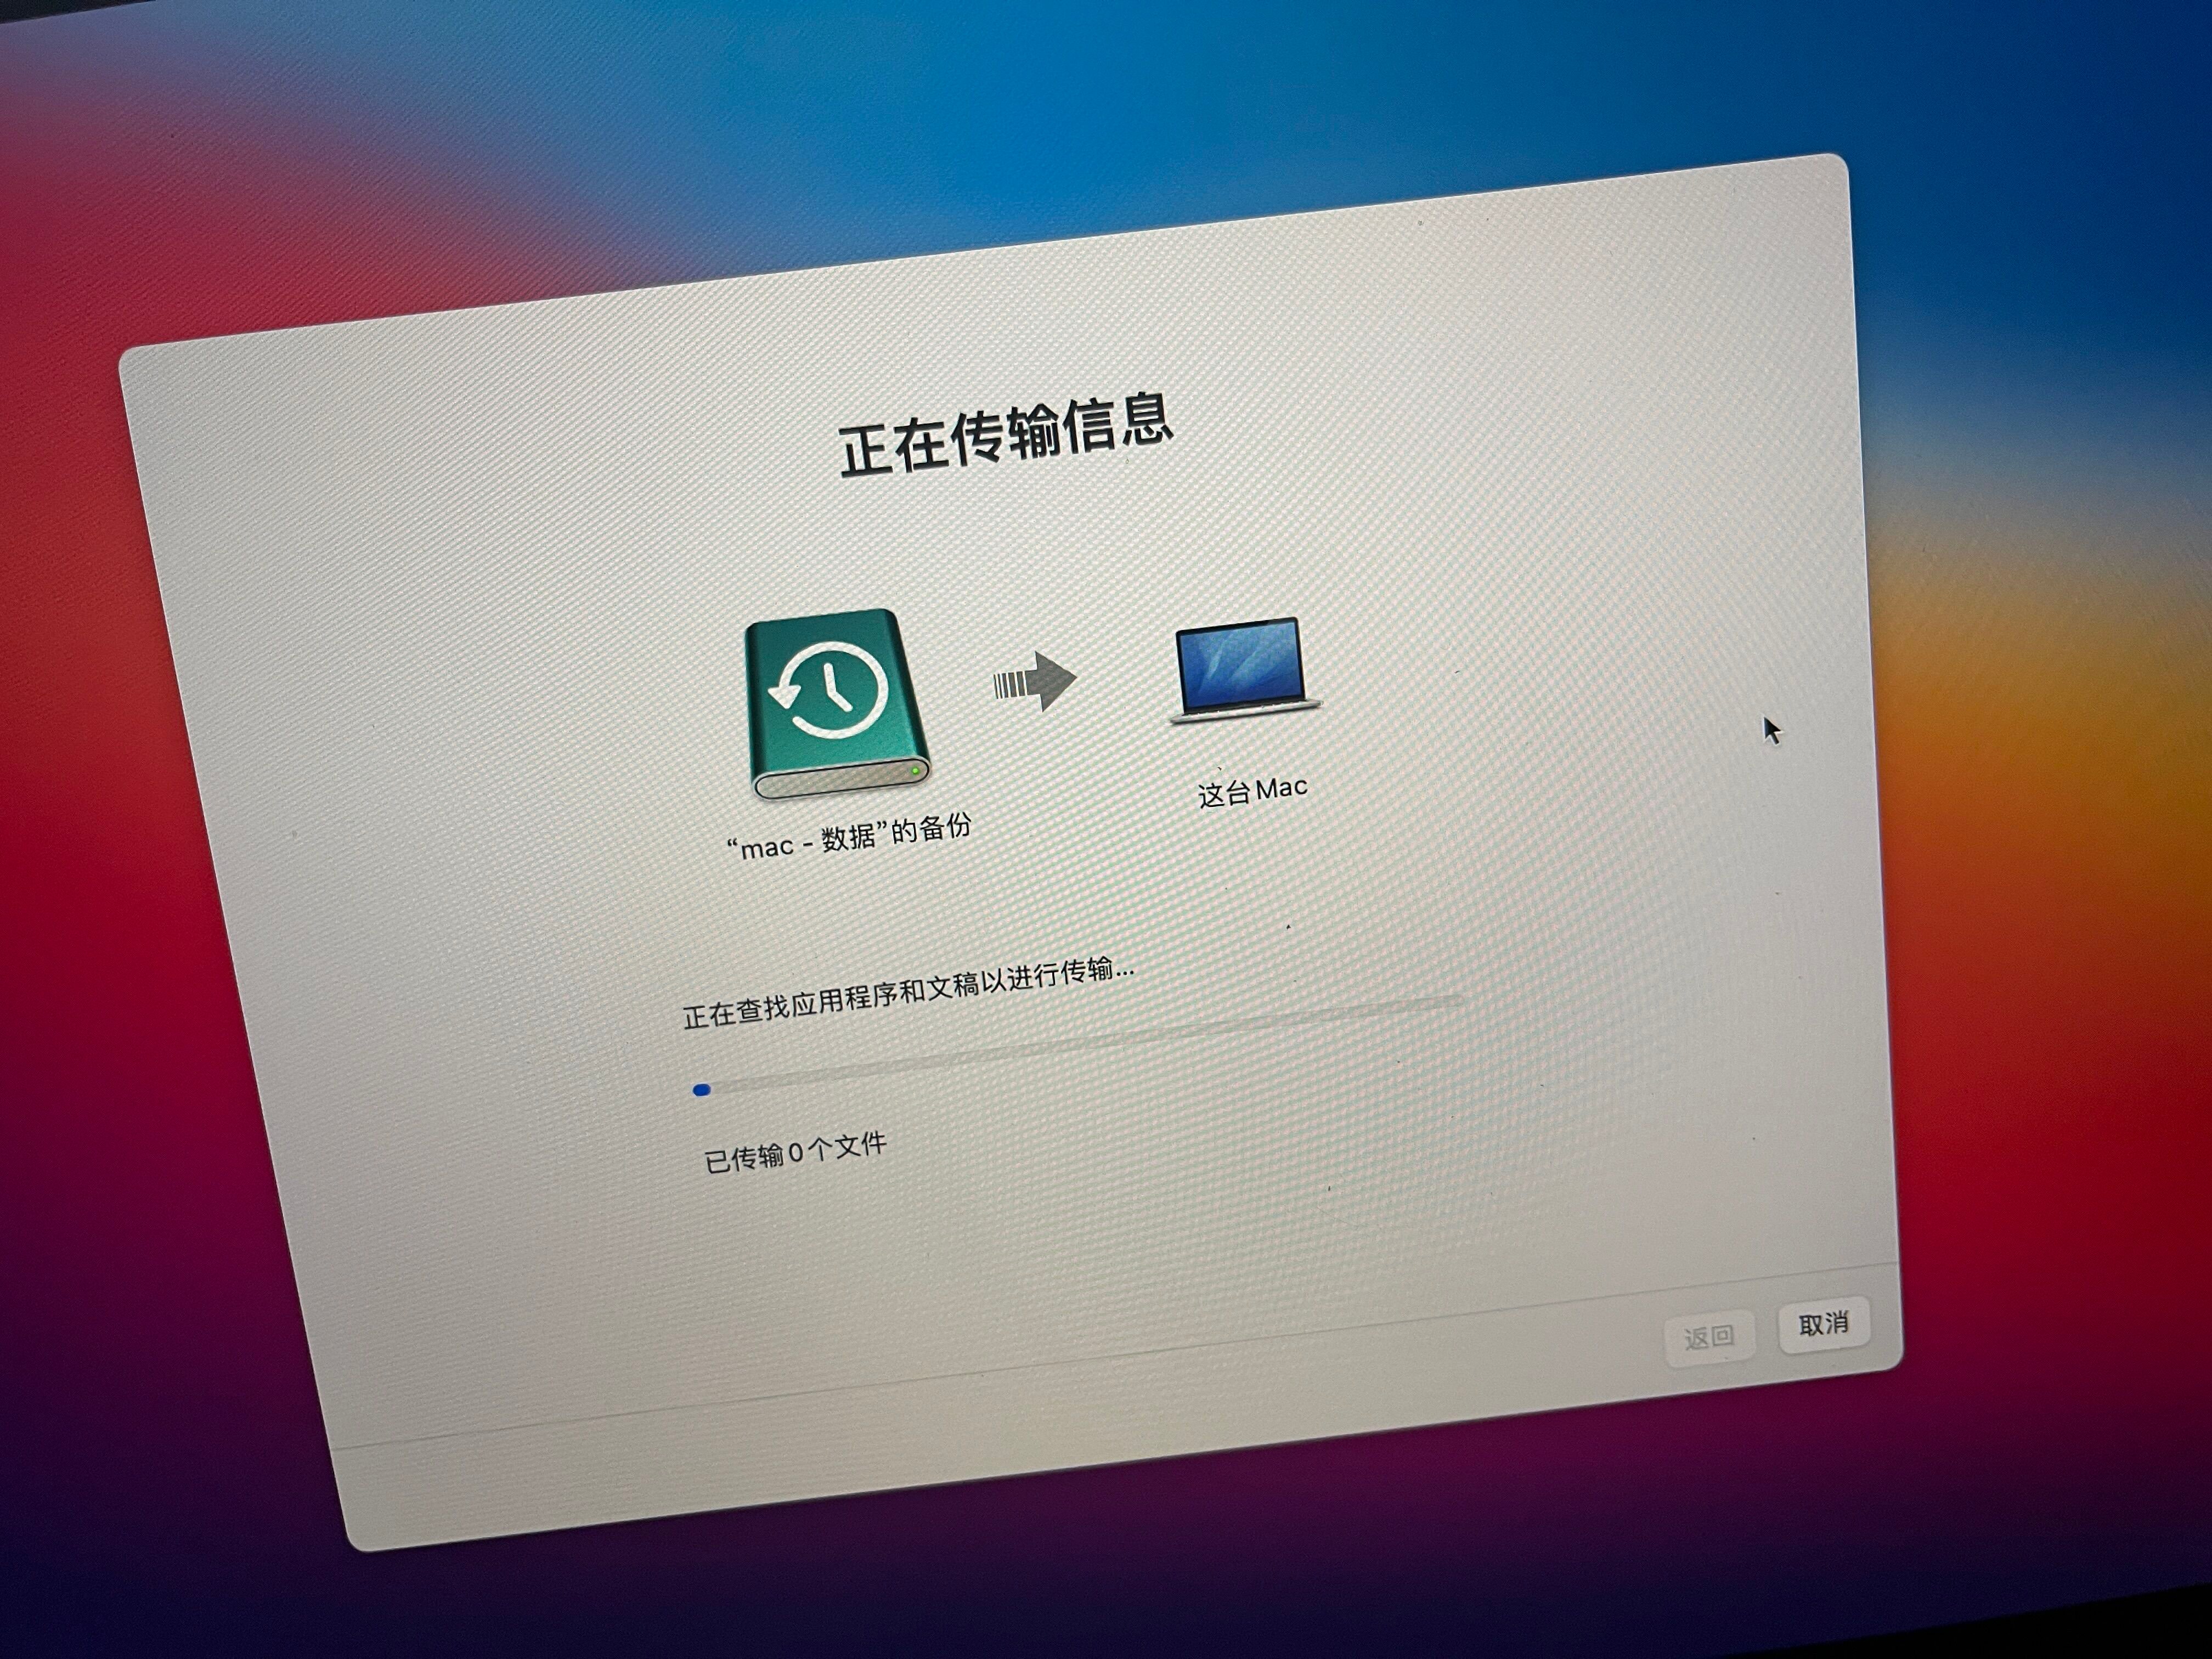
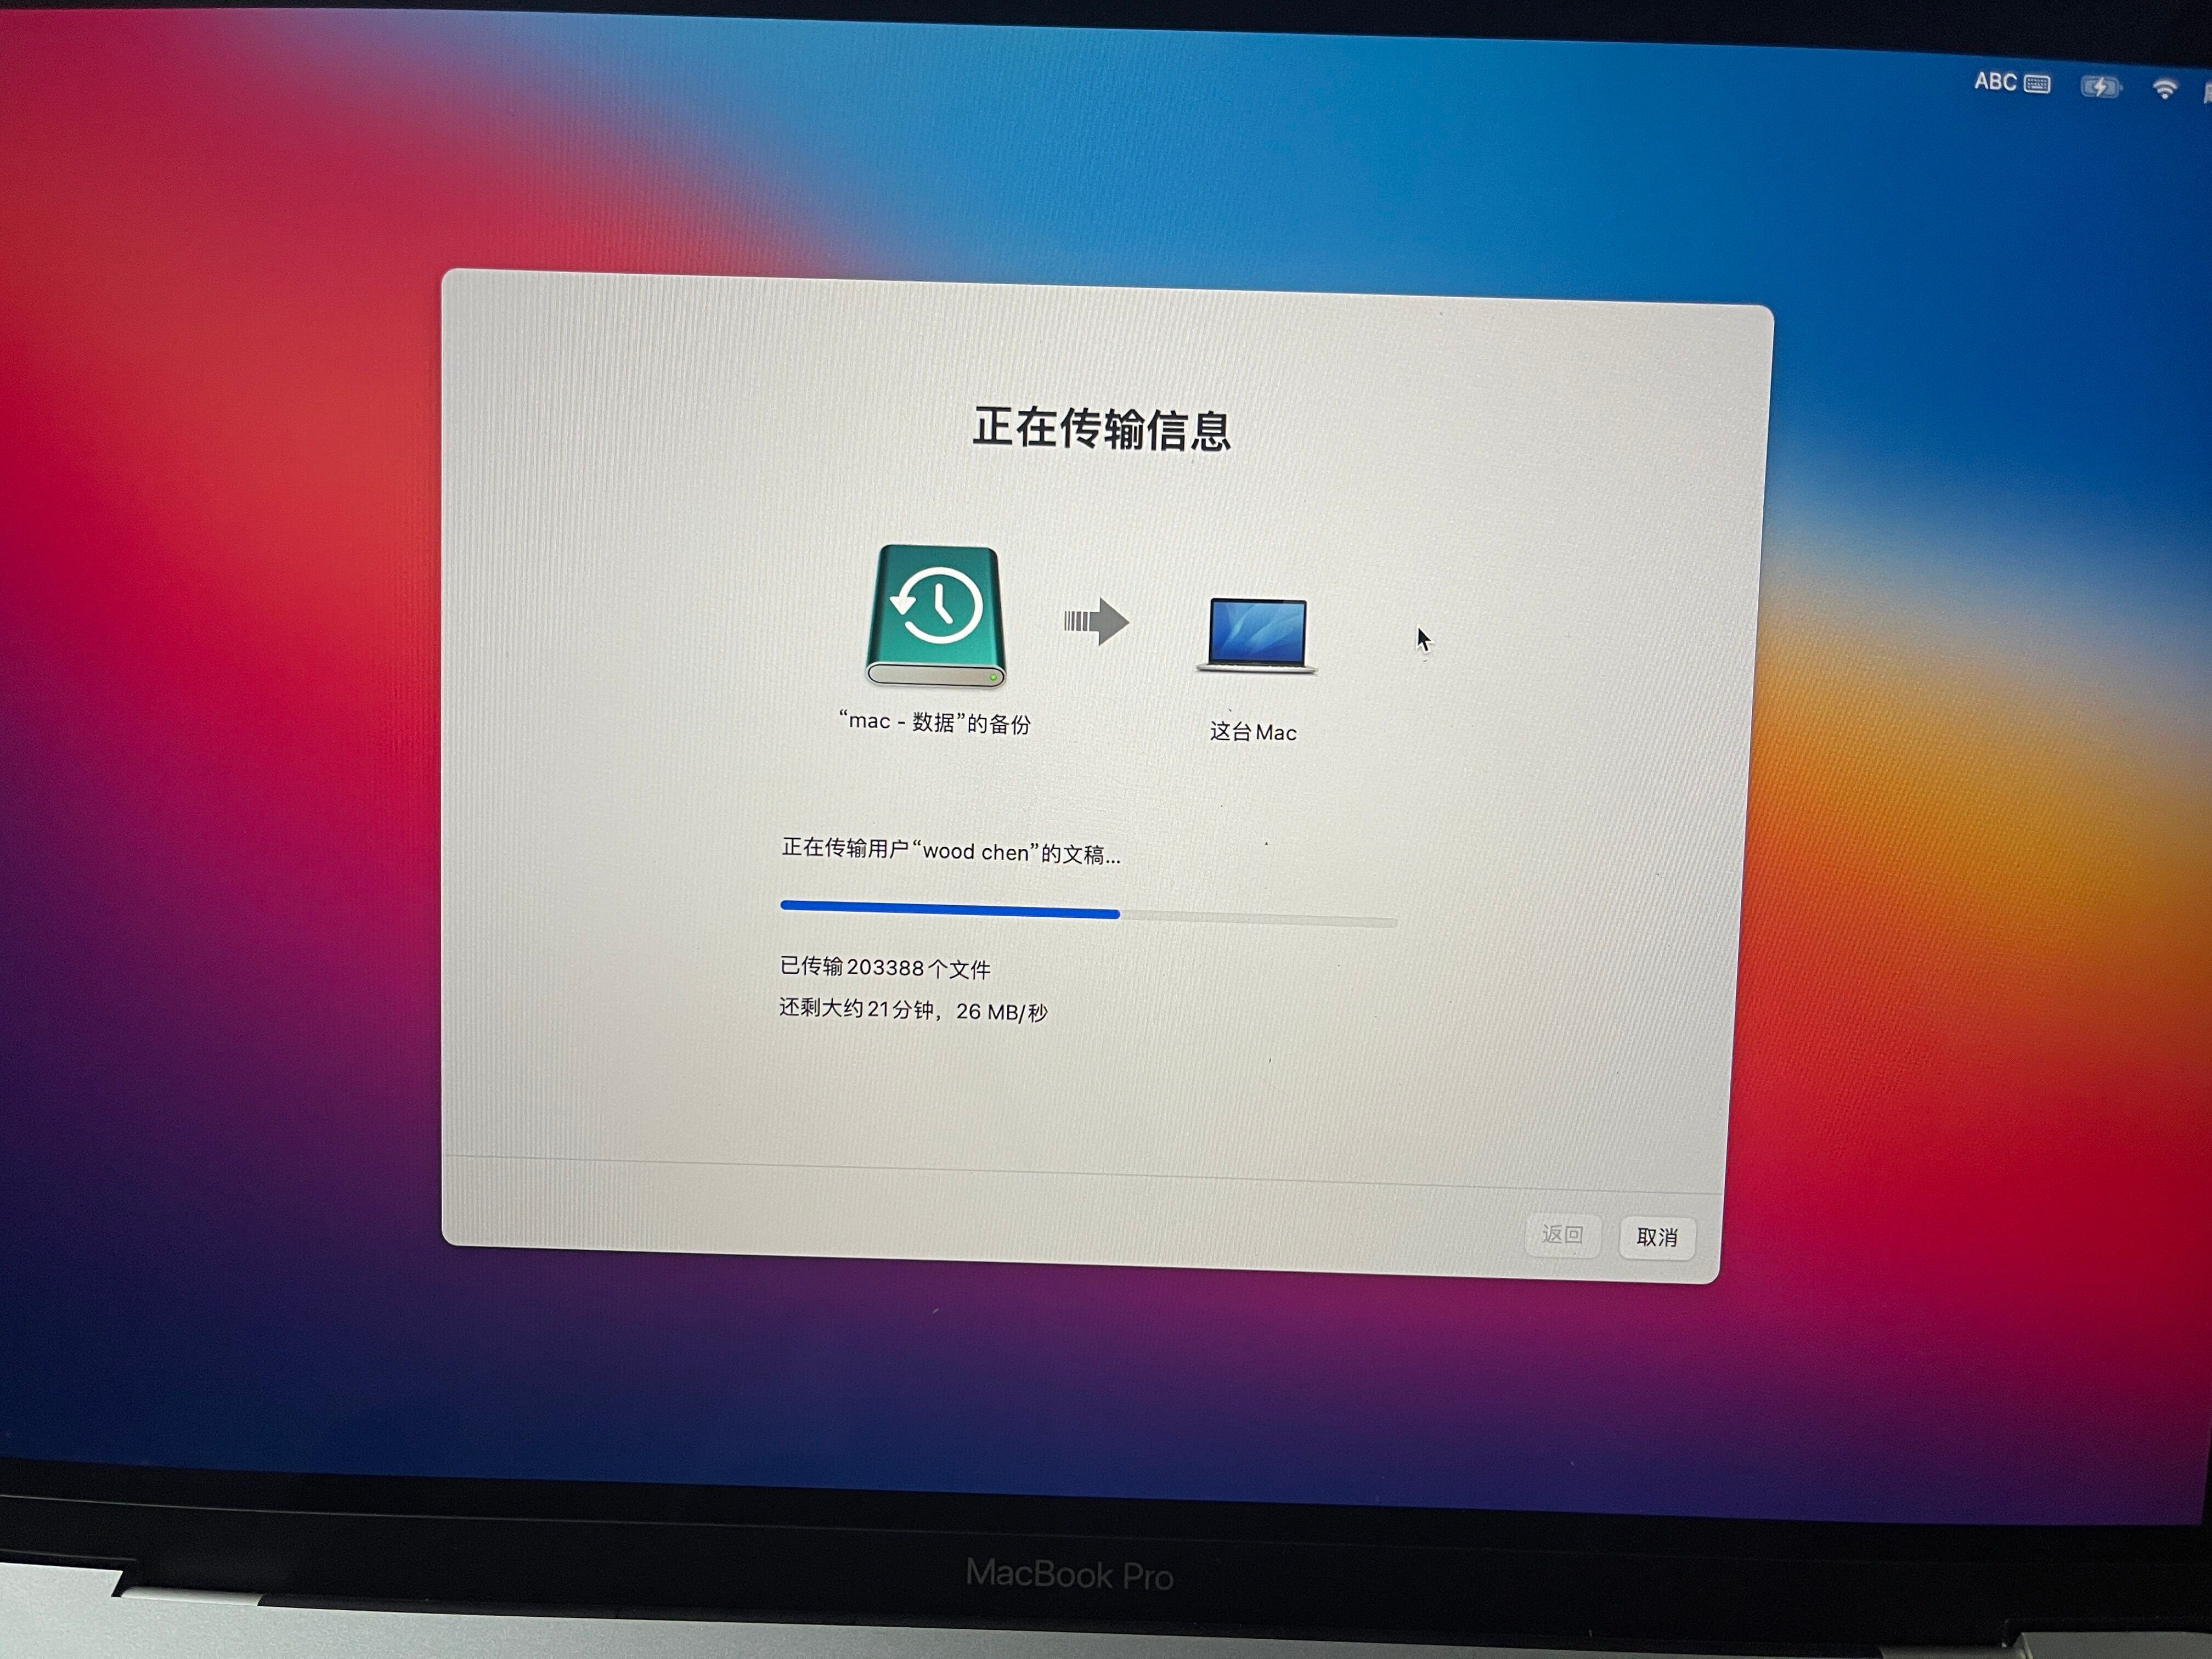
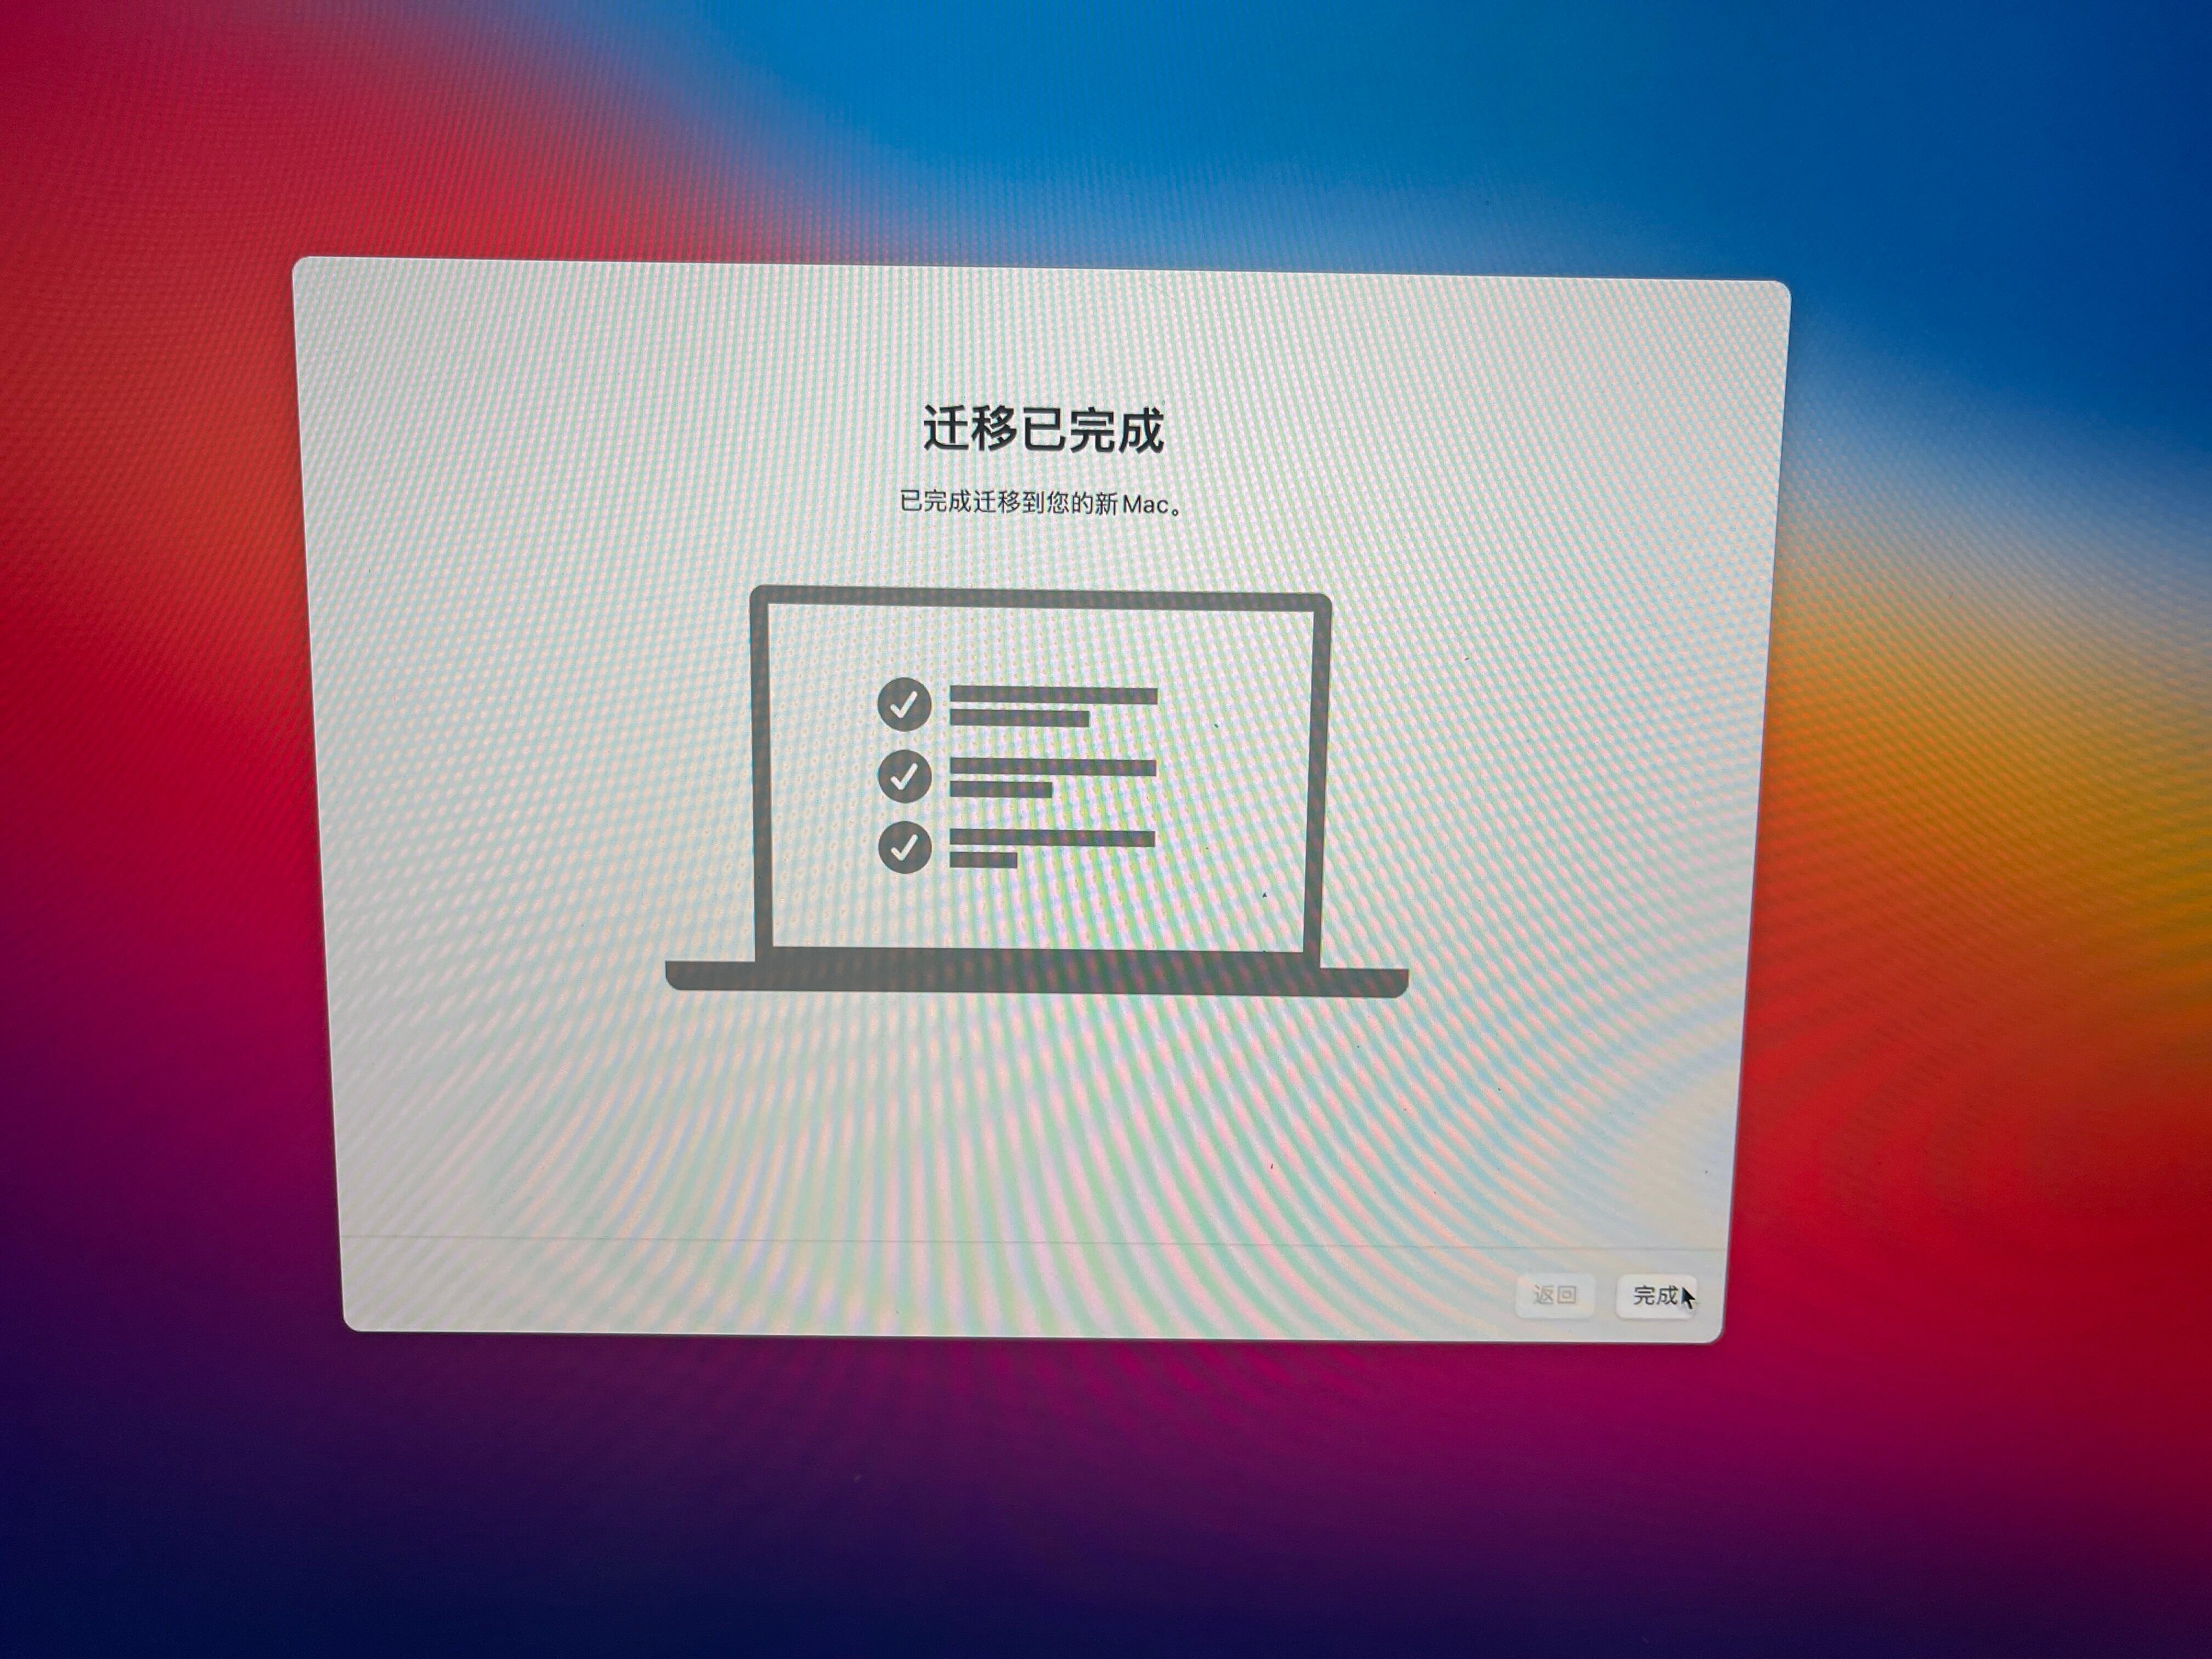
Restore Complete—Log In to the System.
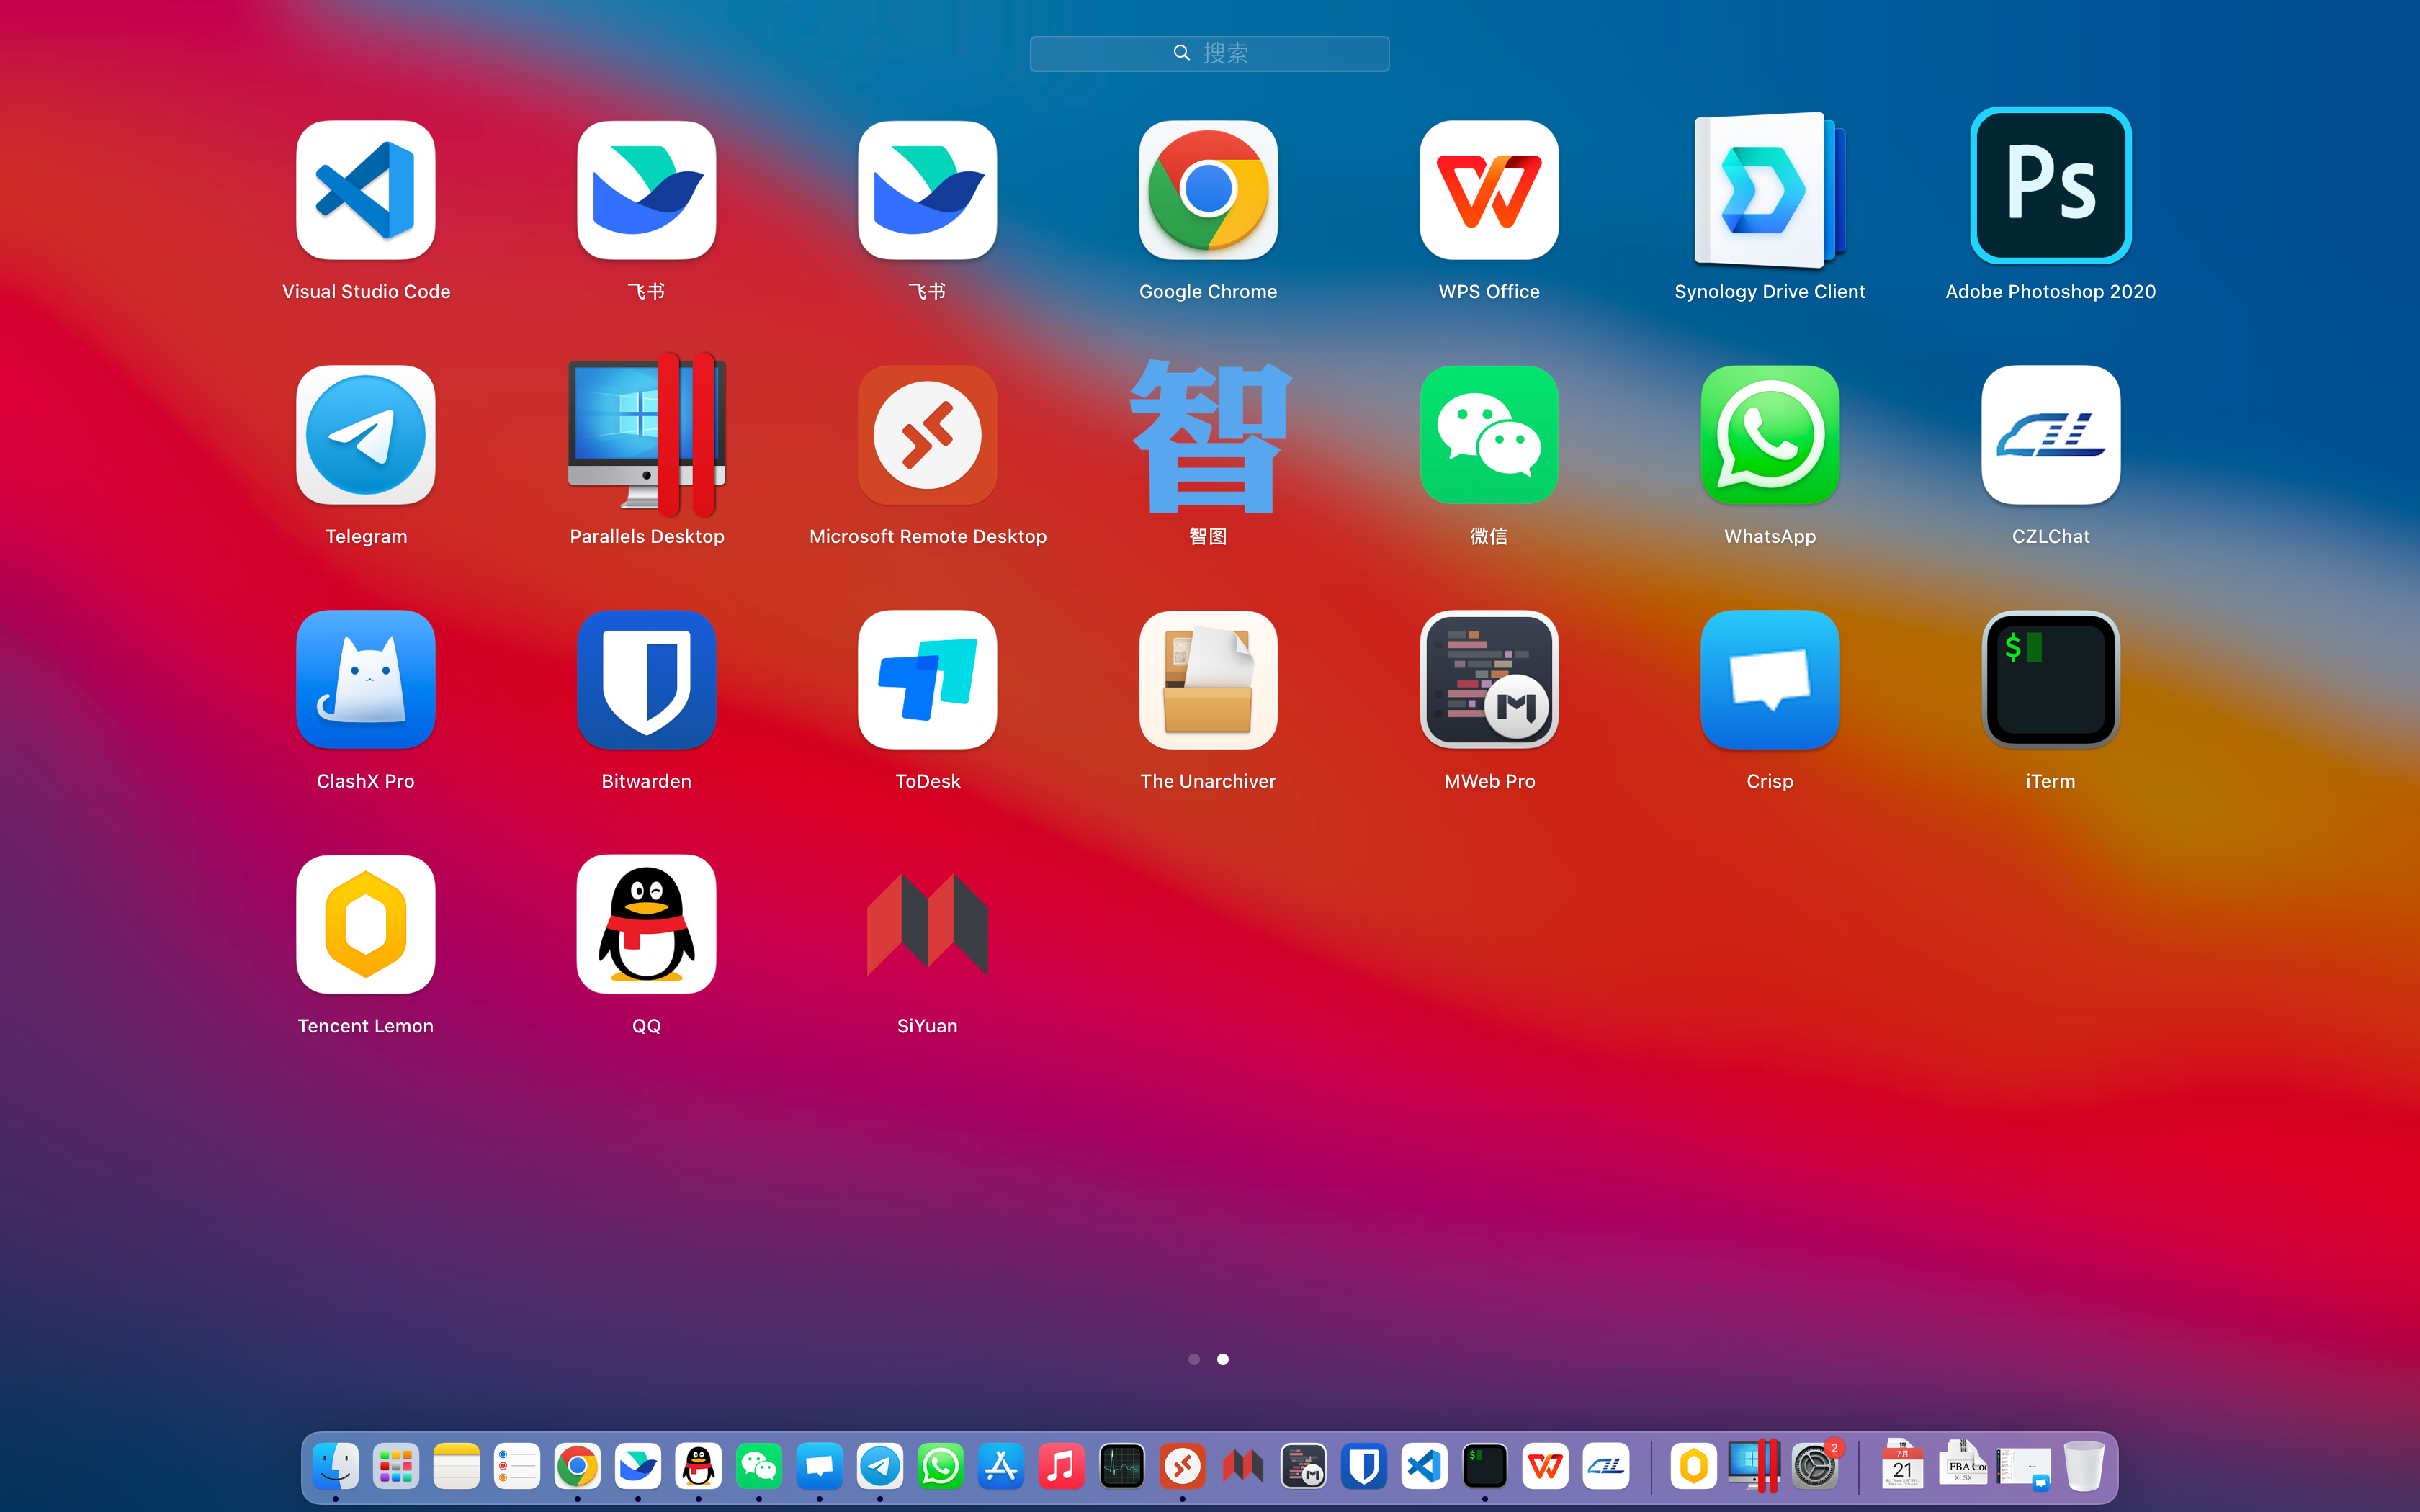
As you can see, the dock, apps, and files are all still there, including the system settings.
You may be asked to sign in to icloud again, but it may keep failing. If this happens, stop clicking Continue and press the power button directly. It should work after restarting.
After logging back in, I was even still signed in to Feishu and telegram. Pretty great.
Some apps may still have issues; you can uninstall and reinstall them.
FAQ
1.Why use Big Sur instead of the original Catalina?
Because 10.15 and earlier systems only support the Mac OS Extended format, Time Machine backups made on 11 and later cannot be restored on 10.15 or earlier.
2.Is the downgrade completely seamless?
Not entirely. Although most things are restored, you'll still need to configure system permissions and a few other settings again.
If you have other questions, you can join the telegram group on the right to contact me, or leave a comment on this post. I'll do my best to reply when I see it.
Last updated 2025-10-10
Comments 0