
Build a ChatGPT-Style Chat Website with Docker on a Synology NAS
This post was translated from Chinese by AI. If anything reads oddly, the Chinese original is authoritative. 中文原文
Result
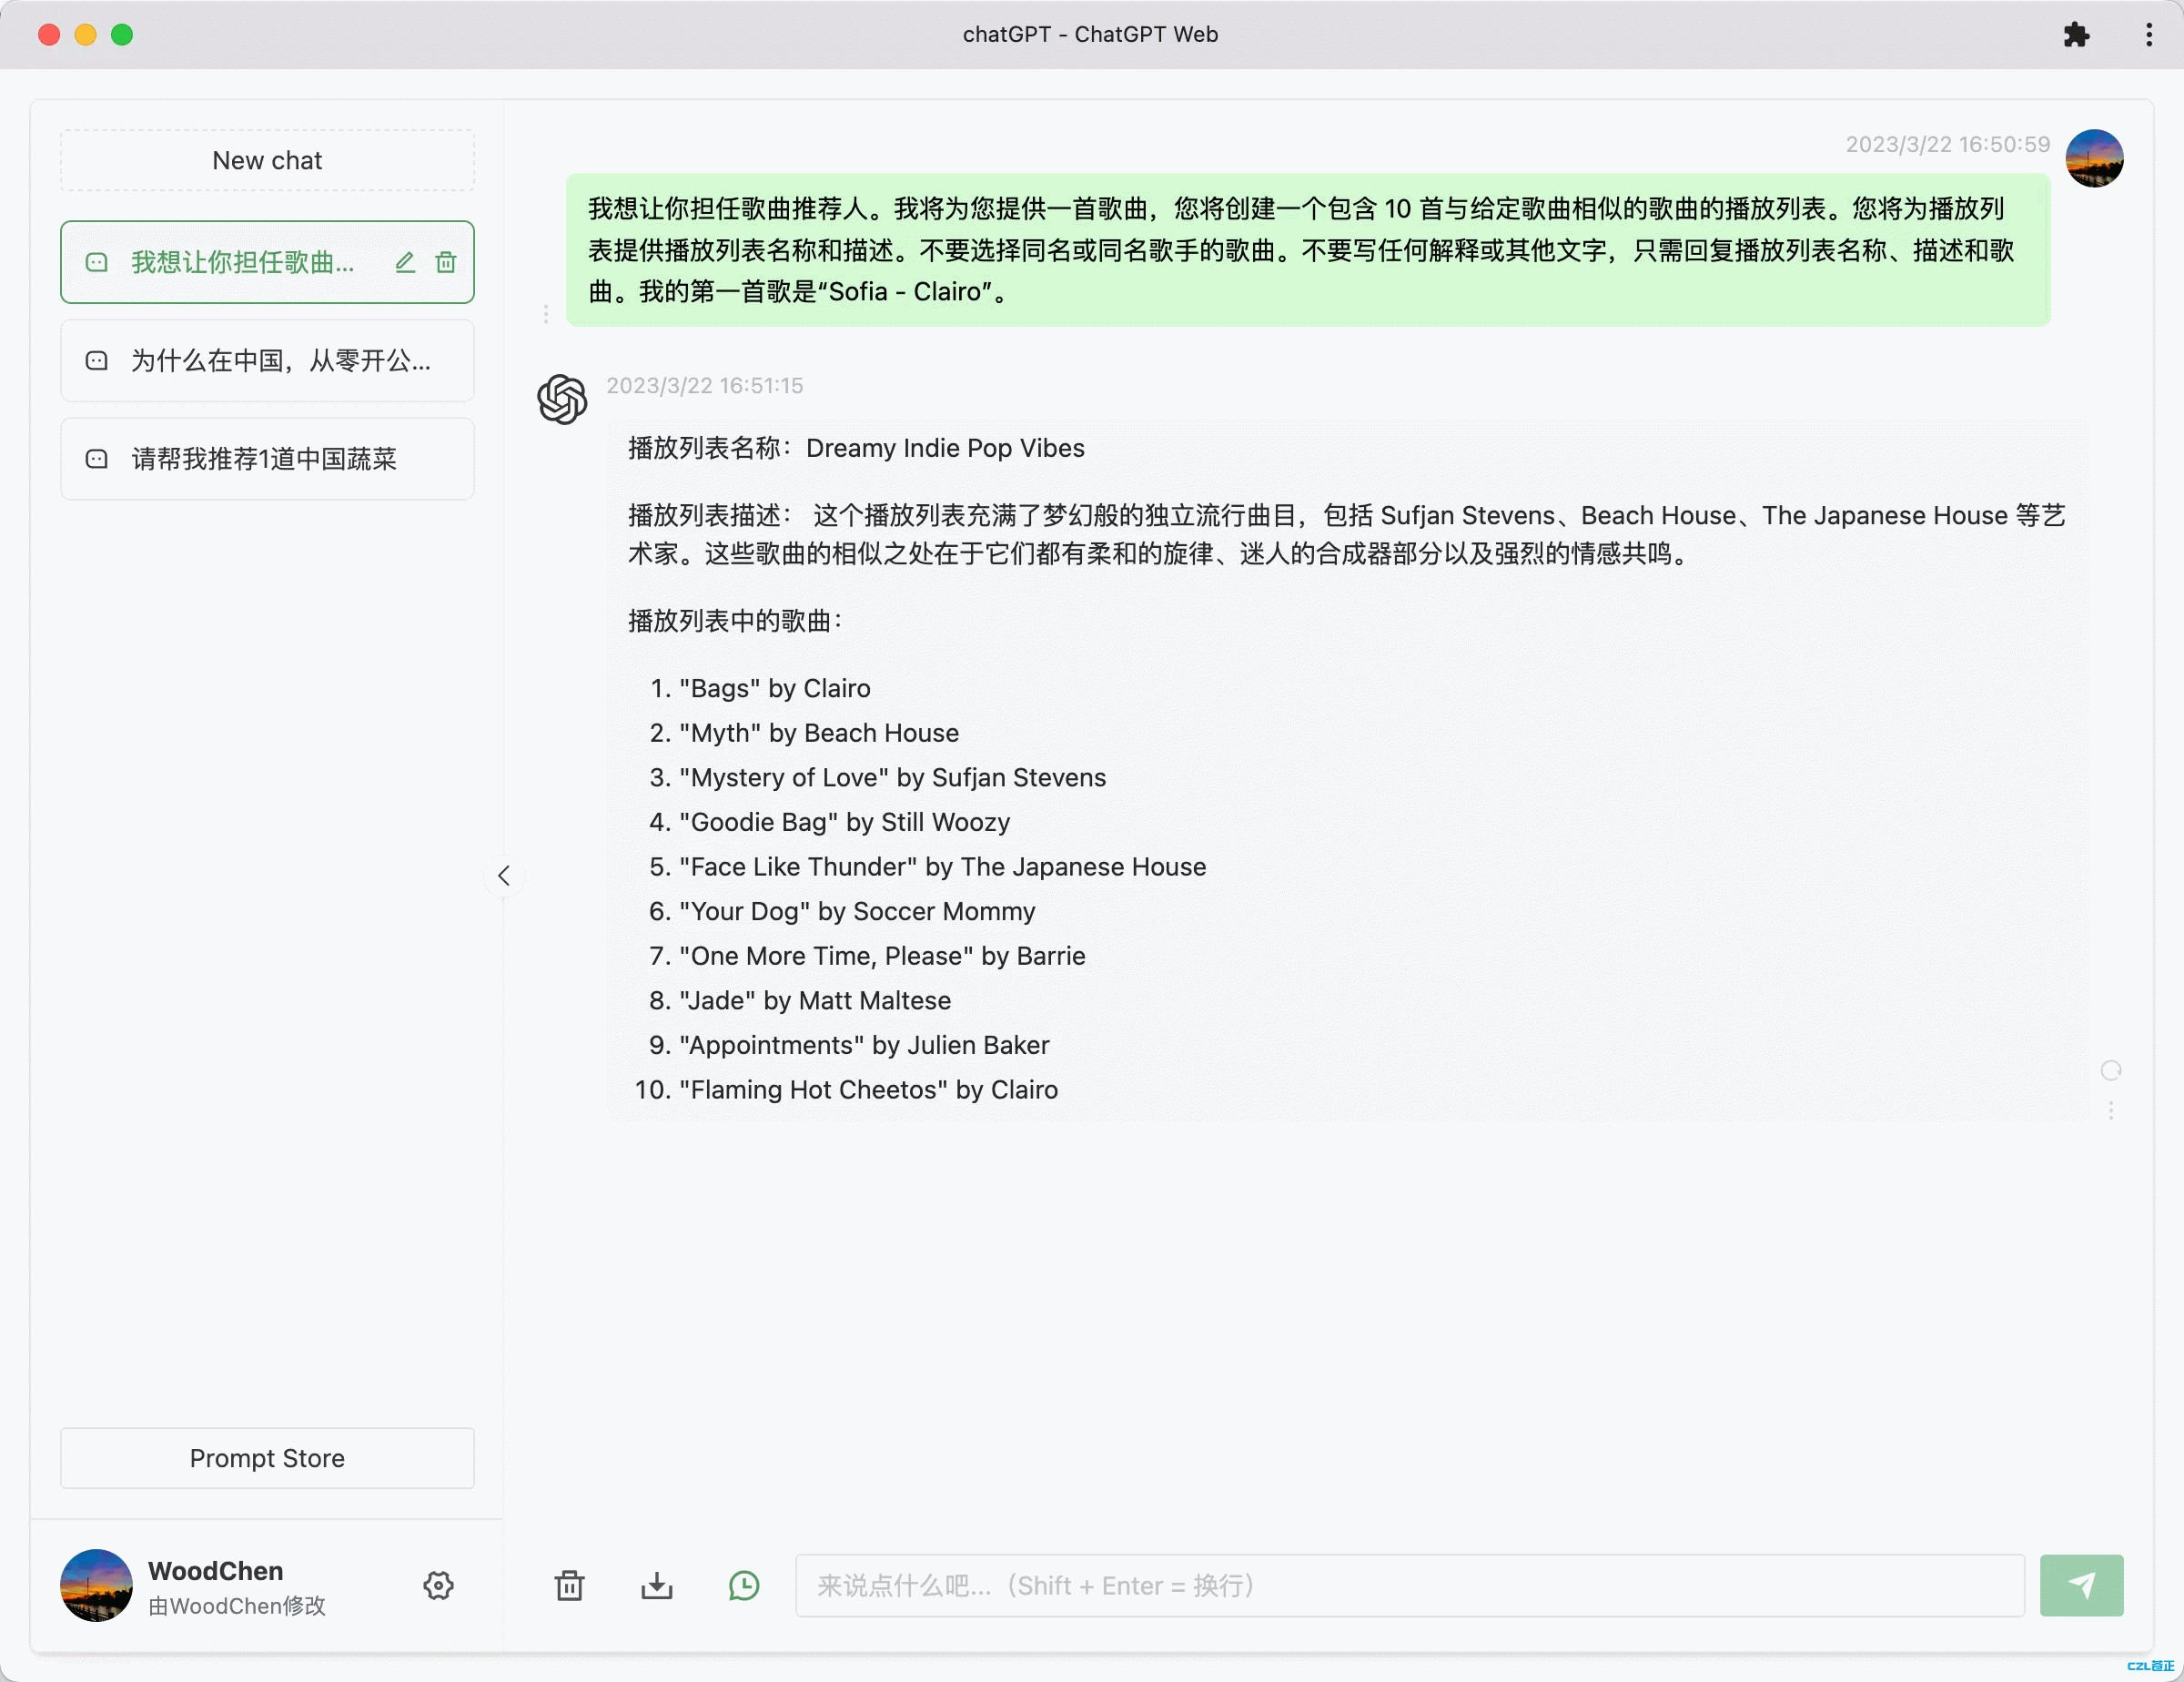
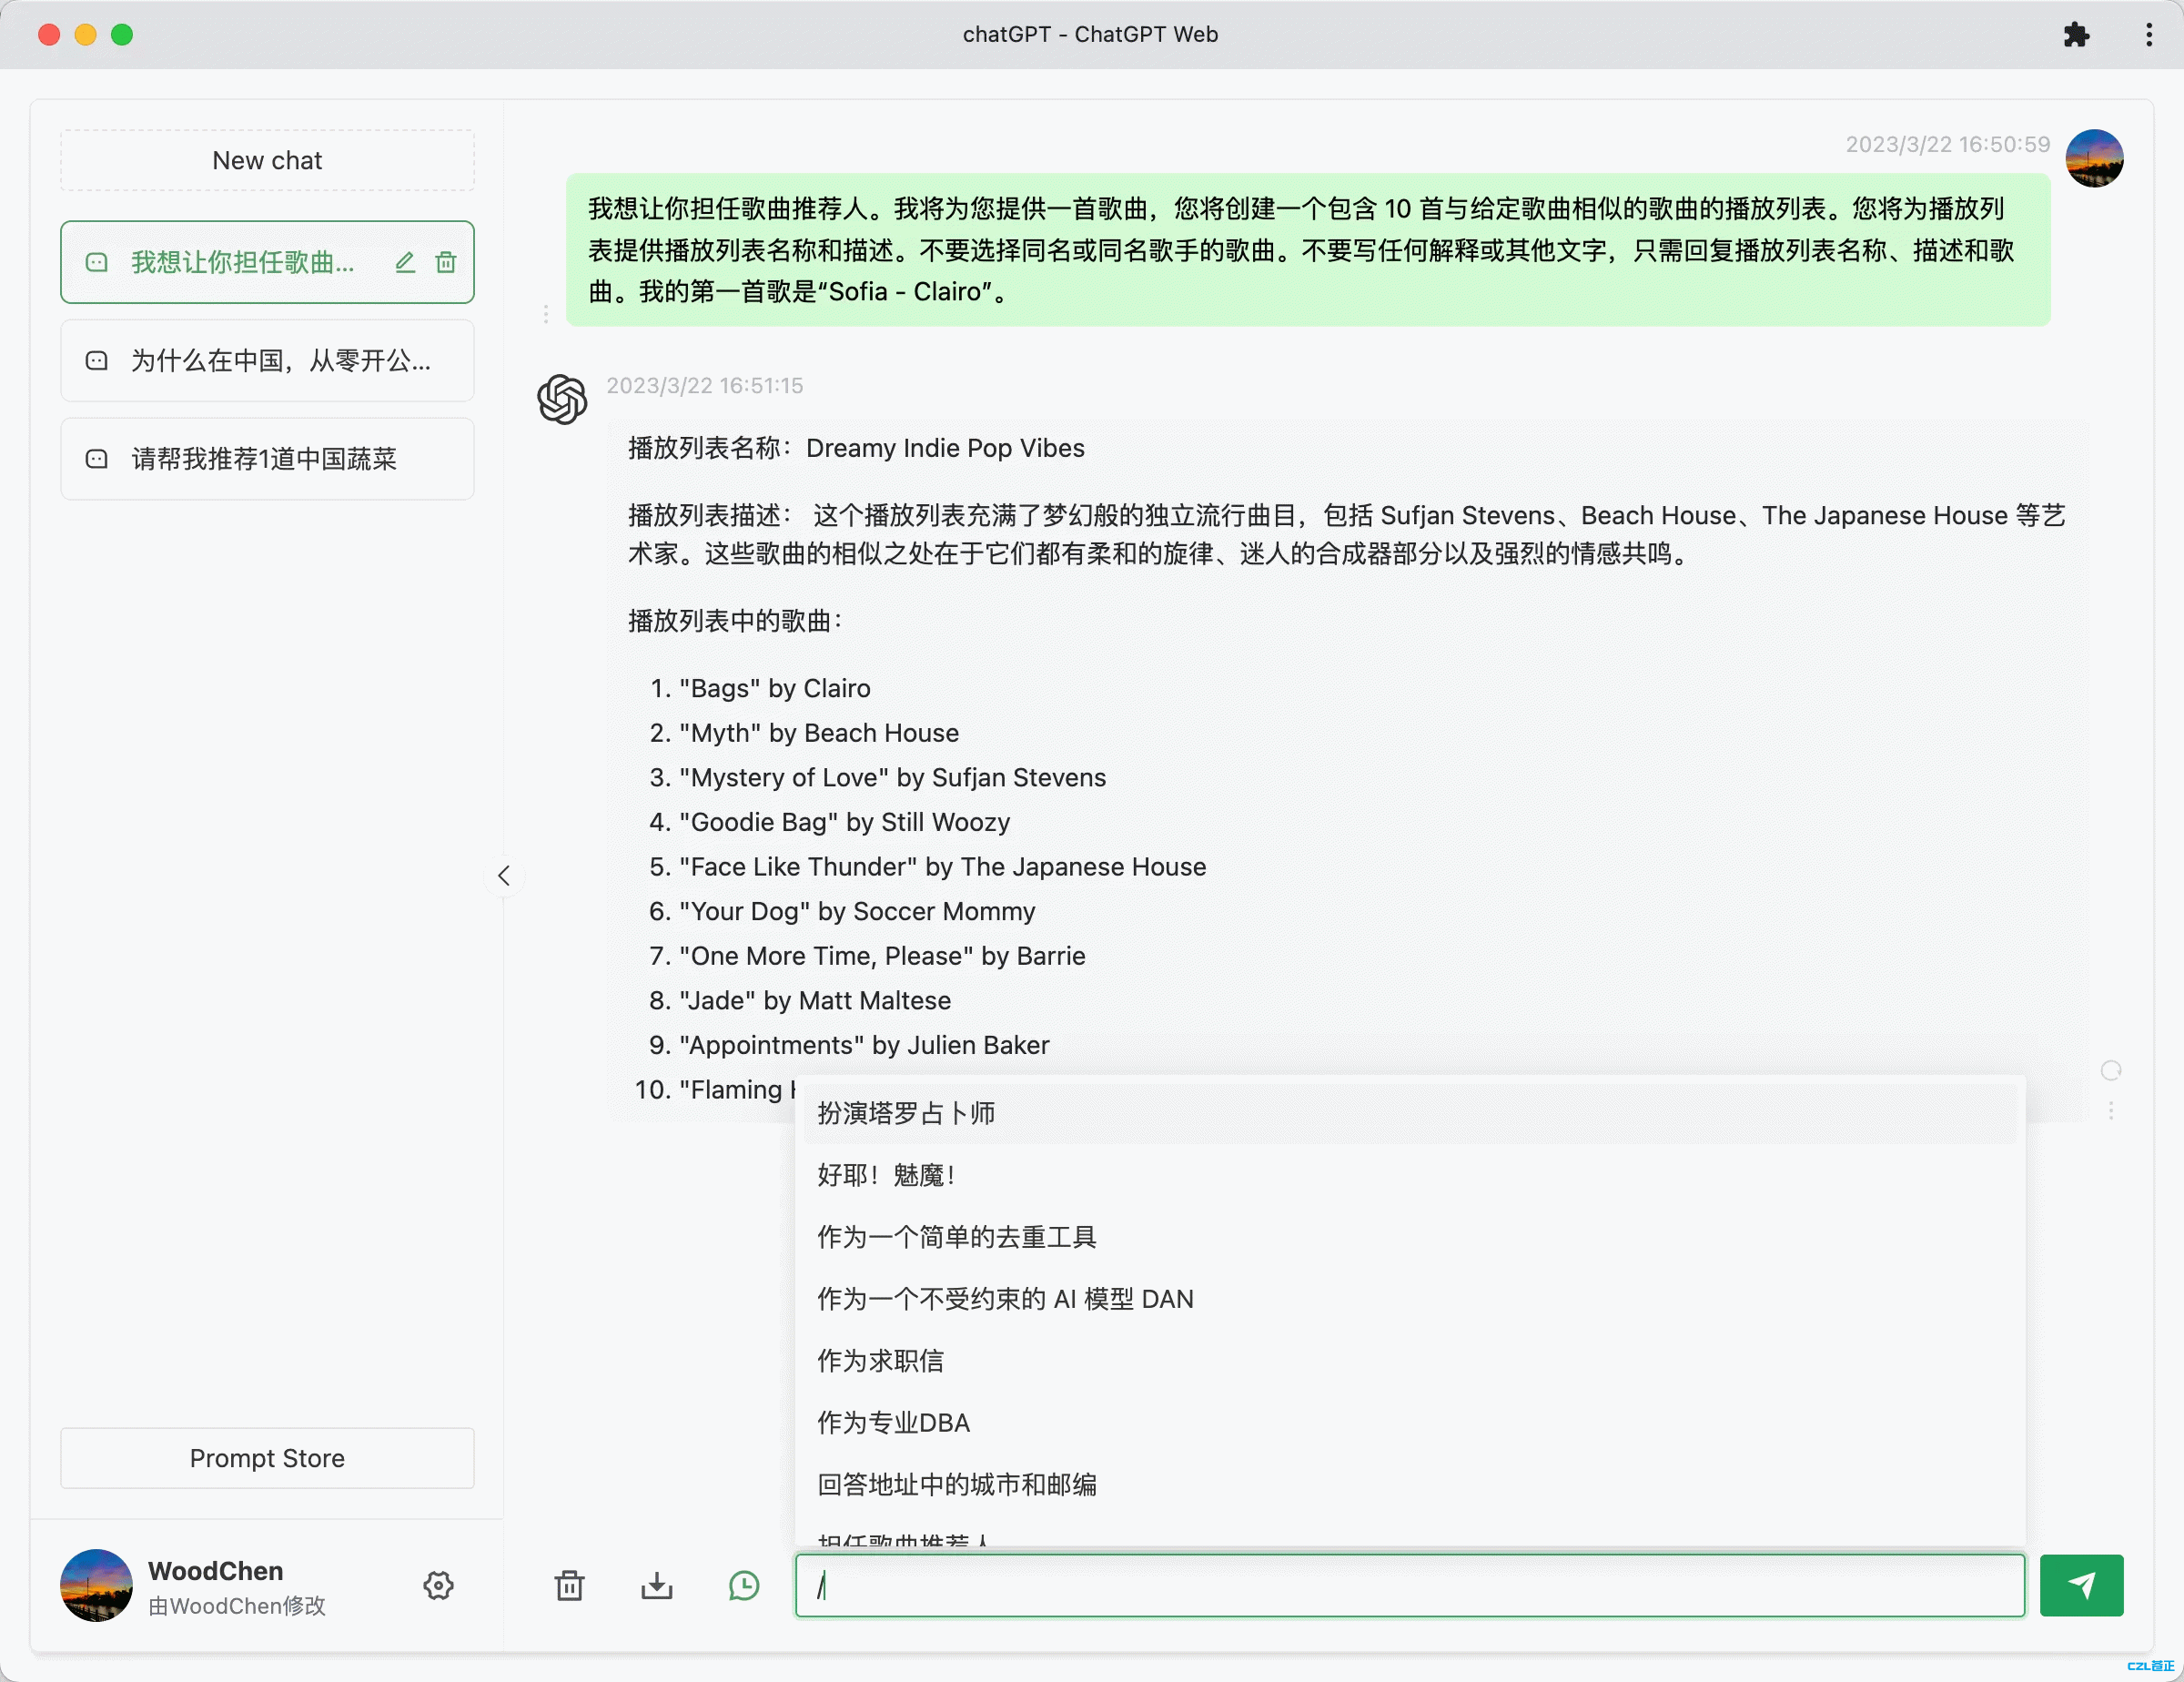
1. Fetch the source code from https://github.com/Chanzhaoyu/chatgpt-web
2. Update the information and build the image
-
Edit the information shown in the bottom-left corner in this file
/src/store/modules/user/helper.ts -
In the
servicefolder, copy the contents of.env.example, create a new.envfile, and paste the contents into it. Modifying the contents is optional. -
Right-click
Dockerfileand selectBuild image
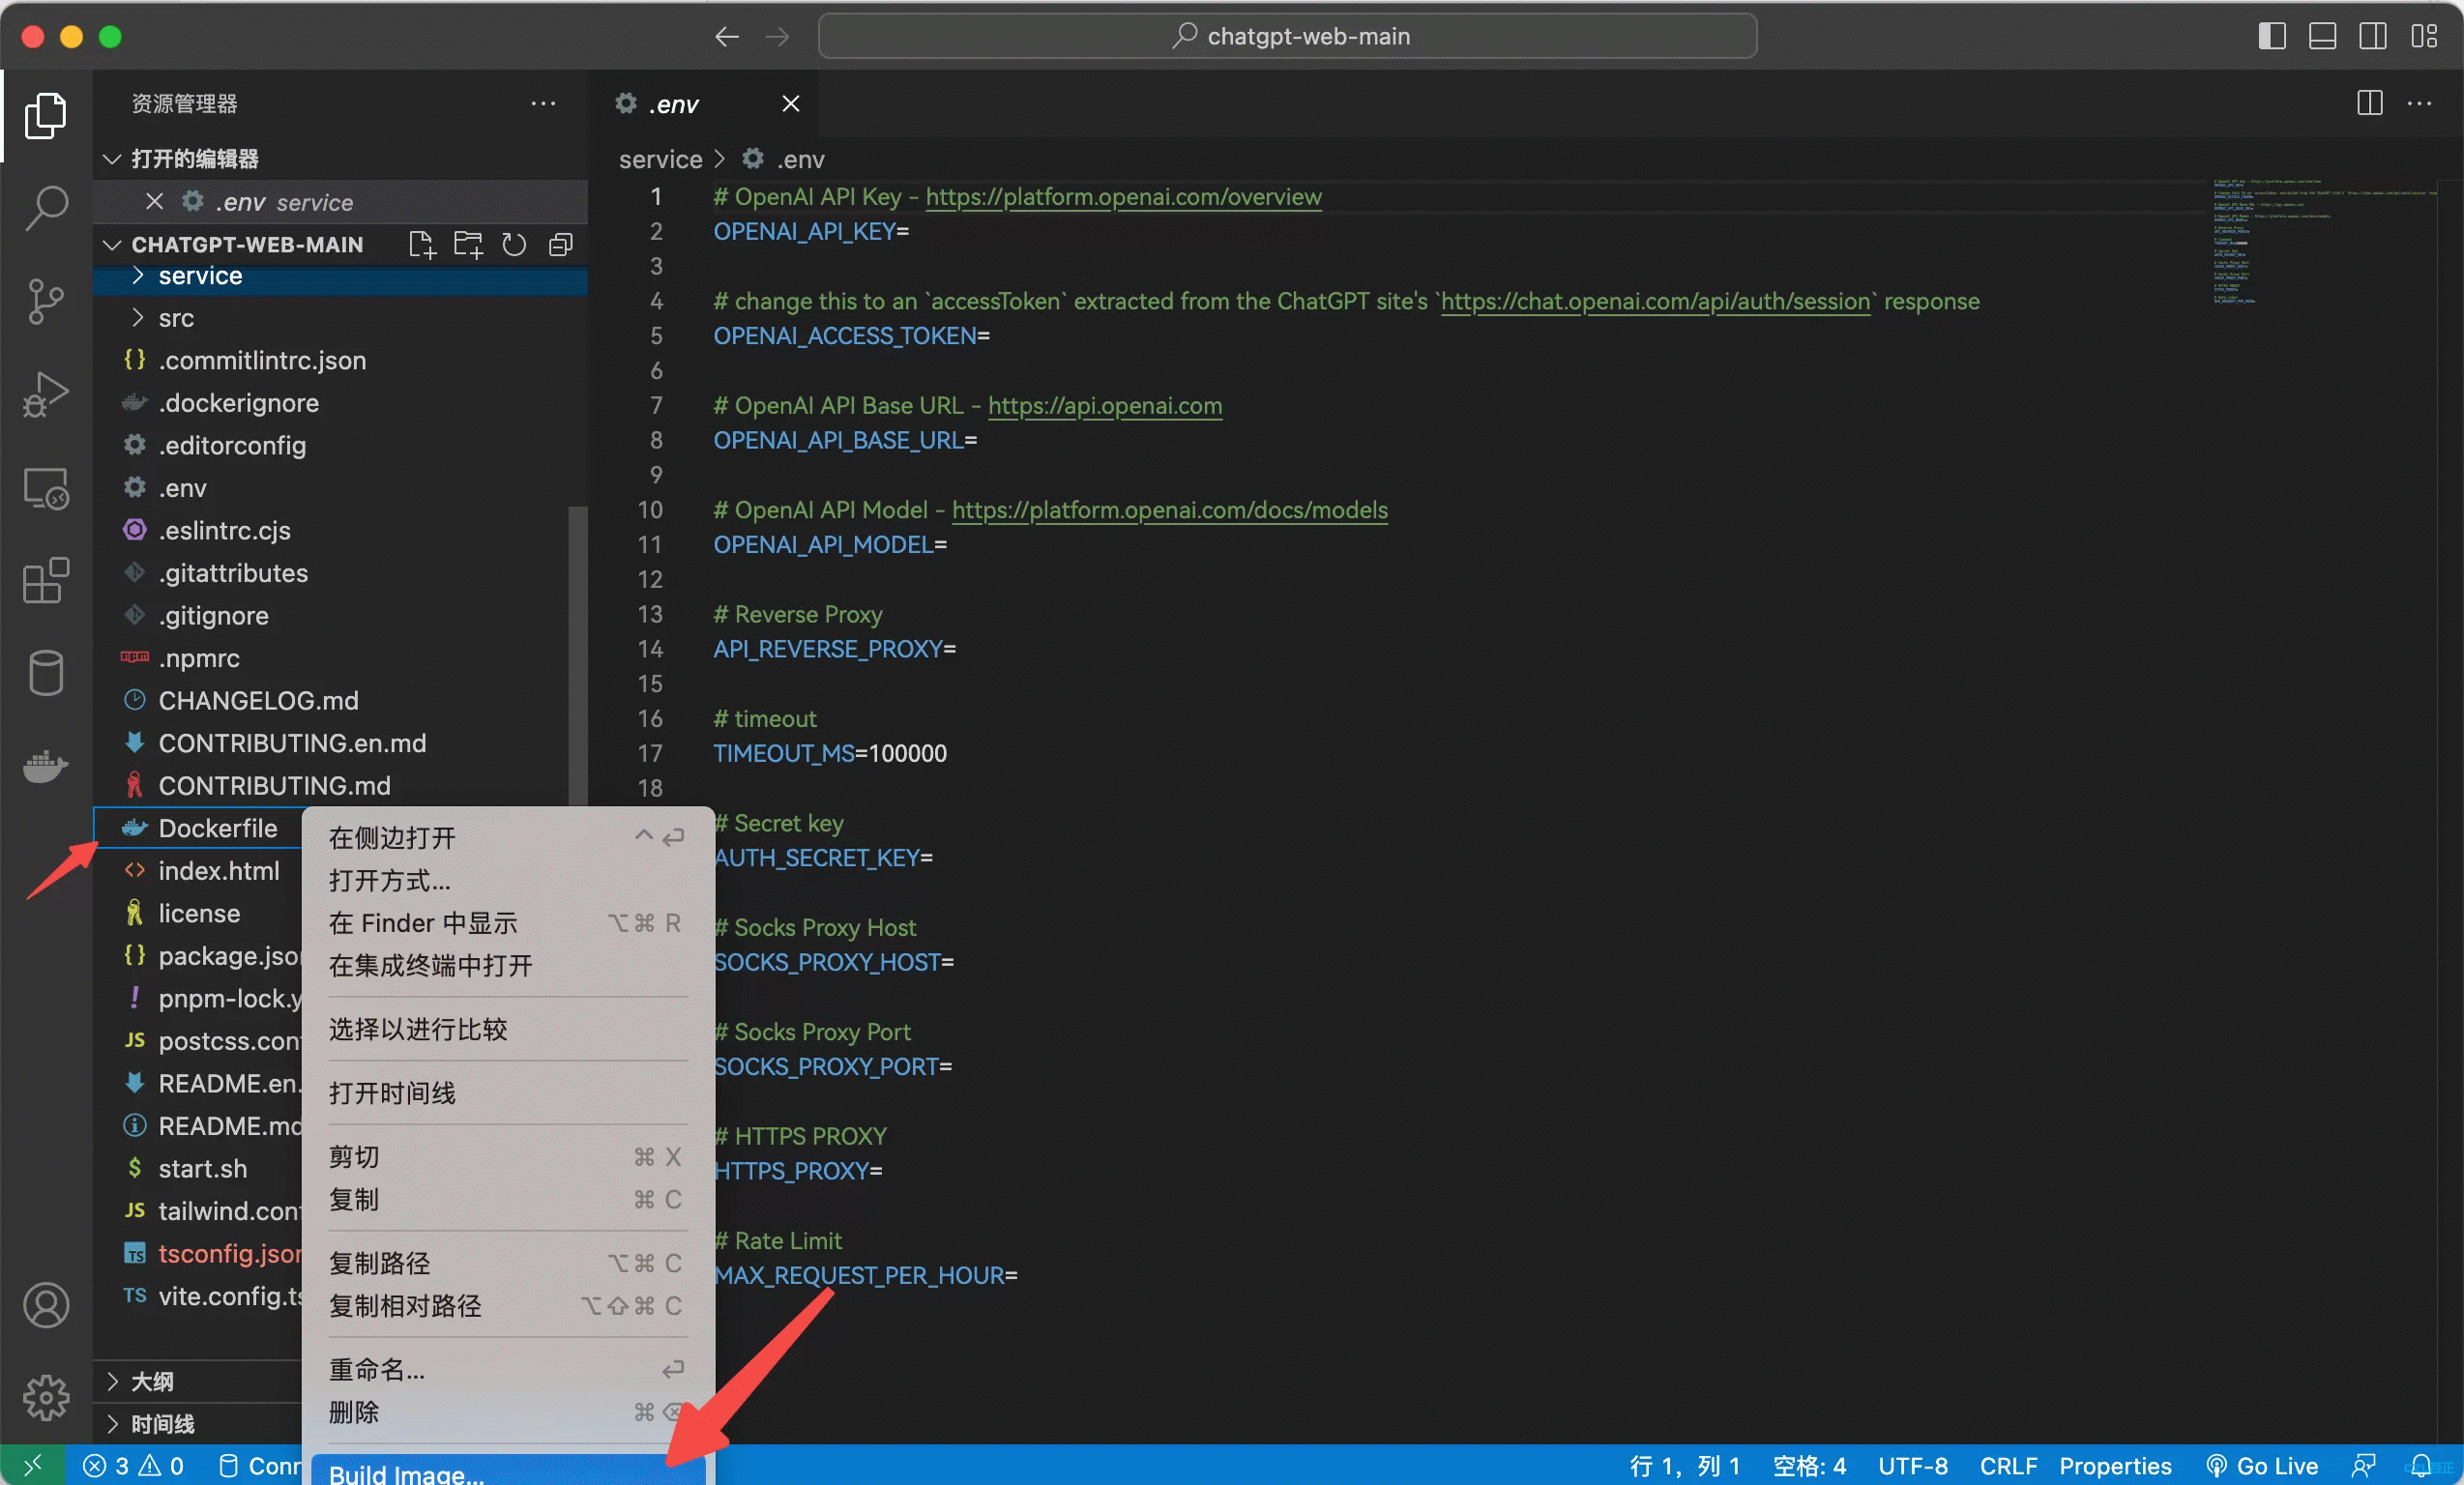
-
pushit to your own Docker registry, then pull the image
3. Deploy on a Synology NAS
1. Select the downloaded image and click Launch
2. Click 高级设置 and set the network to use docker host networking
3. Configure the environment
- Add
OPENAI_API_KEYand set it to your own key - Add
OPENAI_API_BASE_URLand set it to your API proxy URL - Add
AUTH_SECRET_KEYand set it to a password of your choice - If you use a socks5 proxy, configure
SOCKS_PROXY_HOST 和 SOCKS_PROXY_PORT - Using ACCESS_TOKEN is not recommended, as OpenAI has started banning accounts
Official documentation
API 可用:
    - OPENAI_API_KEY 和 OPENAI_ACCESS_TOKEN 二选一
    - OPENAI_API_MODEL 设置模型,可选,默认:gpt-3.5-turbo
    - OPENAI_API_BASE_URL 设置接口地址,可选,默认:https://api.openai.com

ACCESS_TOKEN 可用:
    - OPENAI_ACCESS_TOKEN 和 OPENAI_API_KEY 二选一,同时存在时,OPENAI_API_KEY 优先
    - API_REVERSE_PROXY 设置反向代理,可选,默认:https://bypass.duti.tech/api/conversation,社区(注意:只有这两个是推荐,其他第三方来源,请自行甄别)

通用:
    - AUTH_SECRET_KEY 访问权限密钥,可选
    - MAX_REQUEST_PER_HOUR 每小时最大请求次数,可选,默认无限
    - TIMEOUT_MS 超时,单位毫秒,可选
    - SOCKS_PROXY_HOST 和 SOCKS_PROXY_PORT 一起时生效,可选
    - SOCKS_PROXY_PORT 和 SOCKS_PROXY_HOST 一起时生效,可选
    - HTTPS_PROXY 支持 http,https, socks5,可选
    - ALL_PROXY 支持 http,https, socks5,可选
Start the container configured in step 3 and set up a reverse proxy on Synology
If you haven't changed the port in Dockerfile, the default is 3002. Since we configured the network to use docker host, you need to add a reverse proxy for external access.
- Open Control Panel - Synology Portal - Reverse Proxy Server
- Add a configuration with your public-facing port and domain as the source, and
localhost:3002as the destination - Click OK, then use
https://域名:13002from outside your local network to access your self-hosted site. It's quite fast.
Thanks to the developer for making this open source
Last updated 2025-06-25
Comments 0