
Sync a github Project to cnb and Build a docker Image for Fast Pulls in China
This post was translated from Chinese by AI. If anything reads oddly, the Chinese original is authoritative. 中文原文
Sync the repository to cnb through github actions, then build the docker image on cnb. This makes pulls fast on machines in China: for an image of just over 30M, the entire command takes about 10s.
With this tutorial, you only need to configure things once; all subsequent code syncing and builds are automatic. Your code is stored on both github and cnb, with github serving as the primary backup to prevent code loss if something happens to cnb. This is a fairly reliable setup.

CNB Setup
Create a cnb Account First
You can sign in with WeChat.
After signing in, you can create an organization. Unlike github, which uses your username as your personal namespace by default, you can choose a custom name here.
Note, however, that you can currently only add two organizations. For short names, you also need to verify a related domain to prove that you are associated with it. Domains with suffixes such as com, cn, org, and net are all accepted.
Create a cnb Repository
Use the same name as on github. No need to initialize it after creating it.
Create a cnb Token
https://cnb.cool/profile/token
Configure it as shown below.
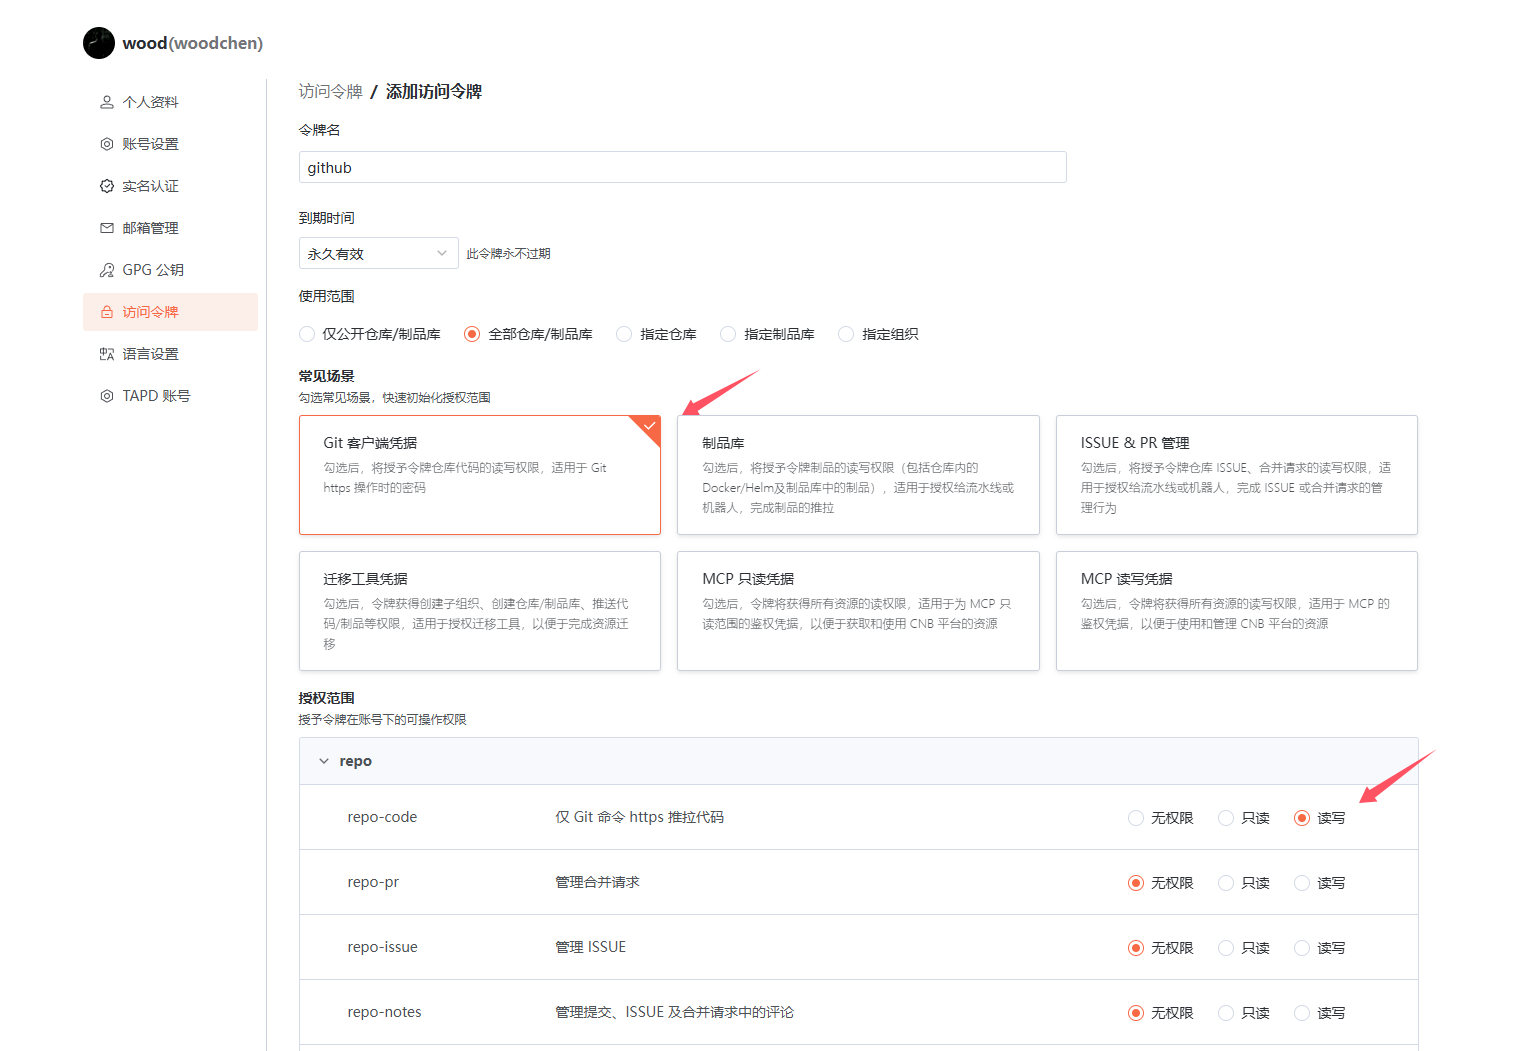
Save the token.
Github Setup
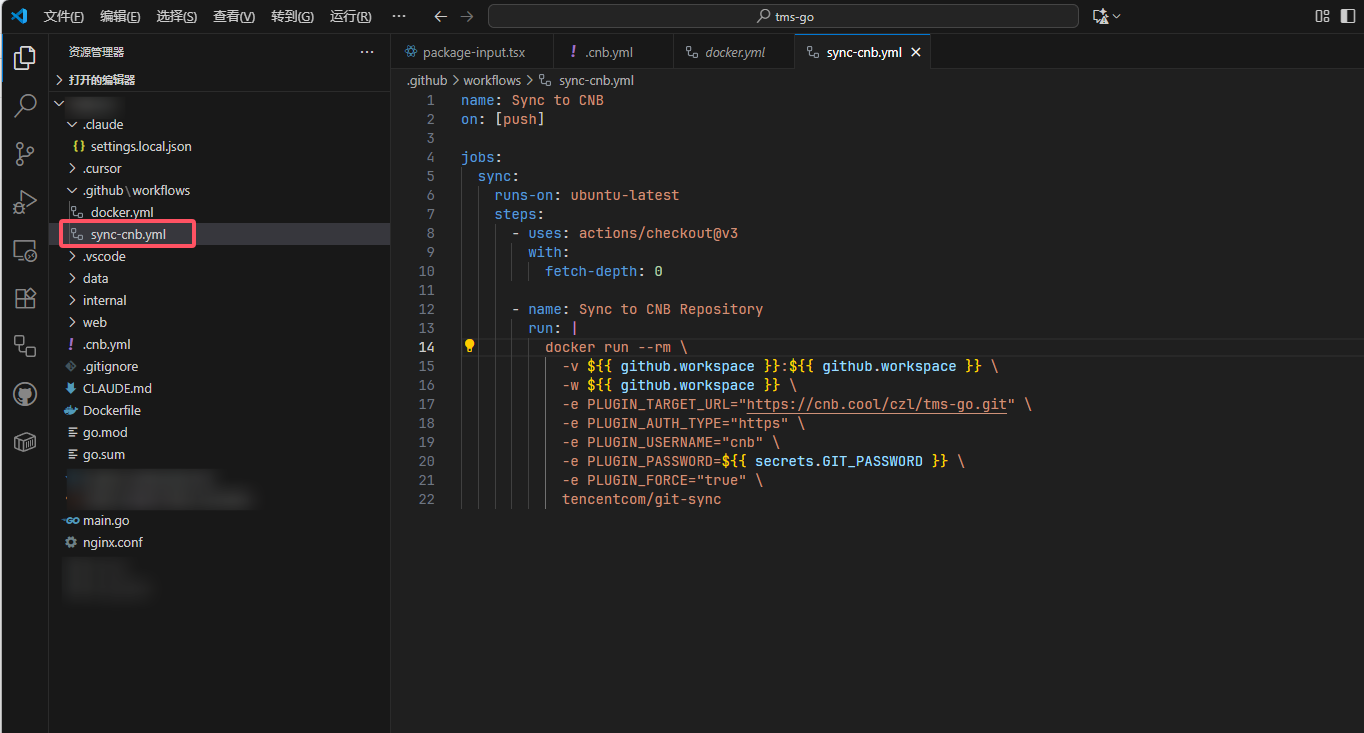
Add a github actions Workflow on github
I named mine sync-cnb.yml.
name: Sync to CNB
on: [push]

jobs:
  sync:
    runs-on: ubuntu-latest
    steps:
      - uses: actions/checkout@v3
        with:
          fetch-depth: 0

      - name: Sync to CNB Repository
        run: |
          docker run --rm \
            -v ${{ github.workspace }}:${{ github.workspace }} \
            -w ${{ github.workspace }} \
            -e PLUGIN_TARGET_URL="https://cnb.cool/组织名/仓库名.git" \
            -e PLUGIN_AUTH_TYPE="https" \
            -e PLUGIN_USERNAME="cnb" \
            -e PLUGIN_PASSWORD=${{ secrets.GIT_PASSWORD }} \
            -e PLUGIN_FORCE="true" \
            tencentcom/git-sync
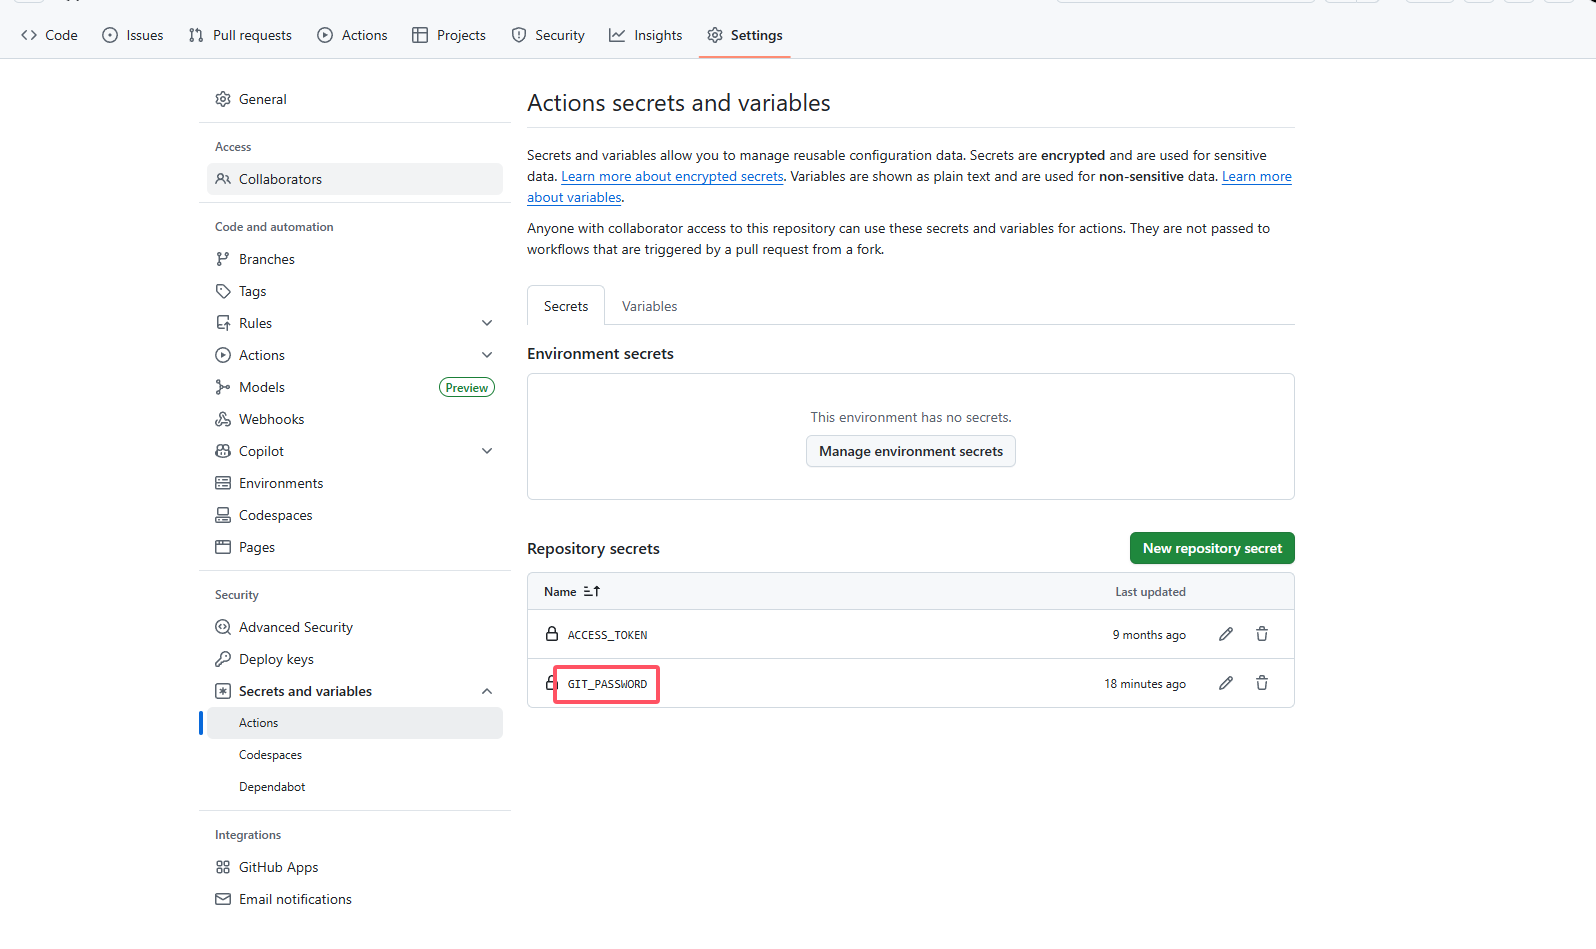
Add a Secret on github
Use the token generated on cnb above.
Name: GIT_PASSWORD
Value: {token}
Local Setup
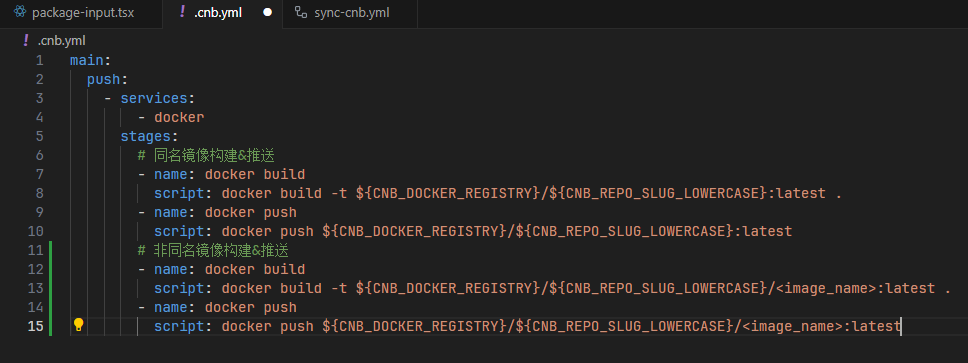
Create a .cnb.yml File
This tells cnb how to build the image.
Choose either same-name or different-name images. I usually use the same name.
main:
  push:
    - services:
        - docker
      stages:
        # Build & push an image with the same name
        - name: docker build
          script: docker build -t ${CNB_DOCKER_REGISTRY}/${CNB_REPO_SLUG_LOWERCASE}:latest .
        - name: docker push
          script: docker push ${CNB_DOCKER_REGISTRY}/${CNB_REPO_SLUG_LOWERCASE}:latest
        # Build & push an image with a different name
        - name: docker build
          script: docker build -t ${CNB_DOCKER_REGISTRY}/${CNB_REPO_SLUG_LOWERCASE}/<image_name>:latest .
        - name: docker push
          script: docker push ${CNB_DOCKER_REGISTRY}/${CNB_REPO_SLUG_LOWERCASE}/<image_name>:latest
Push the Code to github
Push from your local machine
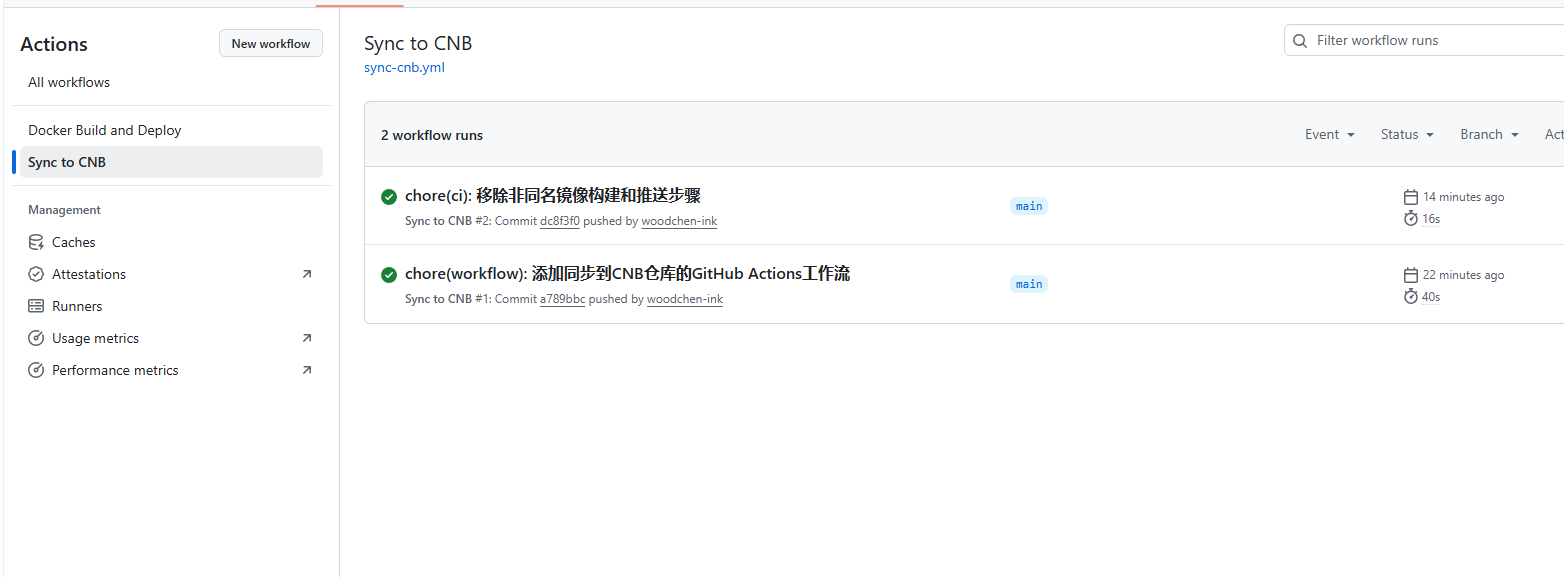
⬇️sync-cnb.yml runs
⬇️
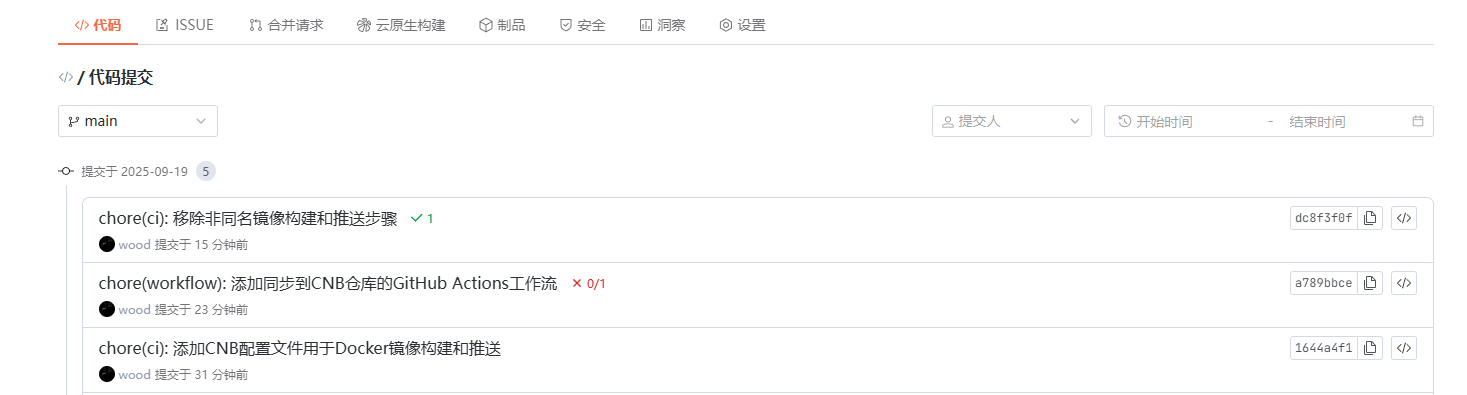
Code is pushed to cnb
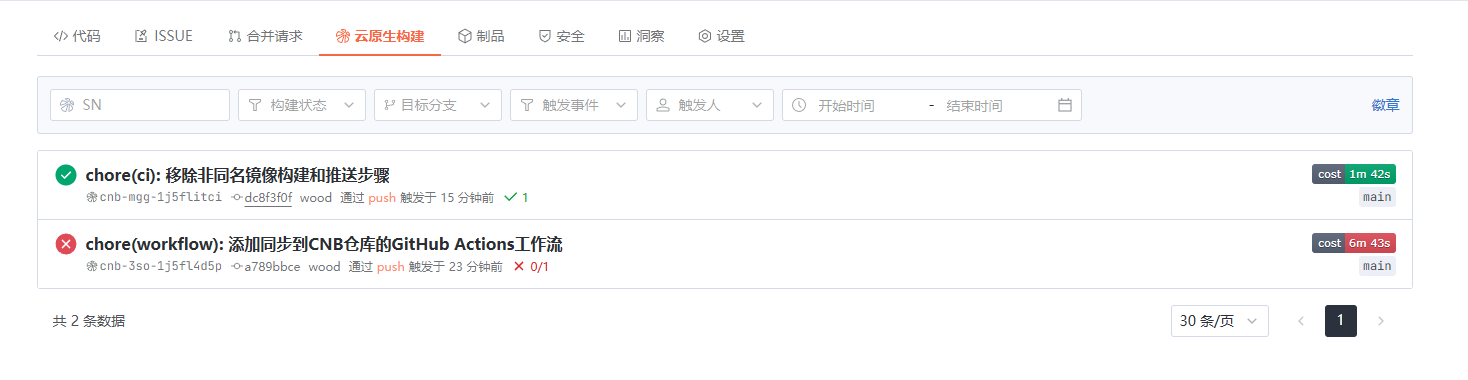
⬇️
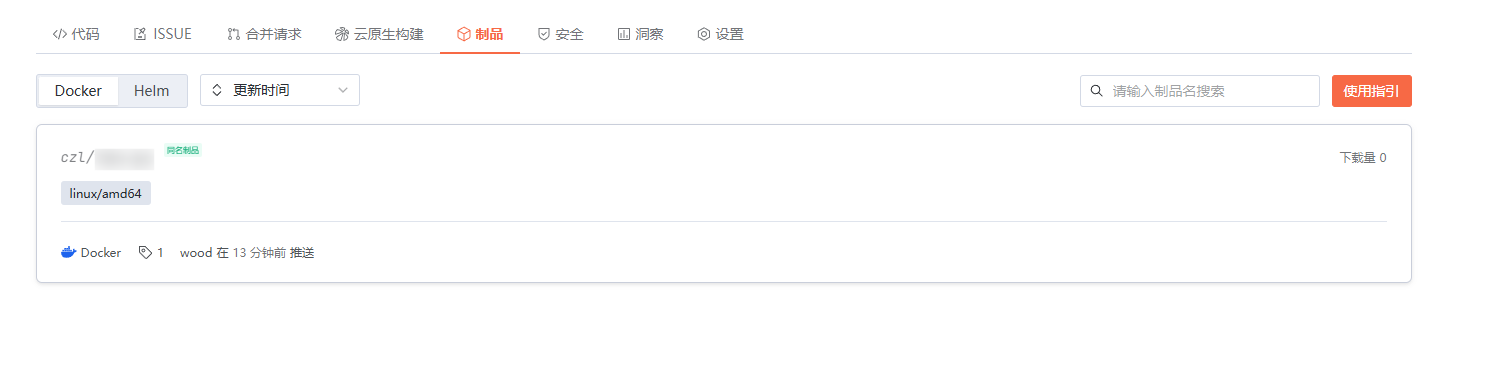
cnb builds the docker image
Pull the cnb docker Image
Create a Token (Private Repositories)
Pulling is straightforward too. My repository is private, so I created a new token with full permissions.

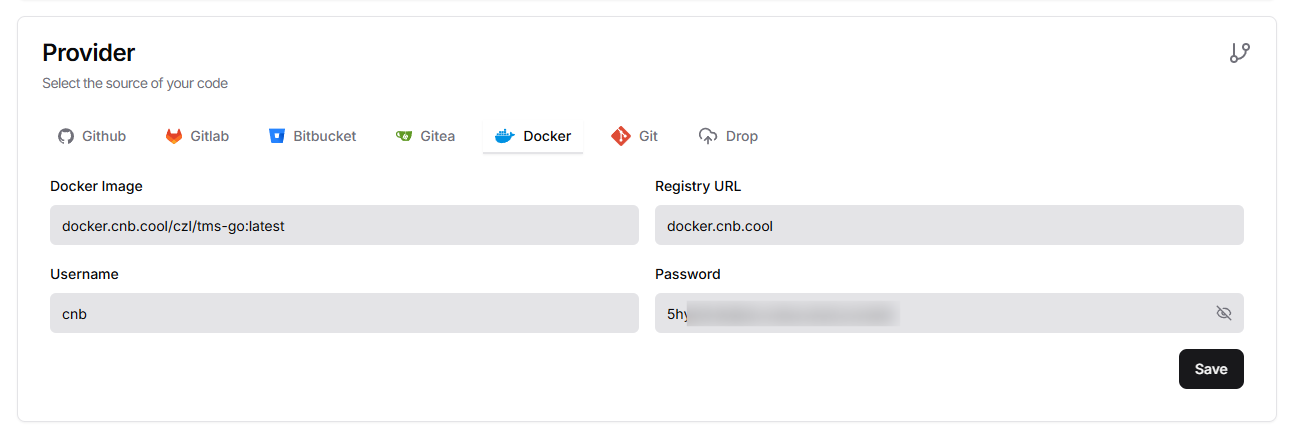
Configure the Pull
Just configure it as shown below.
Comments 0