
23.10 Update: The Most Detailed Guide to Creating a Virtual Credit Card with Binance/OKX + NobePay/OneKey and Linking It to Openai/Chatgpt plus for Paid Services or PLUS
This post was translated from Chinese by AI. If anything reads oddly, the Chinese original is authoritative. 中文原文
January 2025 update: Due to Singapore's new financial regulations, OCBC has suspended overseas account opening. For now, consider a wise virtual card (https://wise.com/invite/dic/wuc37); search on google for details. Other virtual cards charge excessive fees, so I don't recommend them.
November 2024 update: The onekey virtual card service has shut down, and virtual cards can easily lead to account bans. If you have a passport, I recommend getting an OCBC physical card yourself. This card won't cause account bans or risk flags, and payments are fee-free.
See this post for instructions: https://www.sunai.net/t/topic/29
If you only need light API usage, try oapi.czl.net
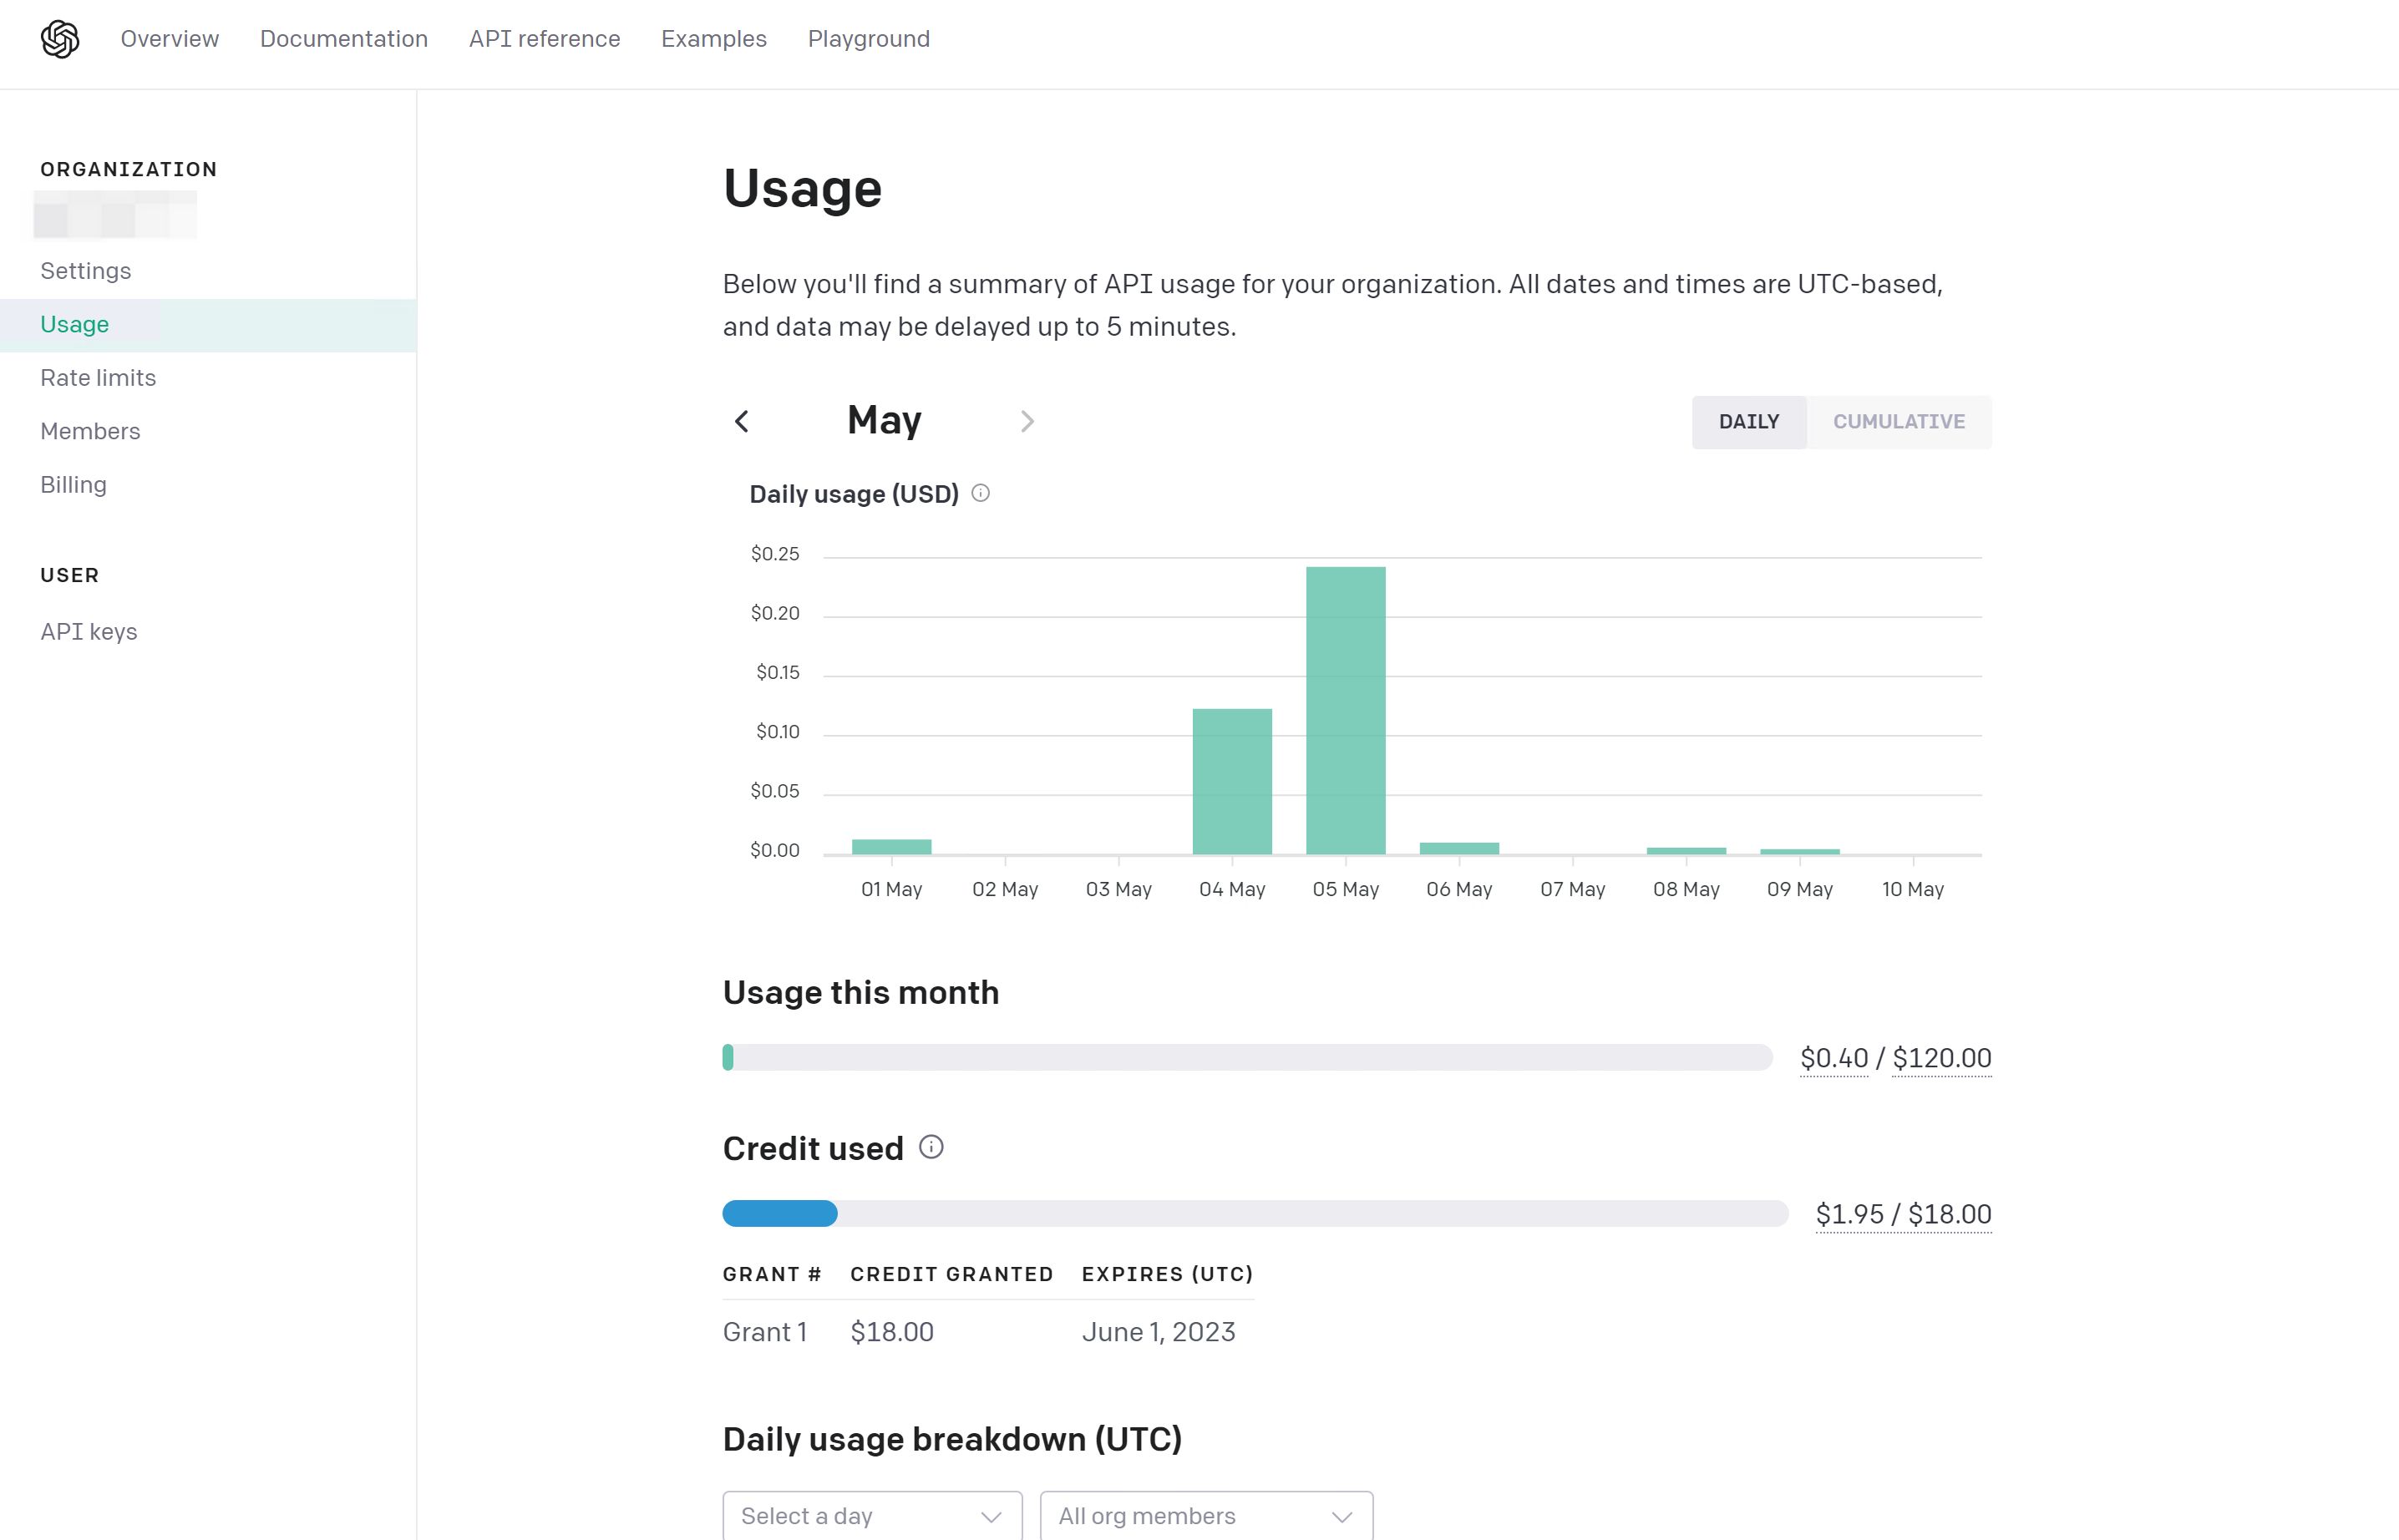
This tutorial documents what I actually did. I didn't subscribe to plus; I only linked a card, mainly for future use and to remove the limit of 3 questions per minute.
1.Register with Binance/OKX
Binance
Link: https://accounts.binance.com/register?ref=726536205
Referral code: 726536205
If you register through this link or enter the referral code, I receive a commission, and you get a discount on trading fees. Thank you.
OKX (easier, recommended)
Link: https://www.cnouyi.reisen/join/61425244
Referral code: 61425244
The tutorial below uses Binance; the process is the same for OKX
Binance network requirements: Access it from a Hong Kong/Taiwan IP. Mainland China IPs won't work (the site is inaccessible), and neither will US IPs (I tried a US node myself without success; I suspect non-Chinese regions won't work because of currency restrictions and bans).
OKX network requirements: Any IP outside mainland China will do.
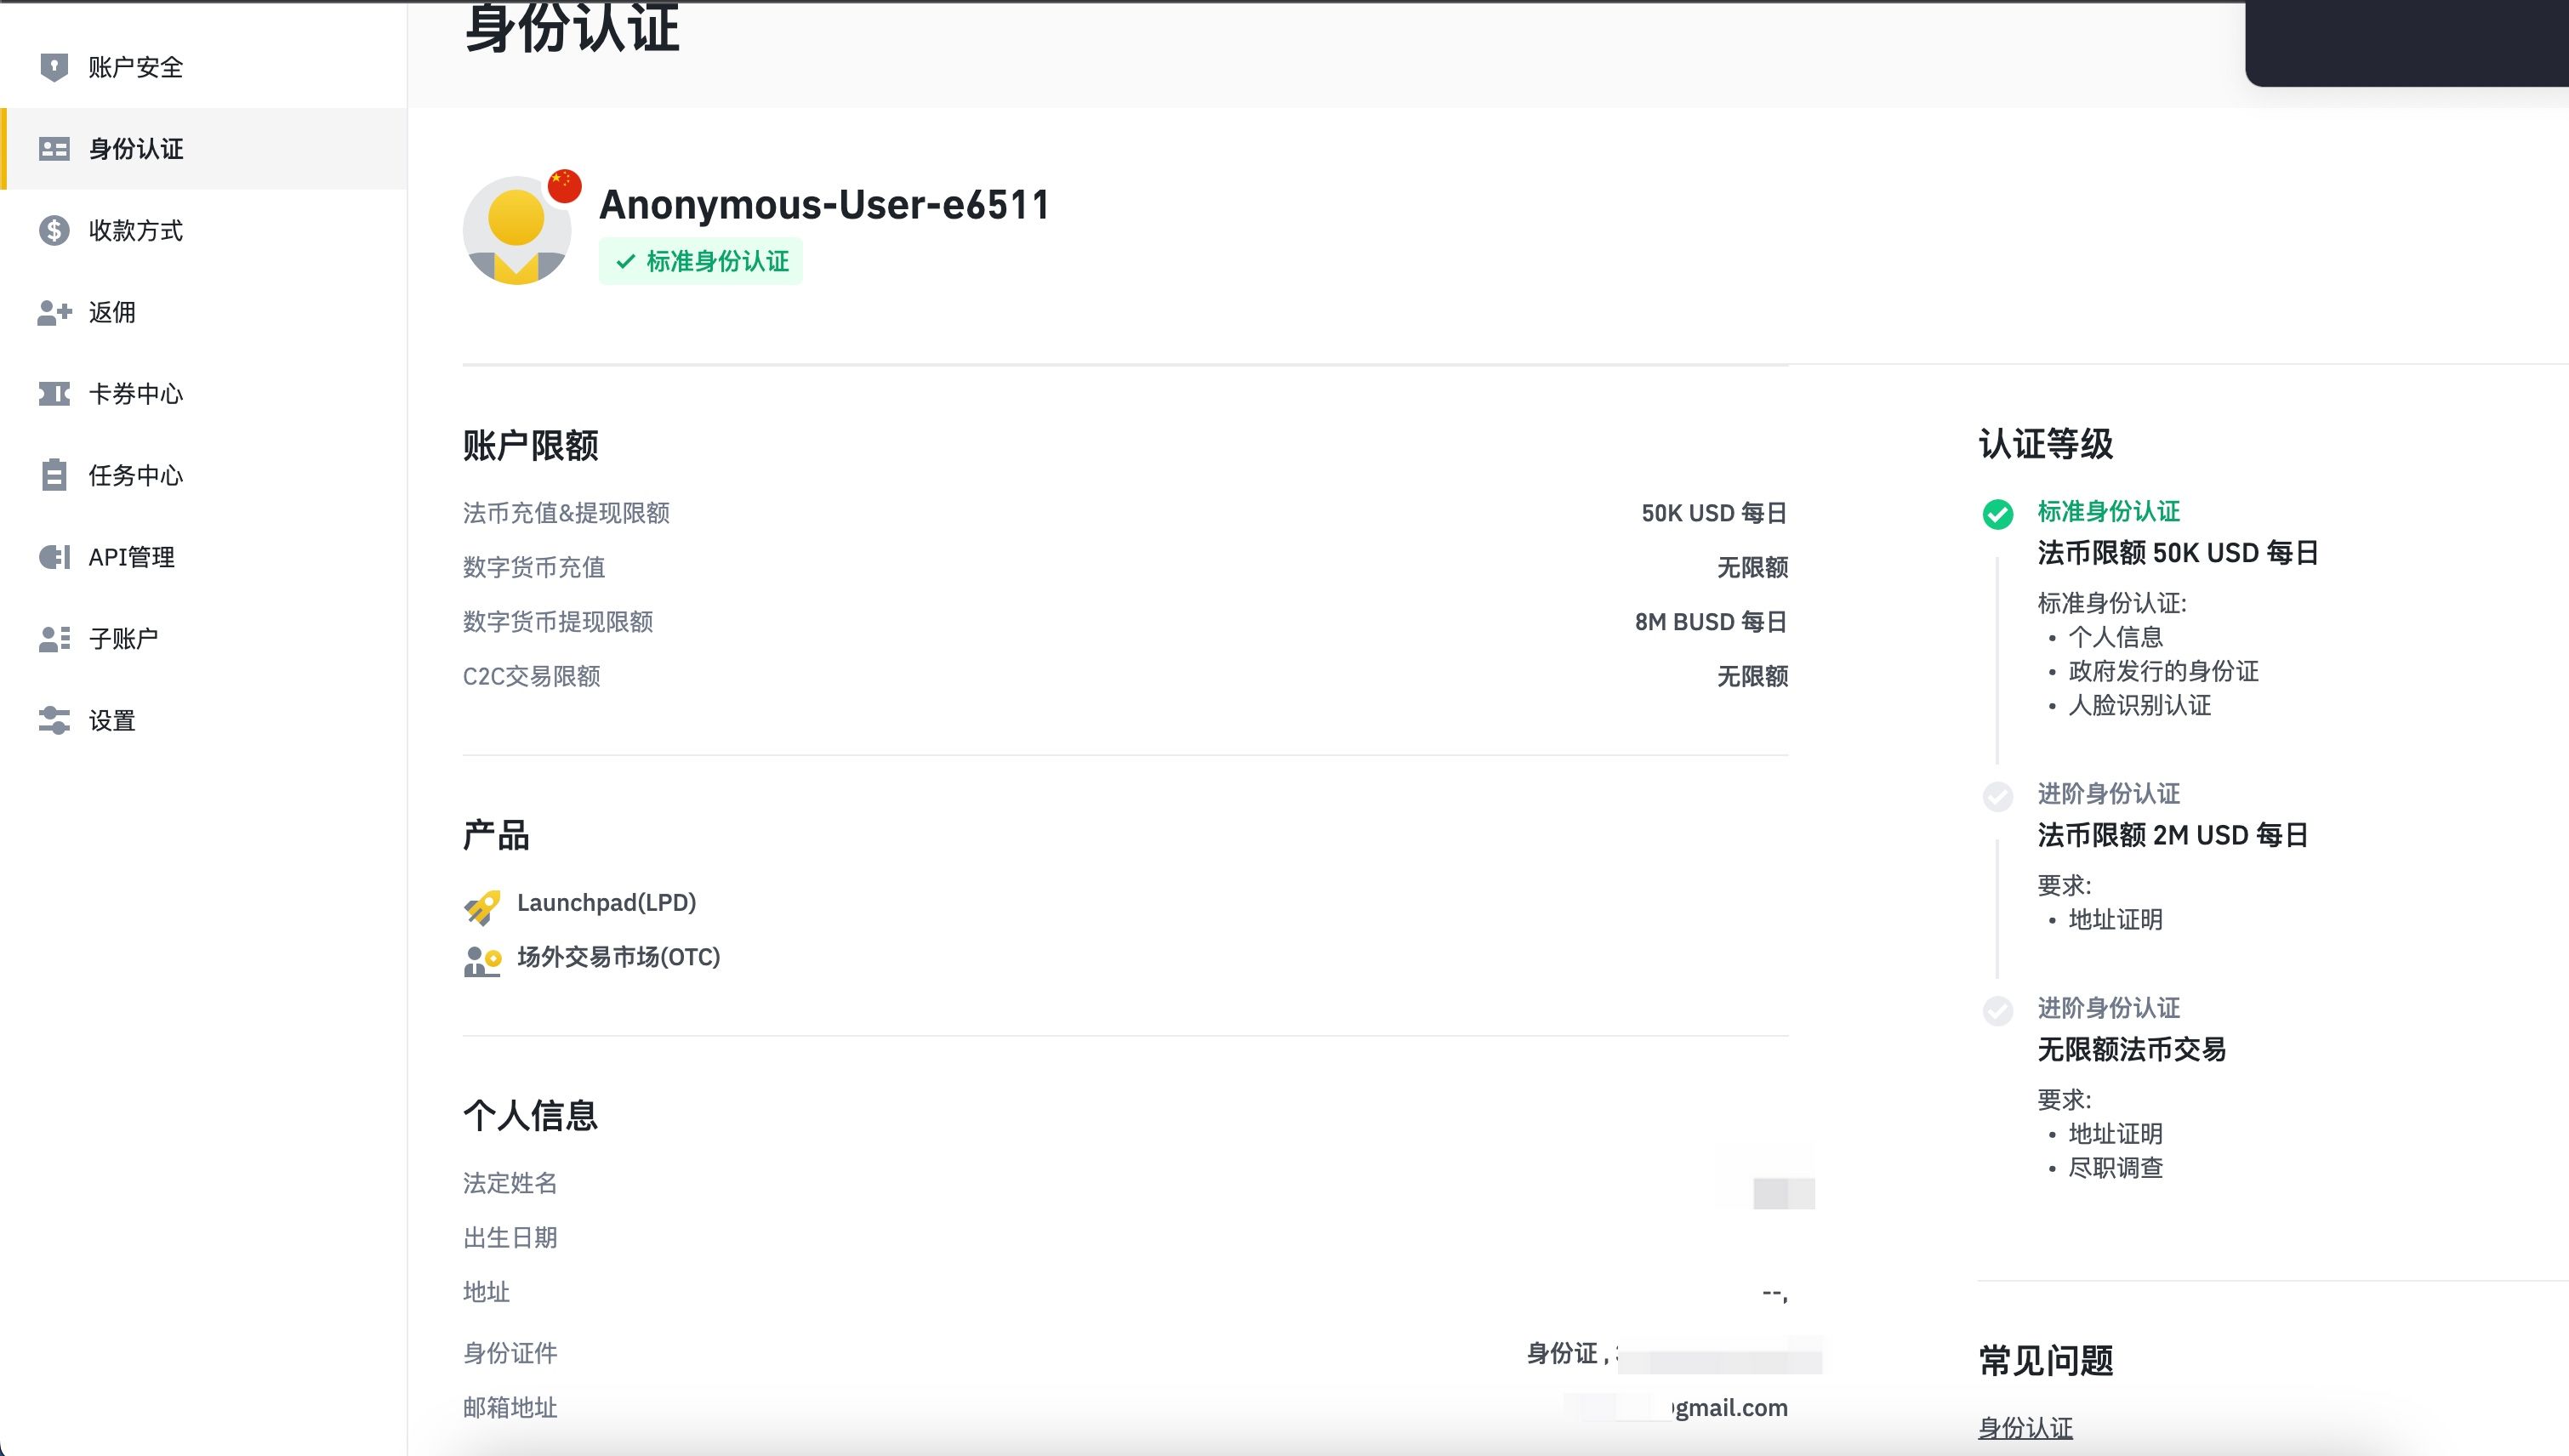
(1) Click the link to register and link your email (important: verification codes will be sent there later), then complete real-name and ID verification.
Note that ID verification requires installing the app. You can't download it with a mainland China icloud account, so register an account in another region and sign in to appstore to download it; alternatively, use your computer's webcam. Photographing an image on your phone won't work—you need the physical ID.
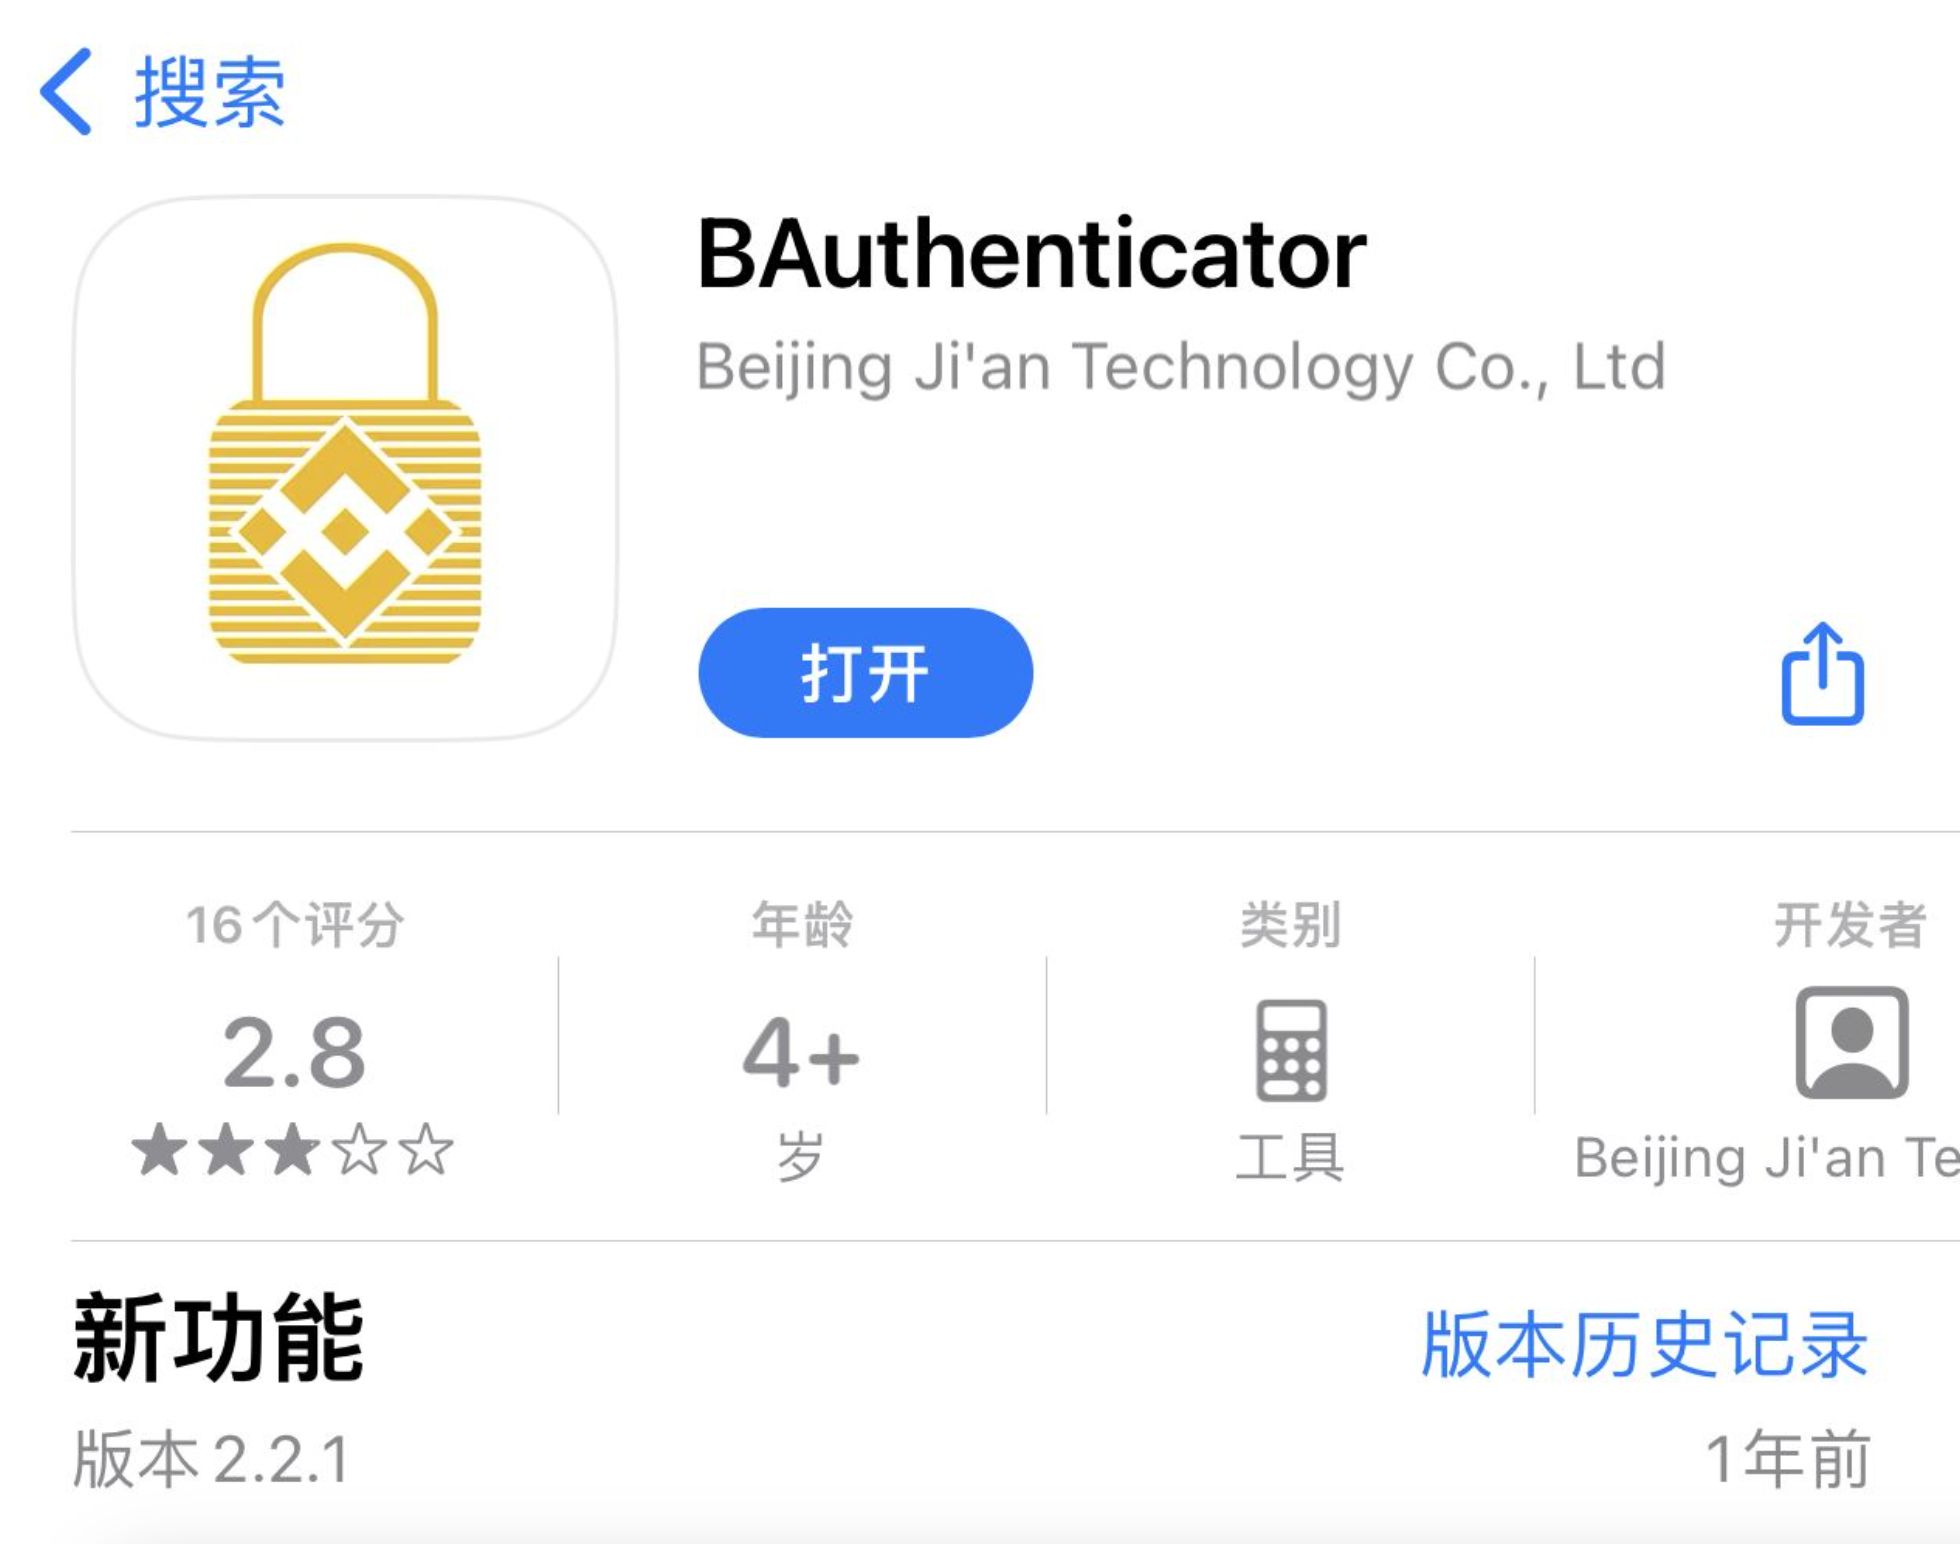
(2) After identity verification, you'll need to link a mobile authenticator. Scan the QR code with your phone to download it, or download it from appstore, then use the SMS and email verification codes to link it.
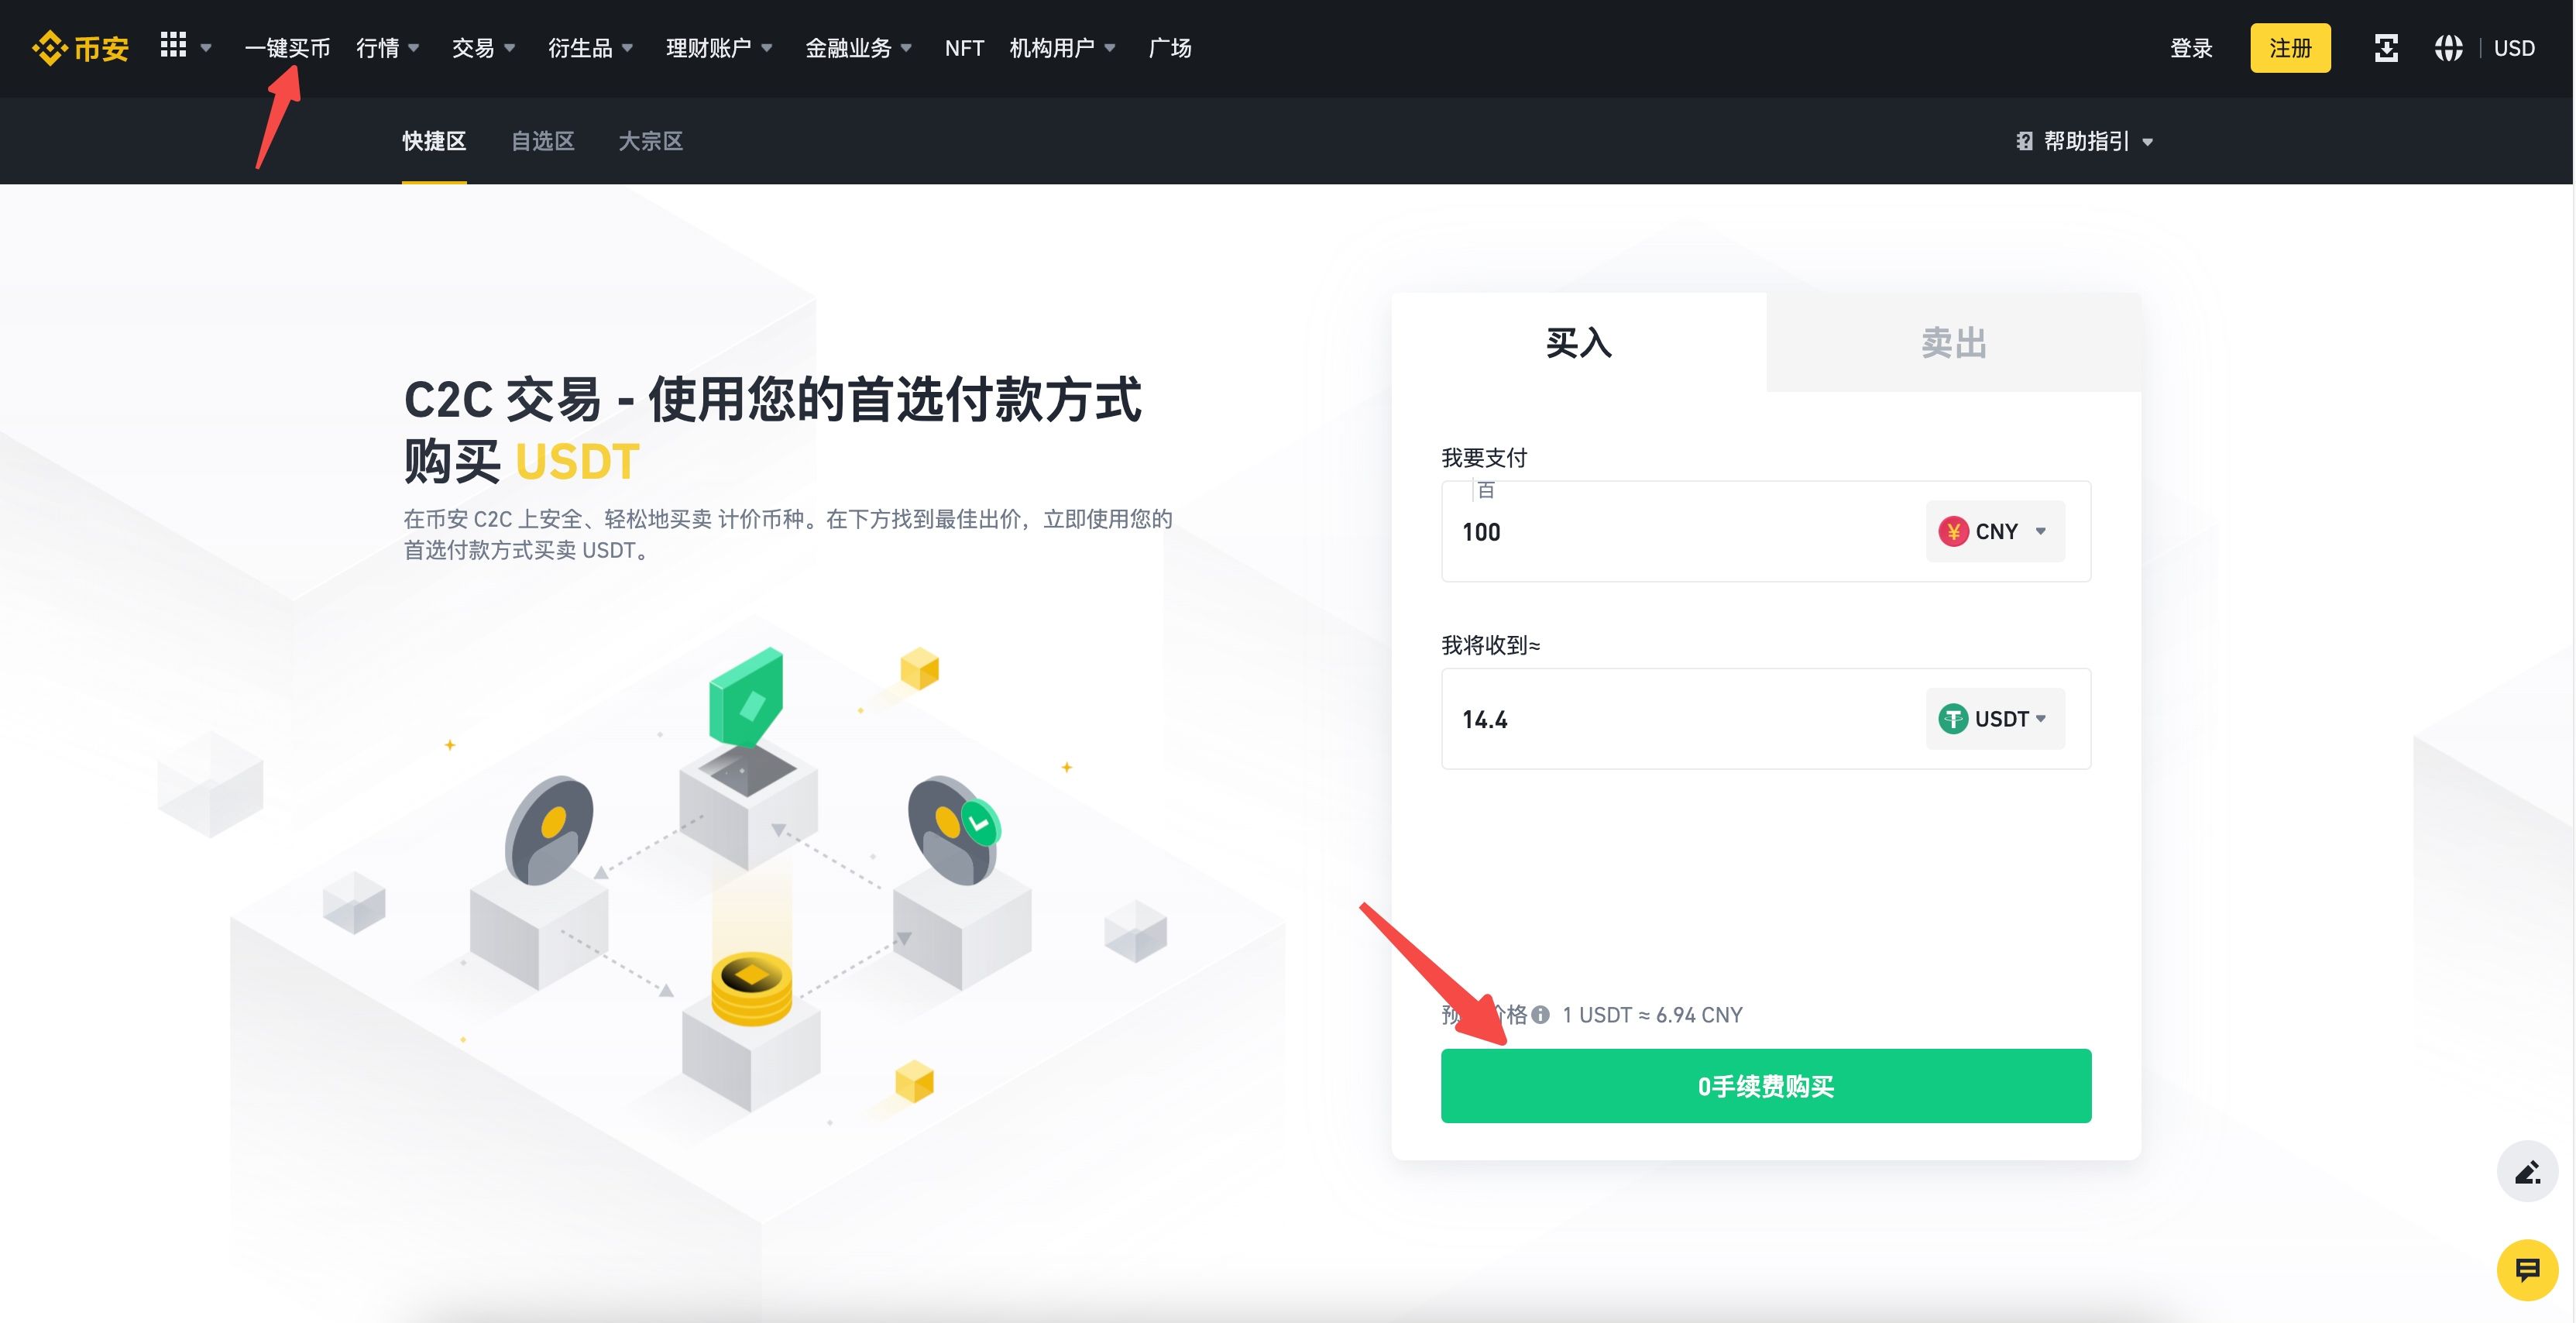
(3) Once verification is approved, you can proceed. Click One-click Buy to purchase USDT (a cryptocurrency with a 1:1 exchange rate to USD). For nobepay, I recommend depositing 110 RMB; onekey requires a 20-dollar deposit. Withdrawal fees and other charges will otherwise leave you short of the fee for issuing a card from the new card number range. I deposited 100 RMB, so I'll use 100 RMB for this demonstration.
WeChat and Alipay payments are supported. I used WeChat. Since I don't plan to deposit again, I don't have screenshots, but the process is:
    1. 添加他给的微信;
    2. 发红包给他,红包备注自己的实名;
    3. 然后点击已支付,一会儿就到账了。
(4) Once the deposit is credited, you can leave Binance for now. Withdrawals currently follow a T+1 rule, so you'll have to wait until the next day.
Register with Nobepay/Onekey (preferred); the process is the same
I recommend onekey over nobepay because openai frequently blocks nobepay card number ranges. Even if you successfully issue and link a card, its range might be blocked by the time you need to pay. Your only option is to cancel the card and issue another one. The card balance is refunded, but the $1.8-$4.8 issuance fee isn't—a real pain. onekey is much less likely to be blocked, but it requires a minimum deposit of 20USD. Card issuance costs only $1, and there is currently no monthly fee, so it's definitely better value for long-term use.
onekey link: https://card.onekey.so/?i=JIHJSO
onekey referral code: JIHJSO
Please use my link if possible; it helps lower my fee rate a little. Thank you.
onekey explicitly supports chatgpt and midjourney, unlike nobepay, which doesn't acknowledge support.
onekey card workflow
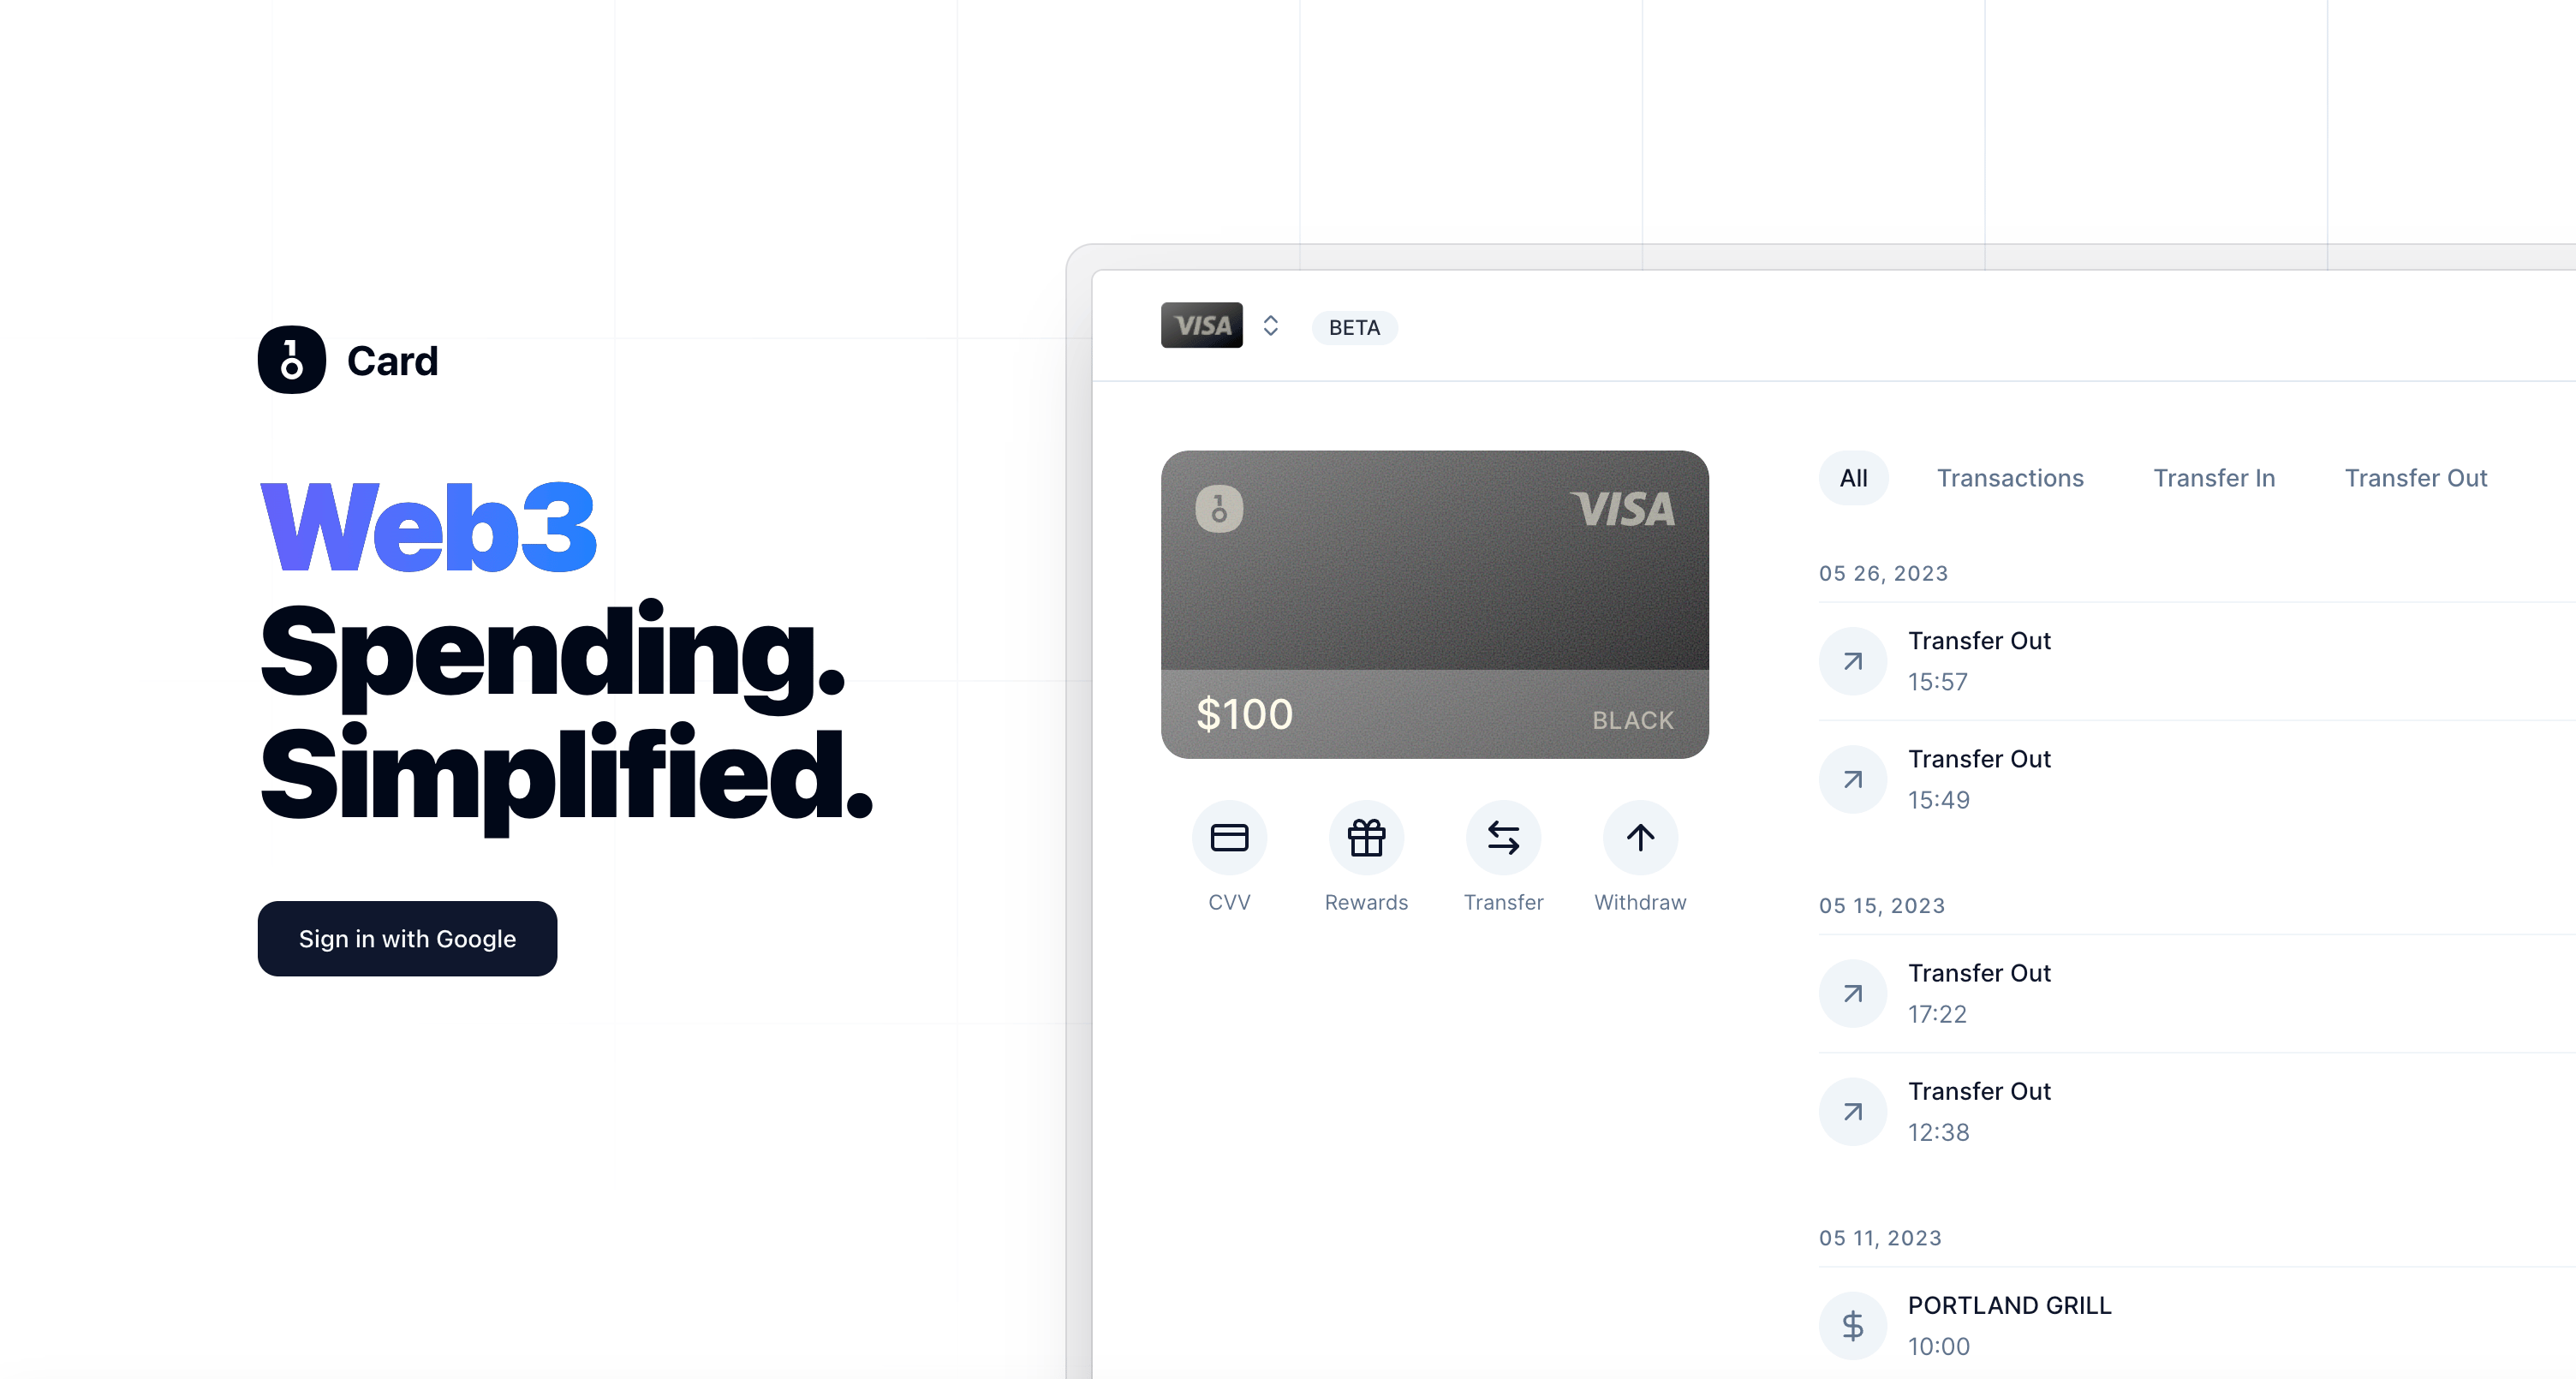
1.Click the link above to register. You can sign in directly with a Google account. No real-name verification, no identity checks, nothing—really convenient.
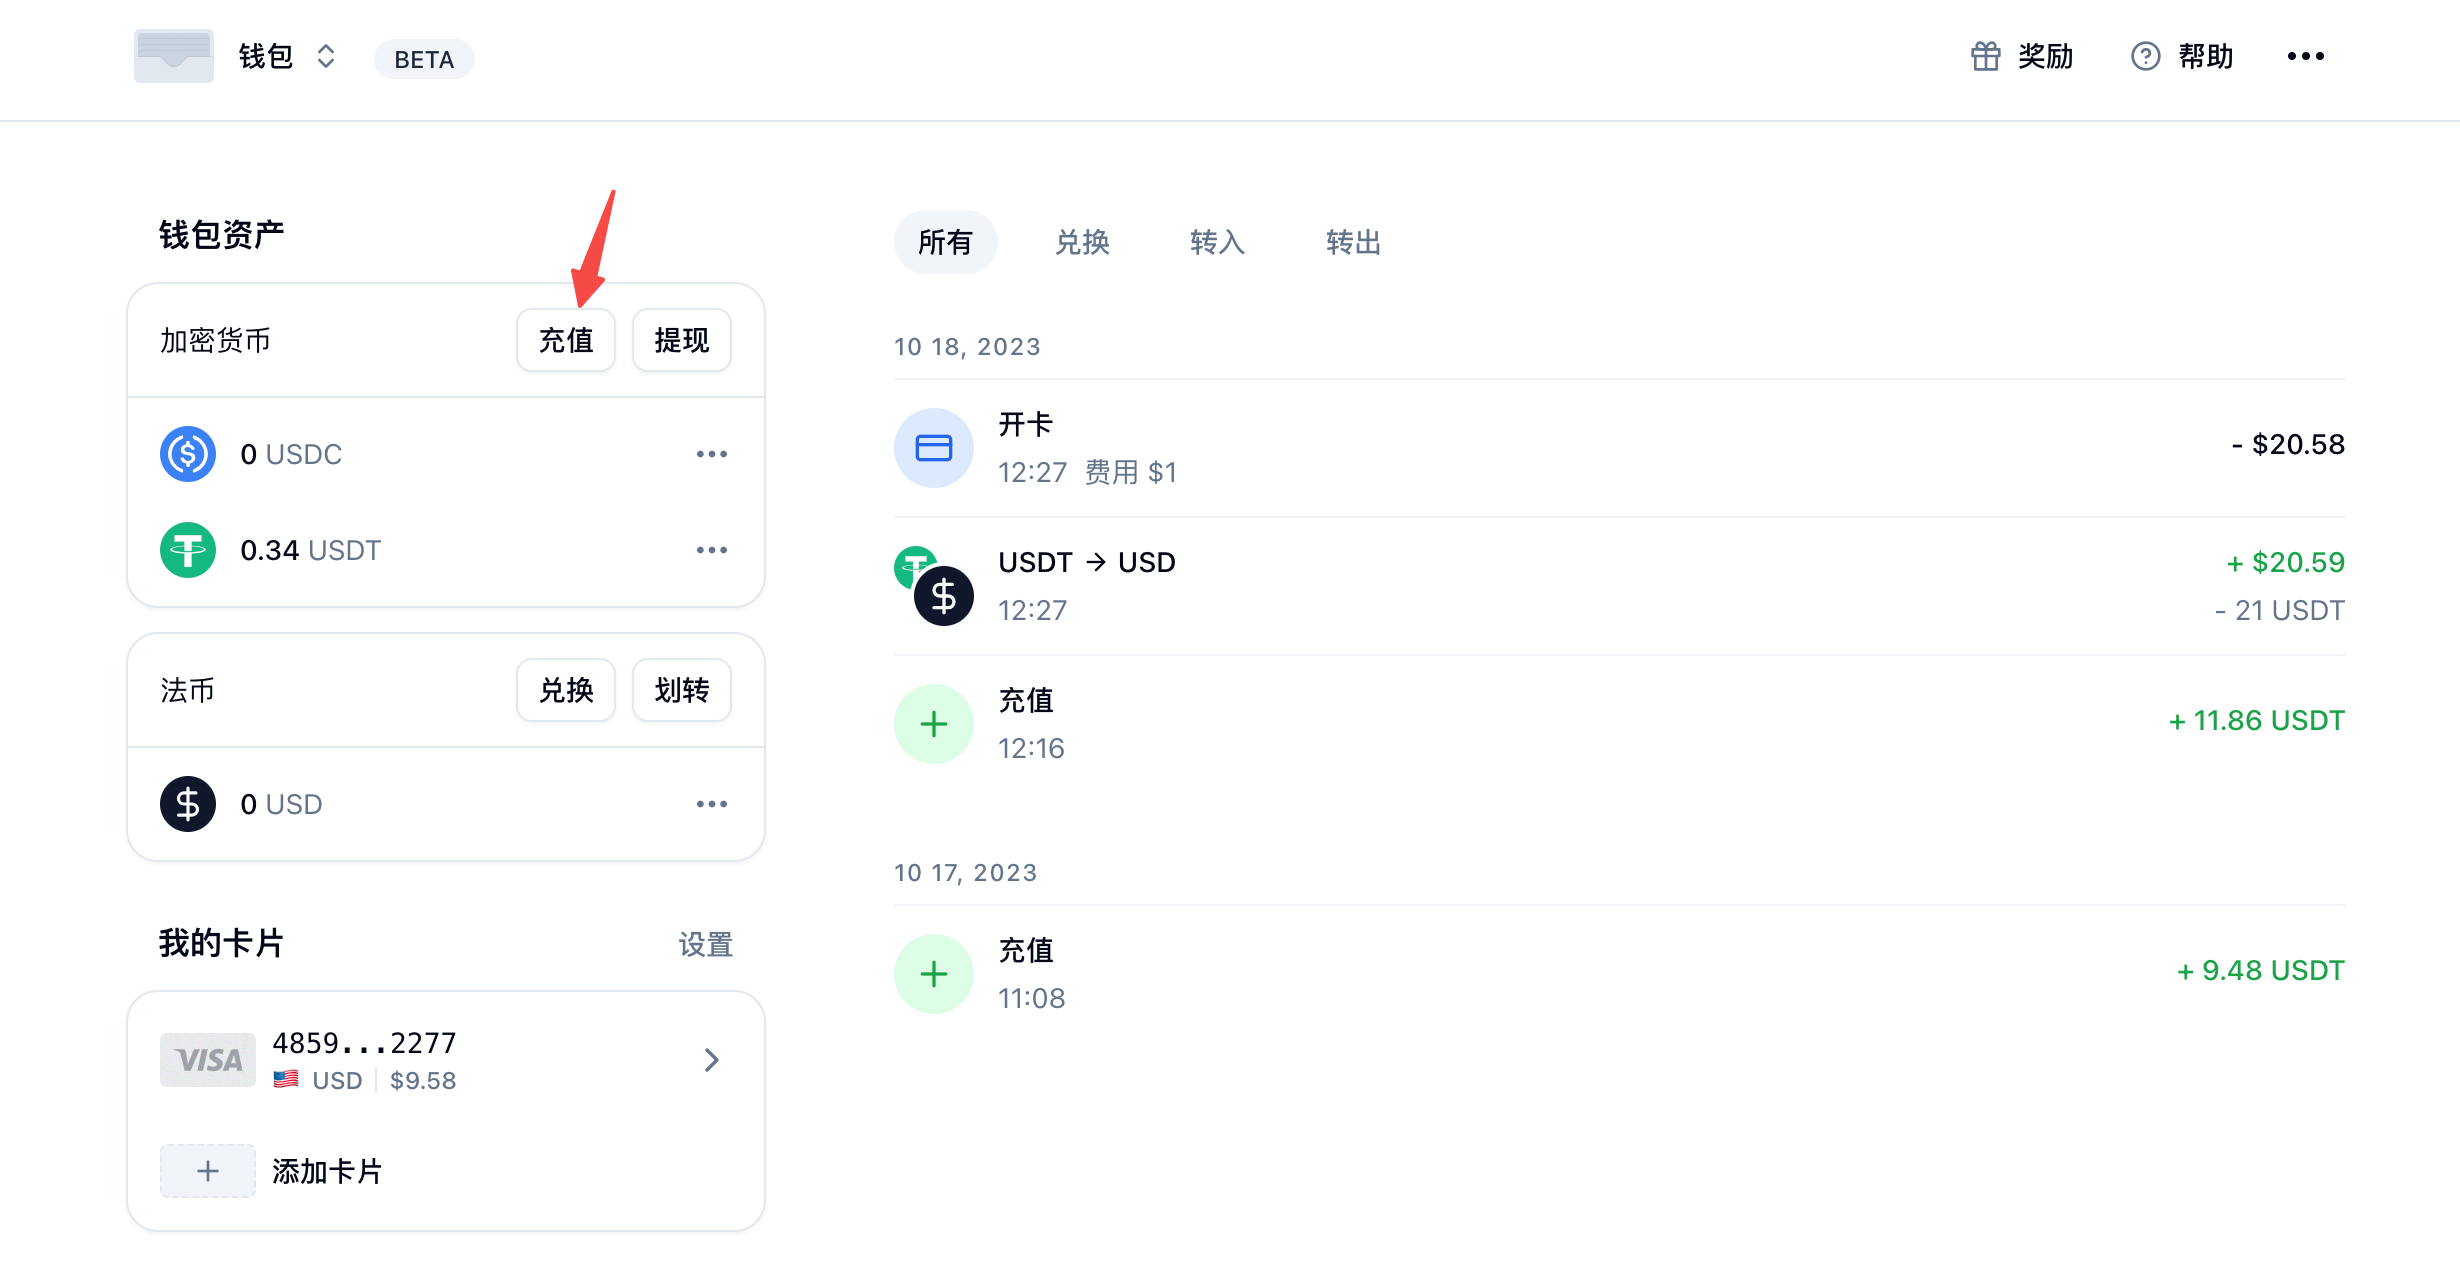
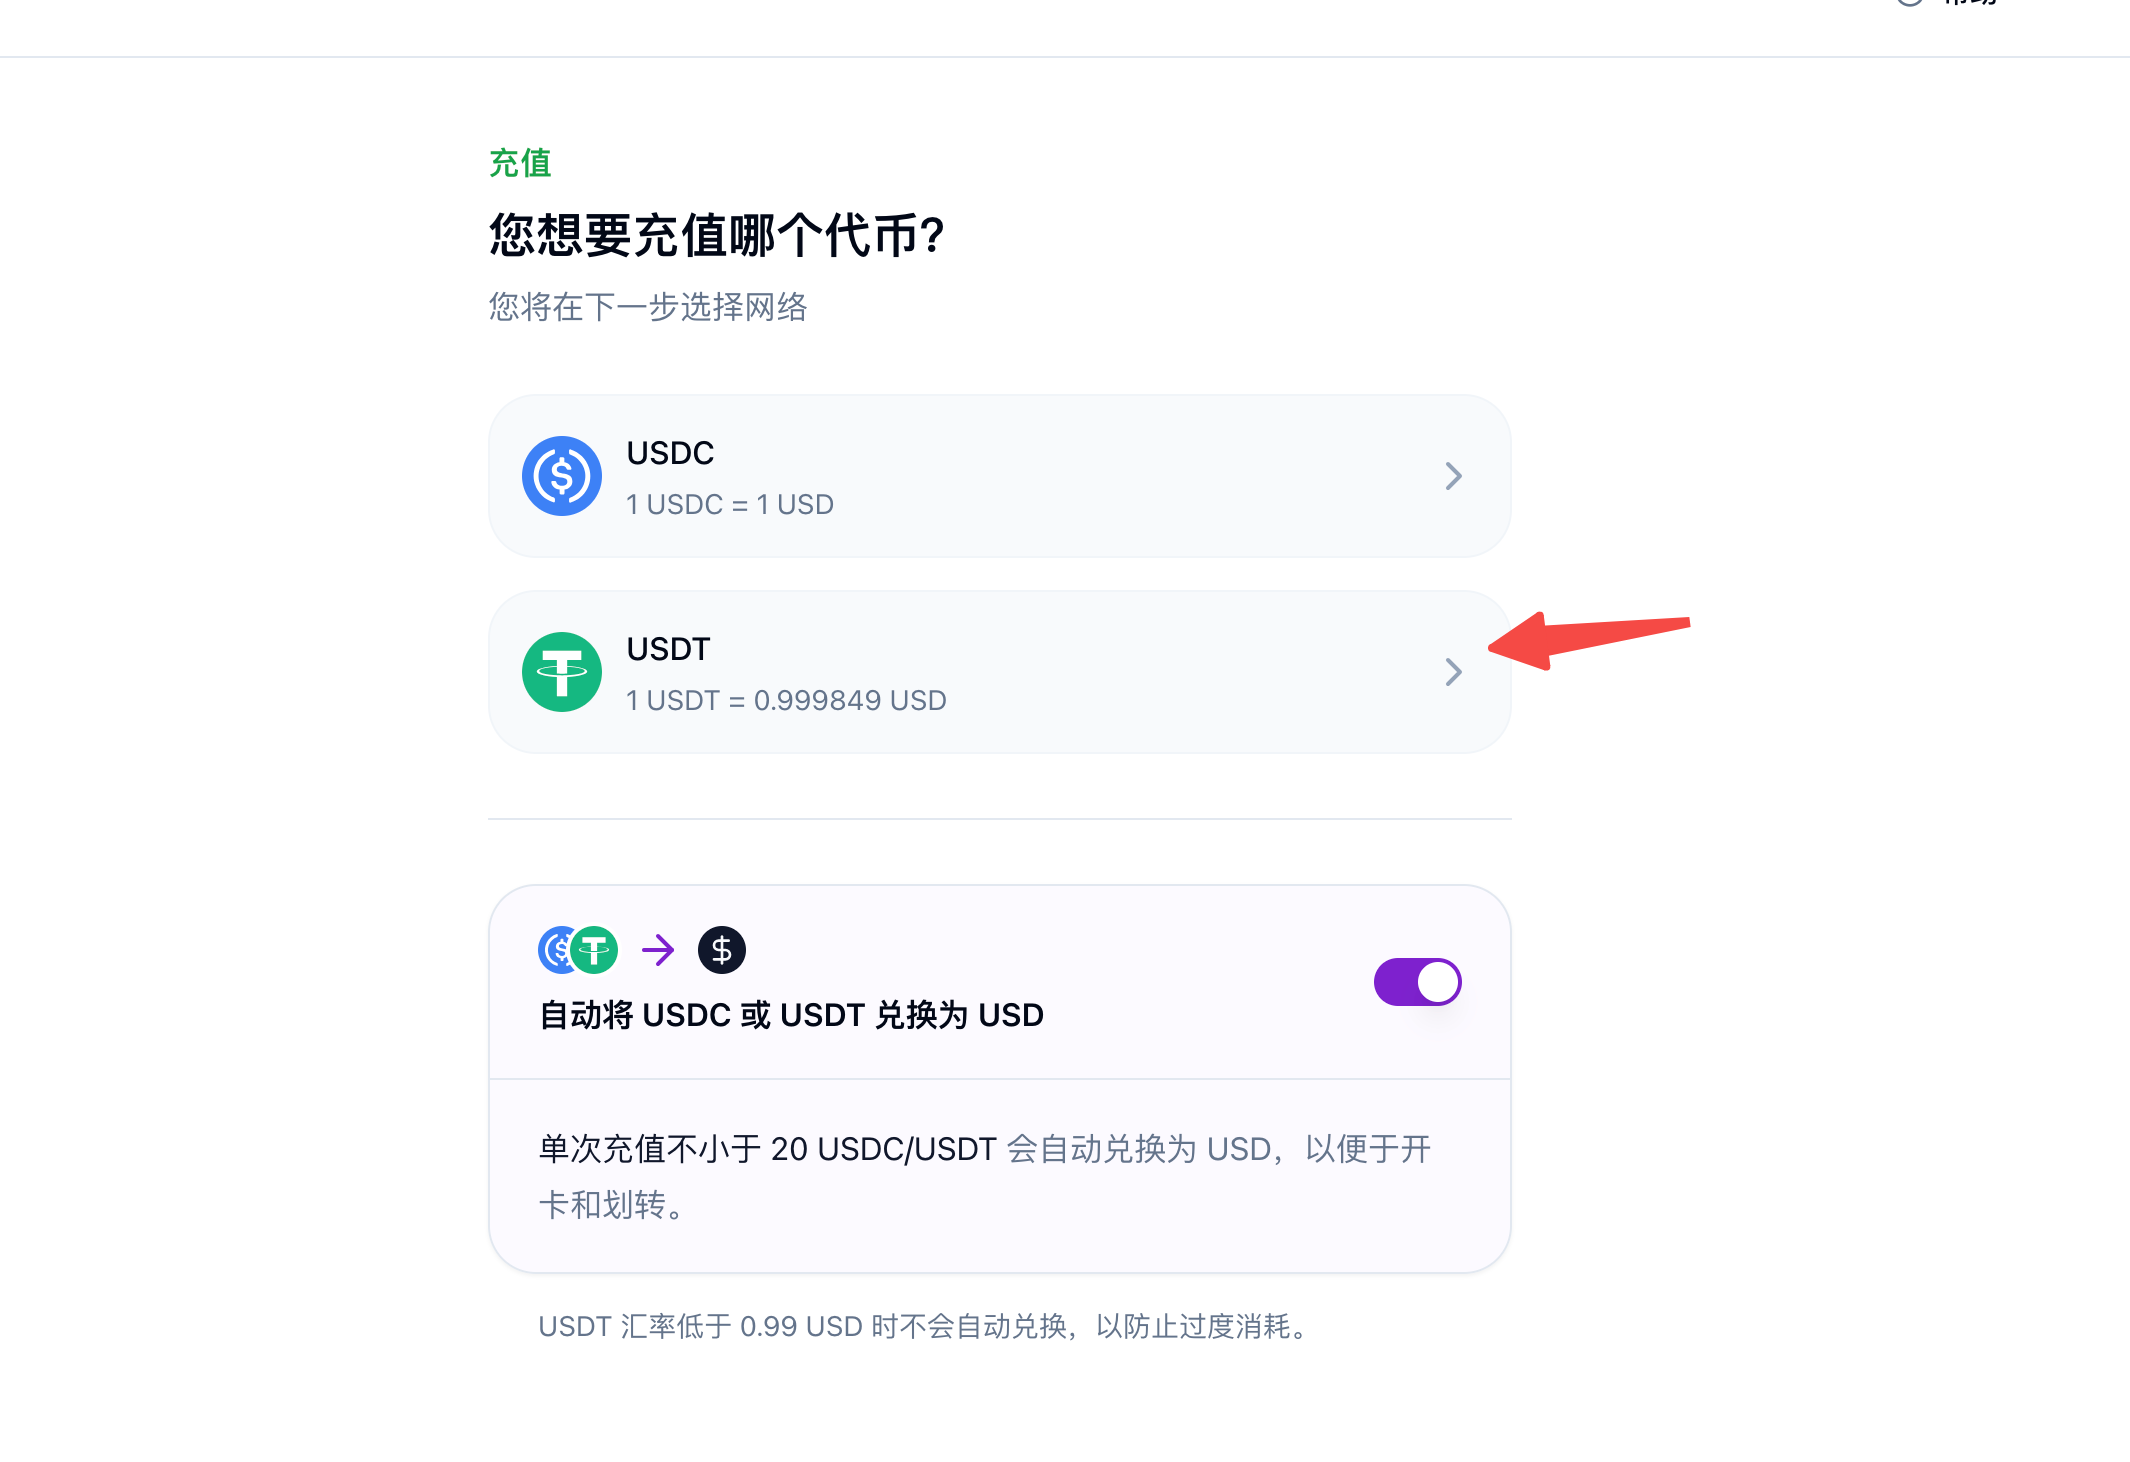
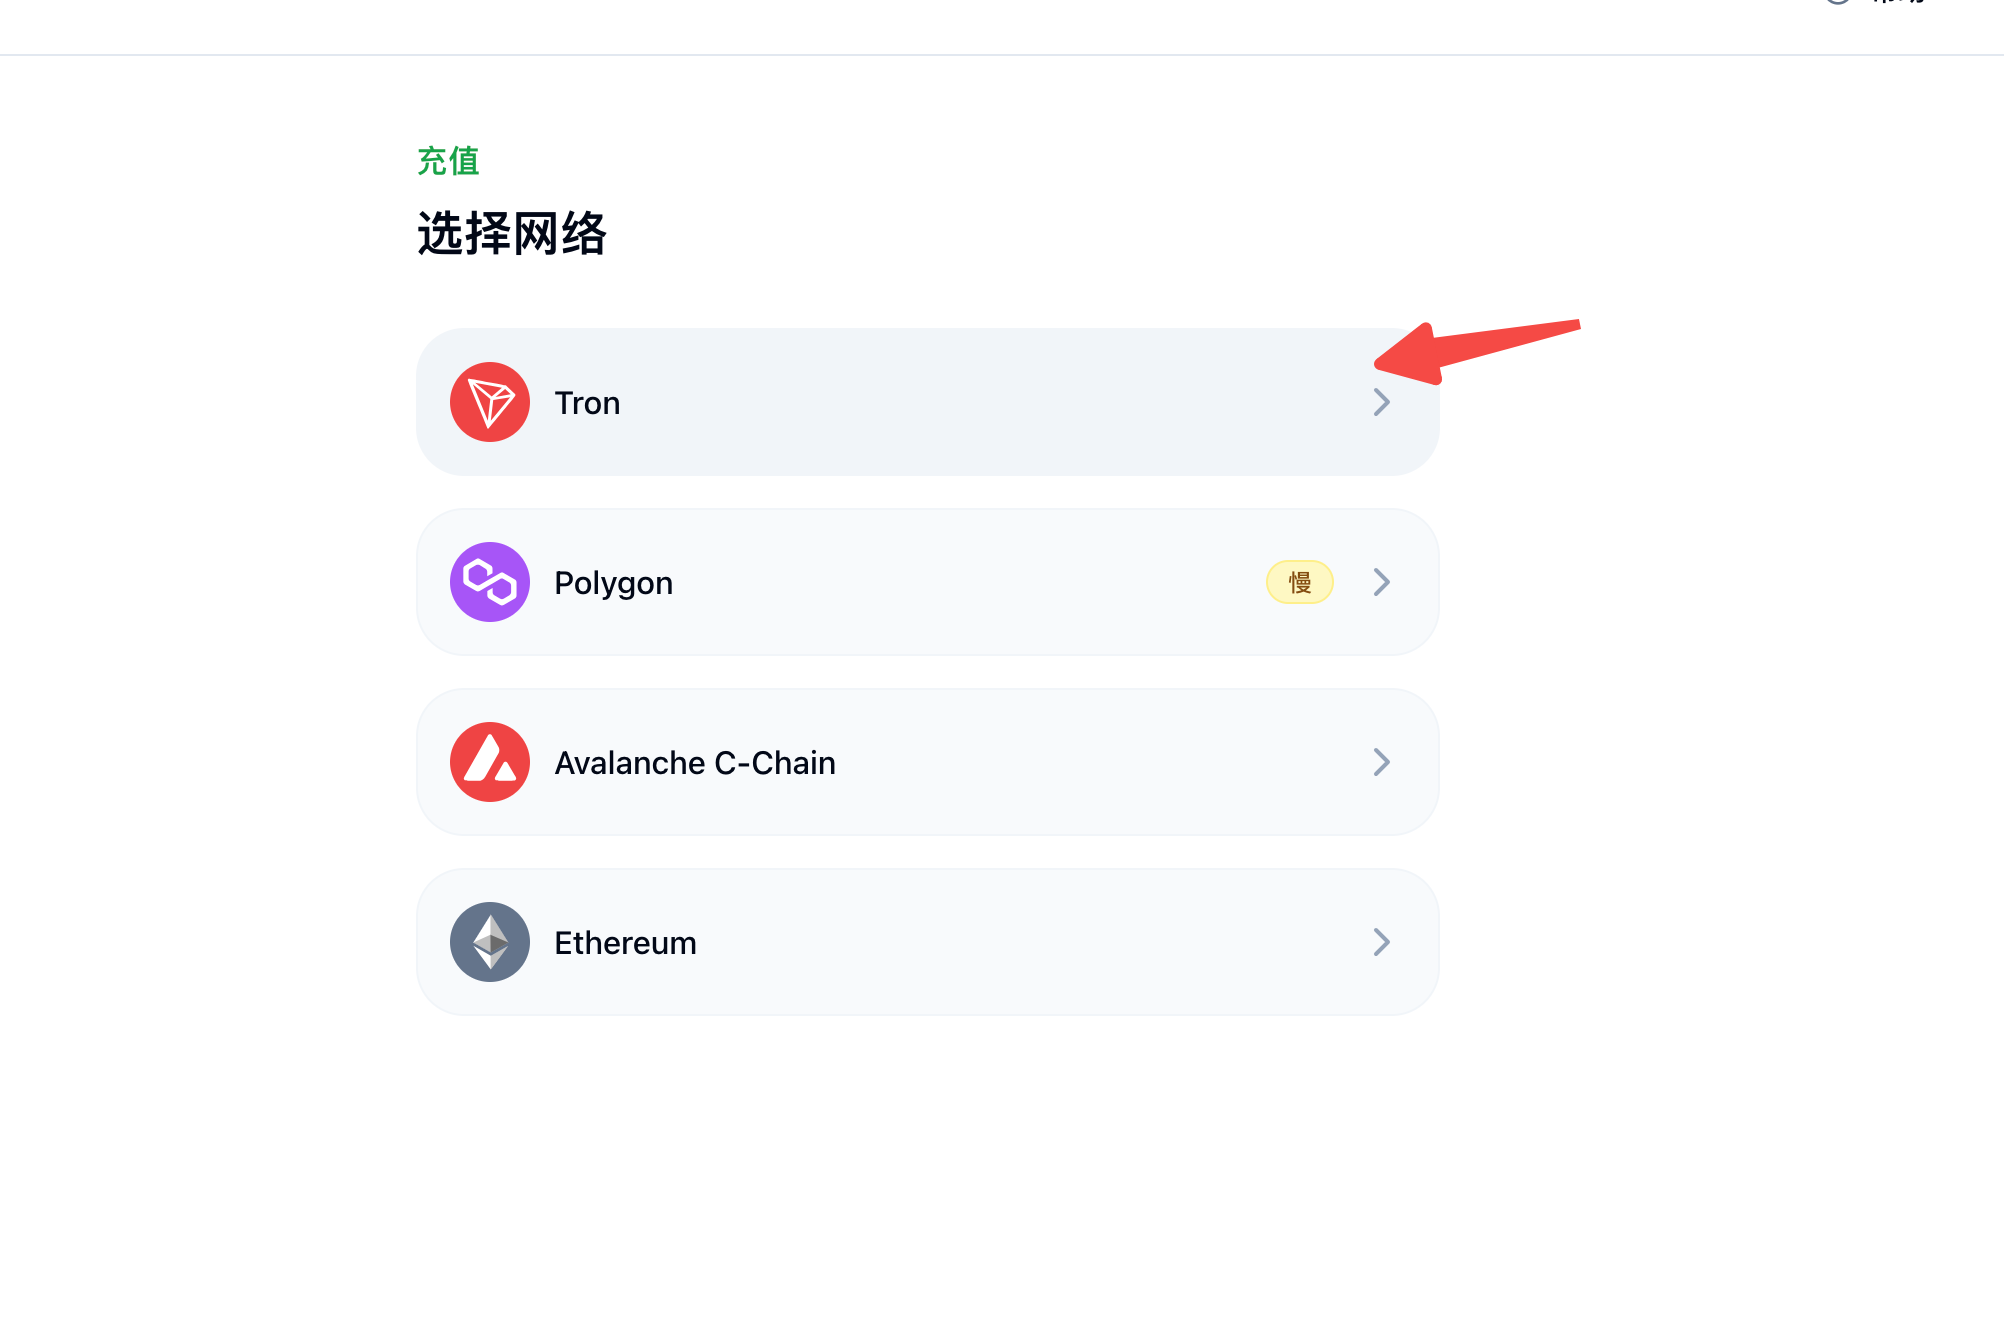
2.Add funds
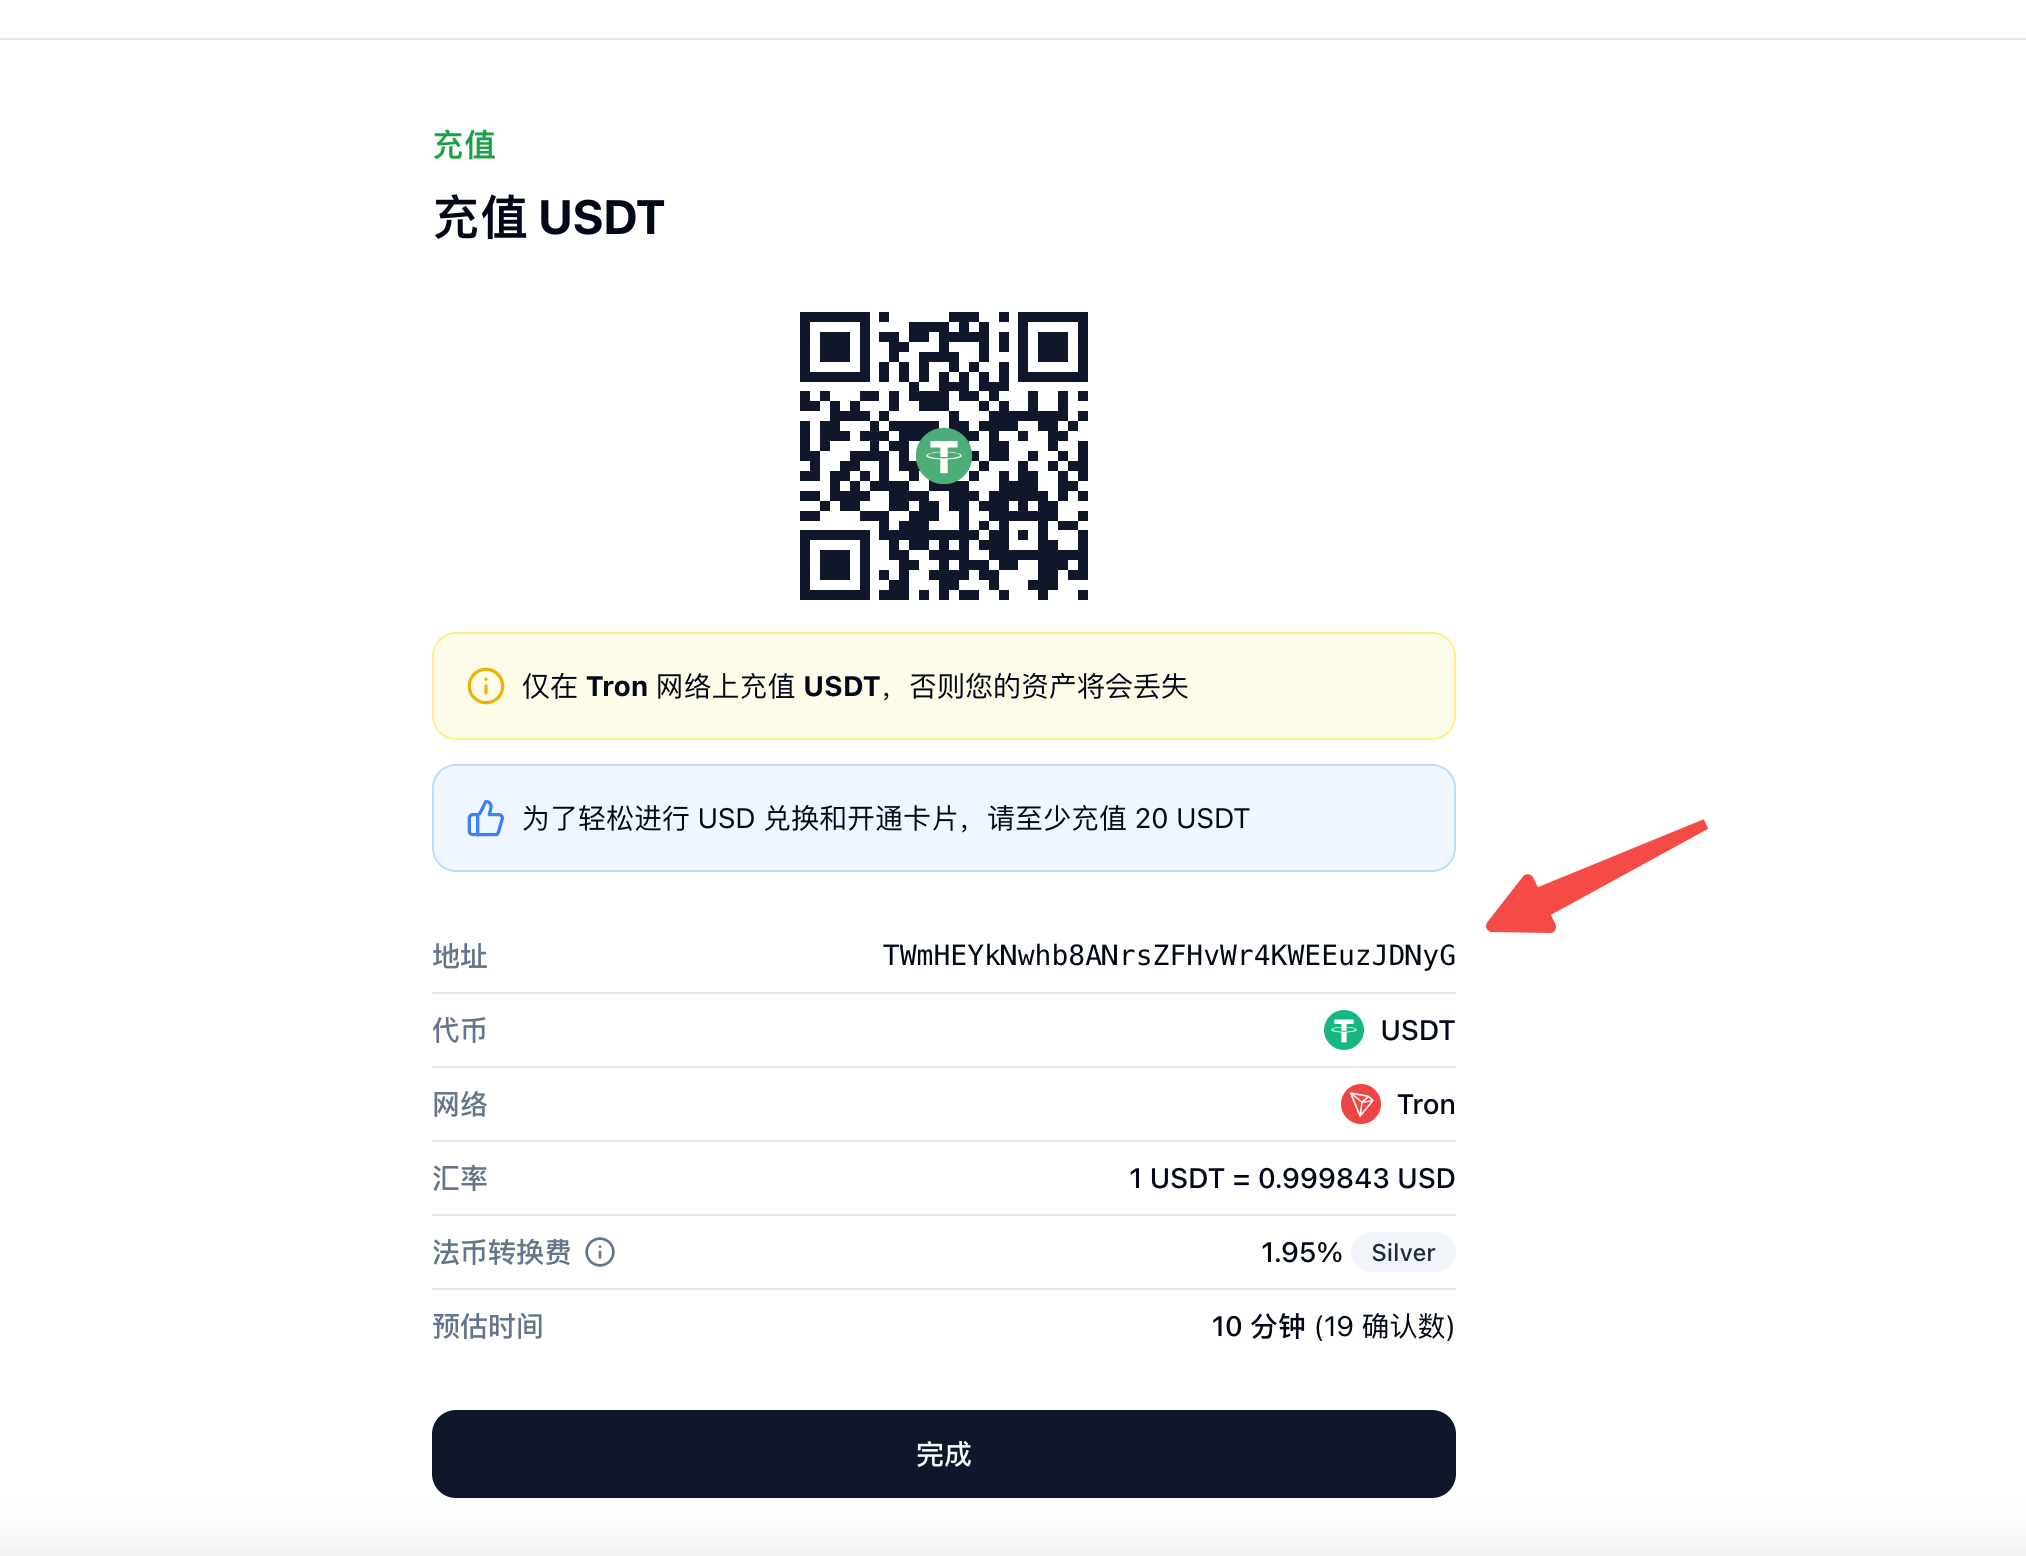
3. Issue a card after adding funds
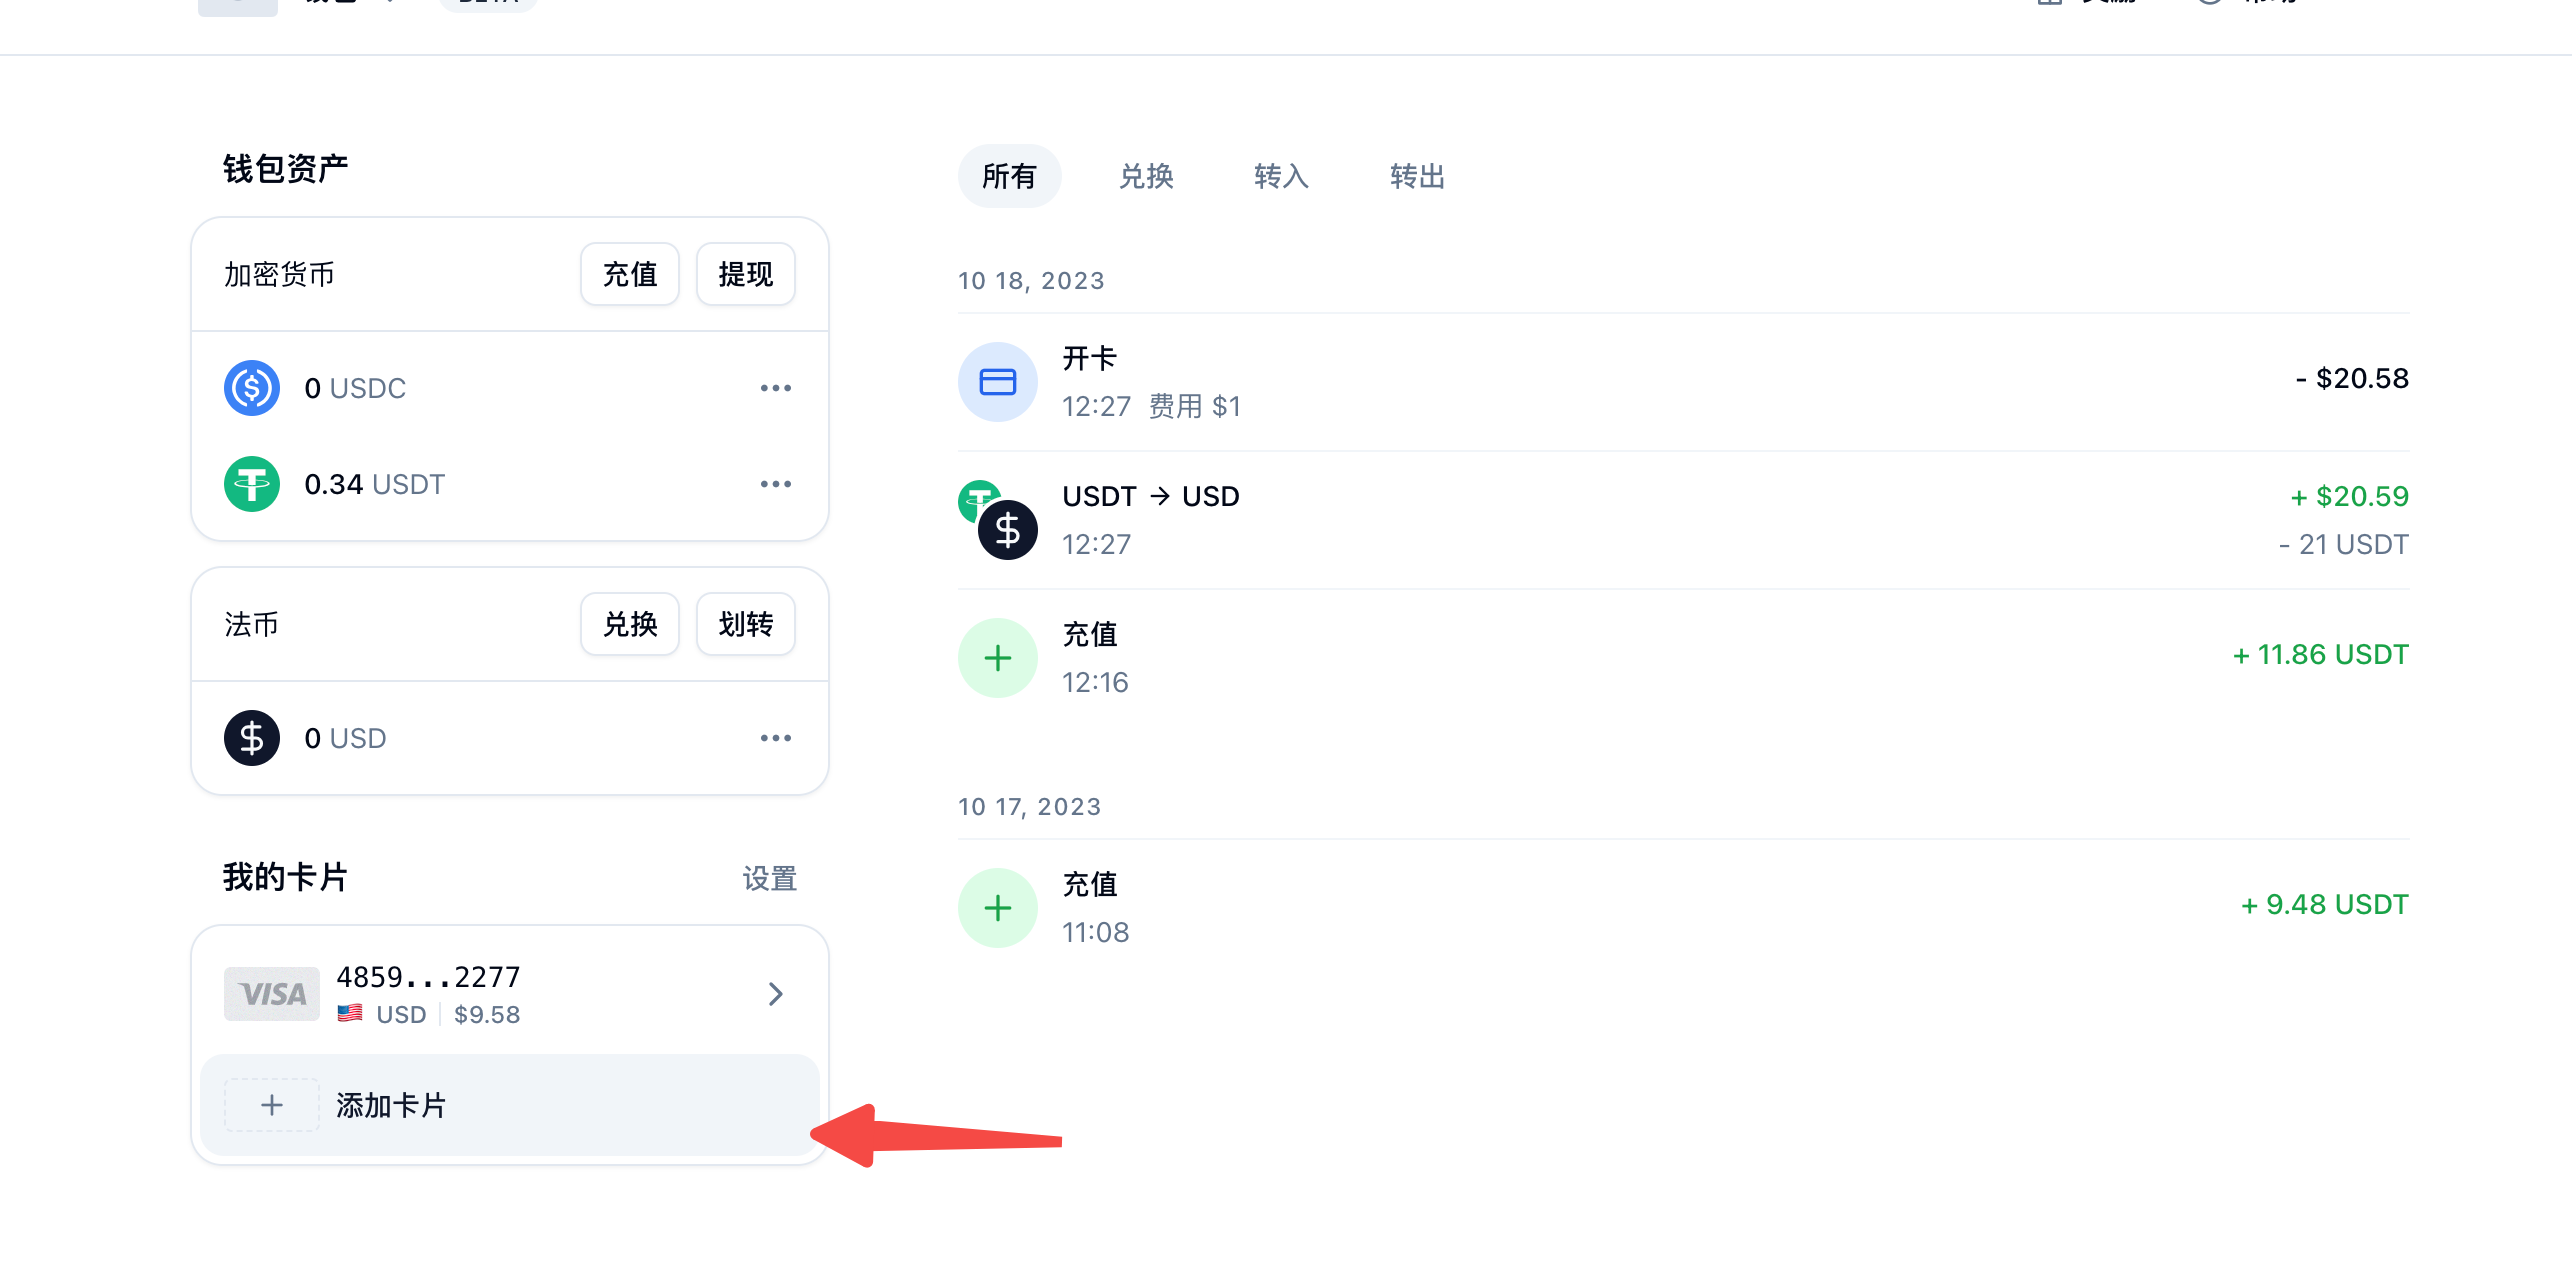
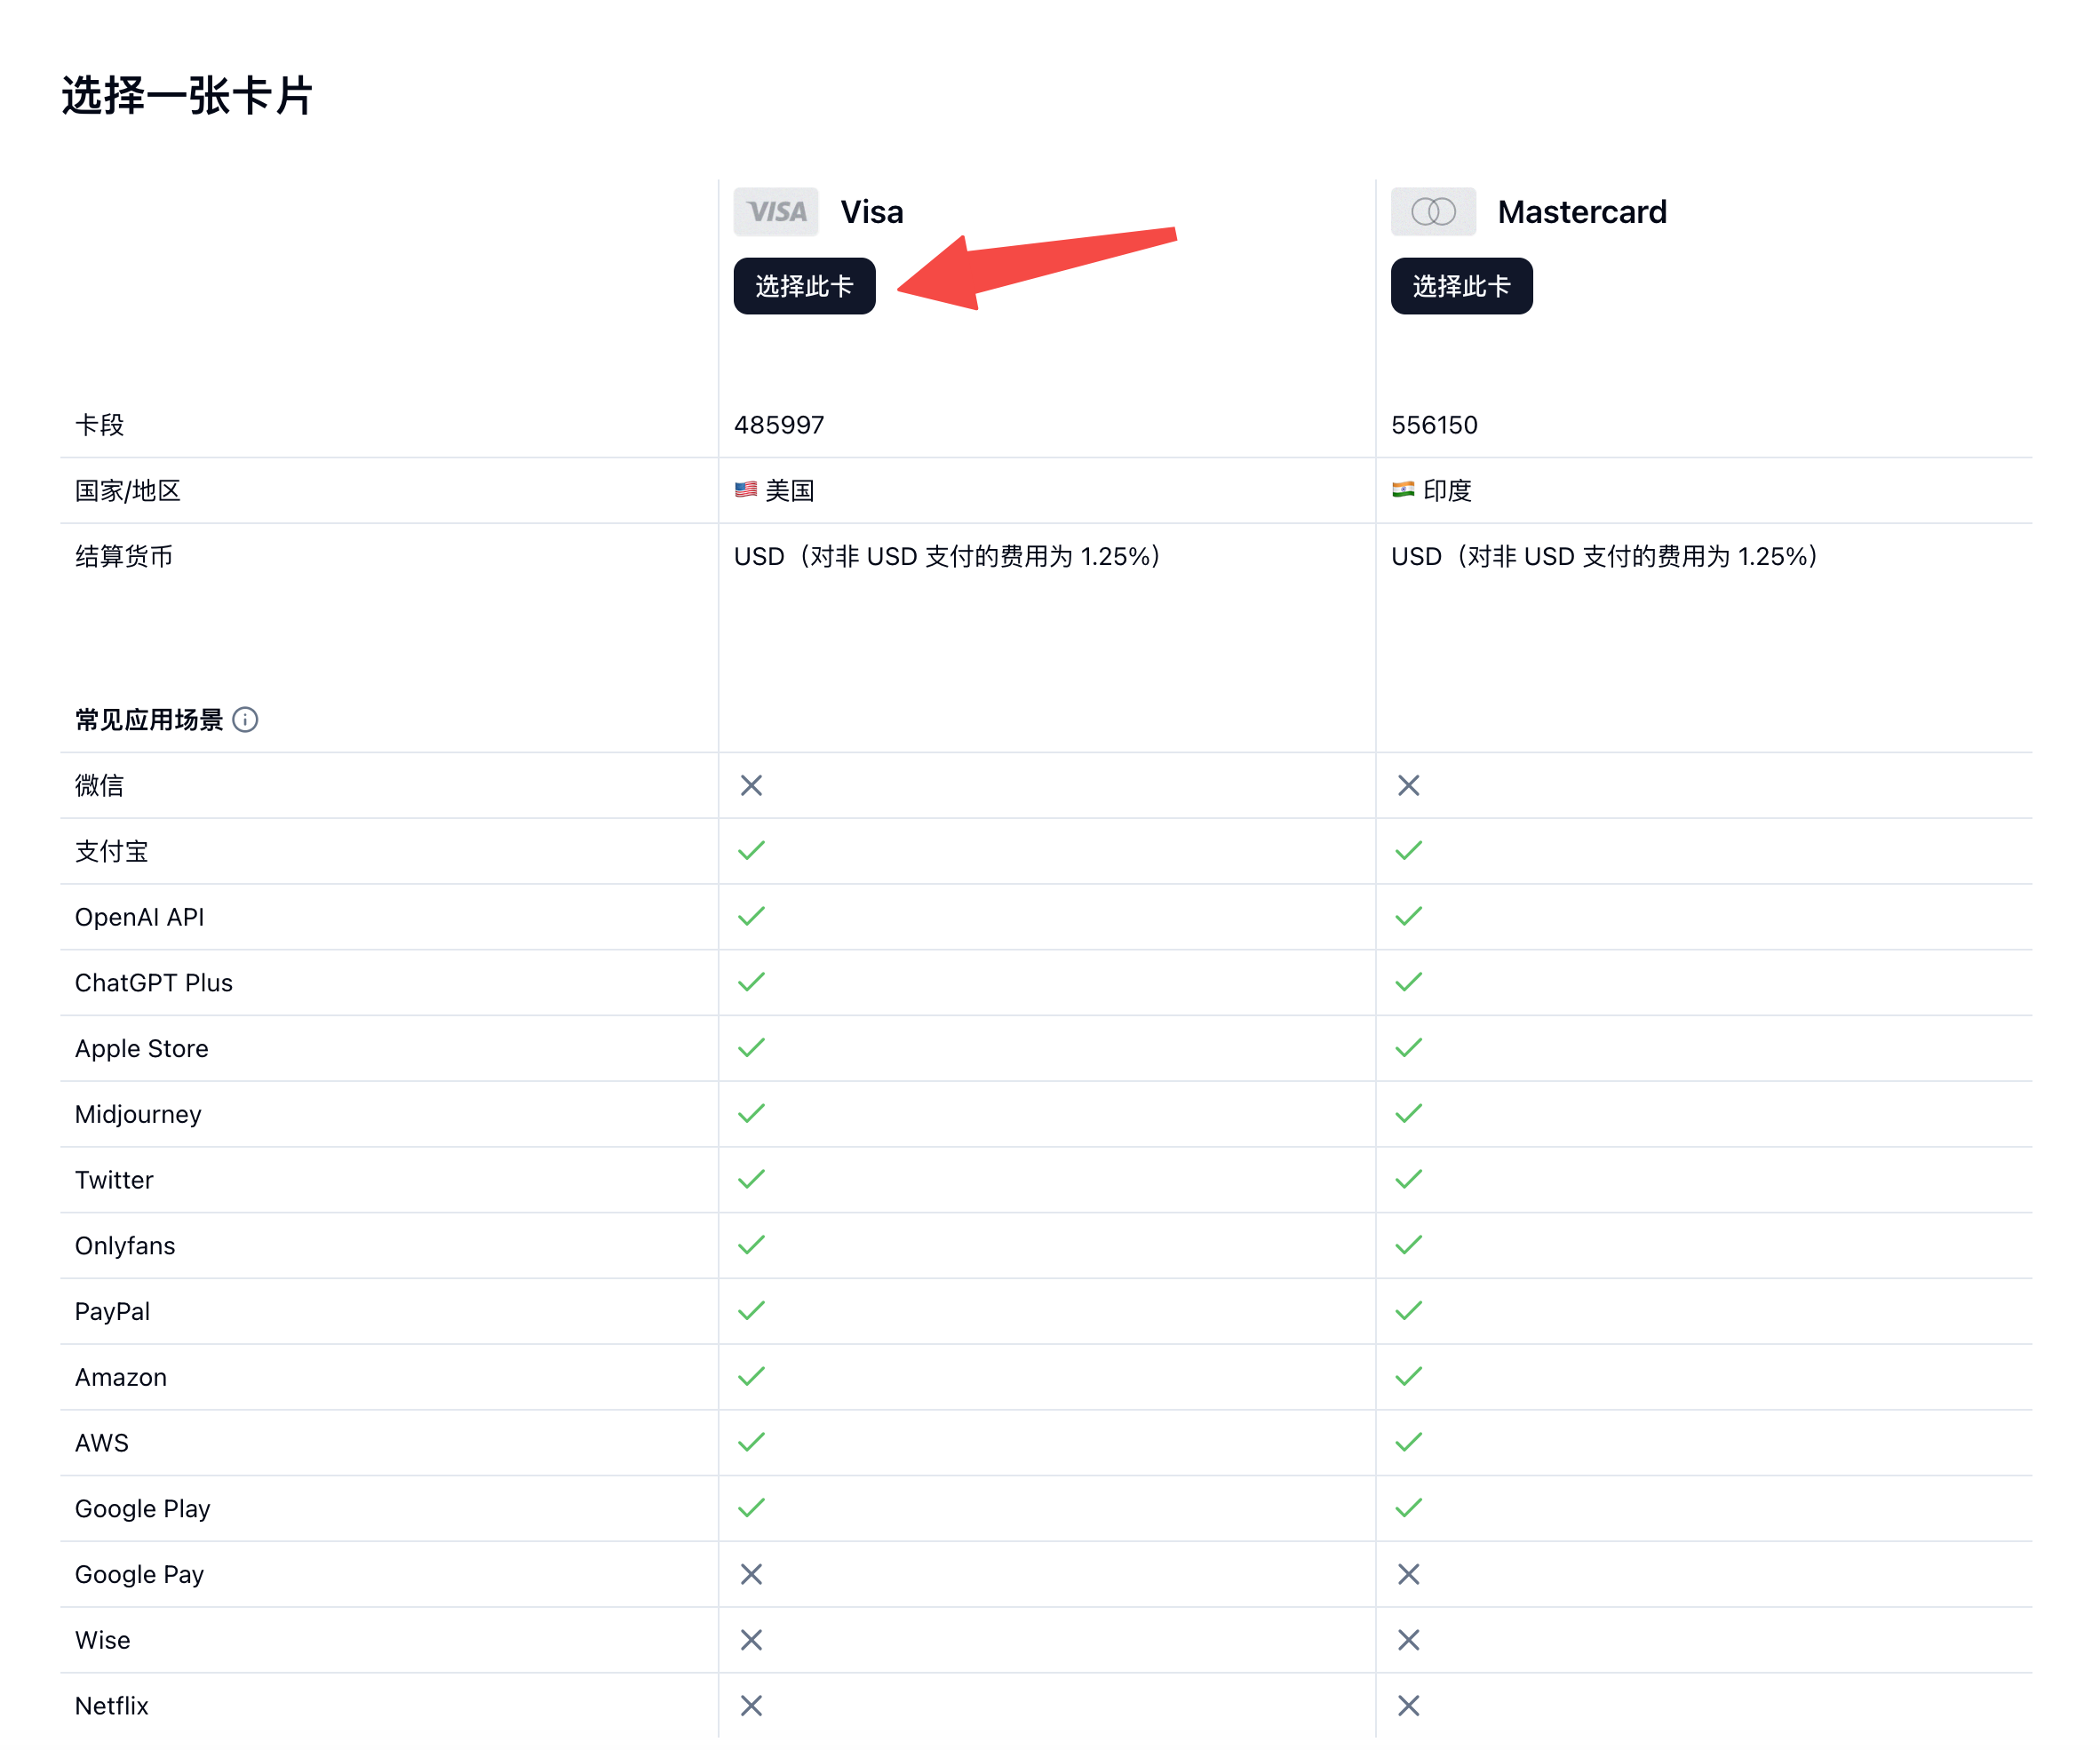
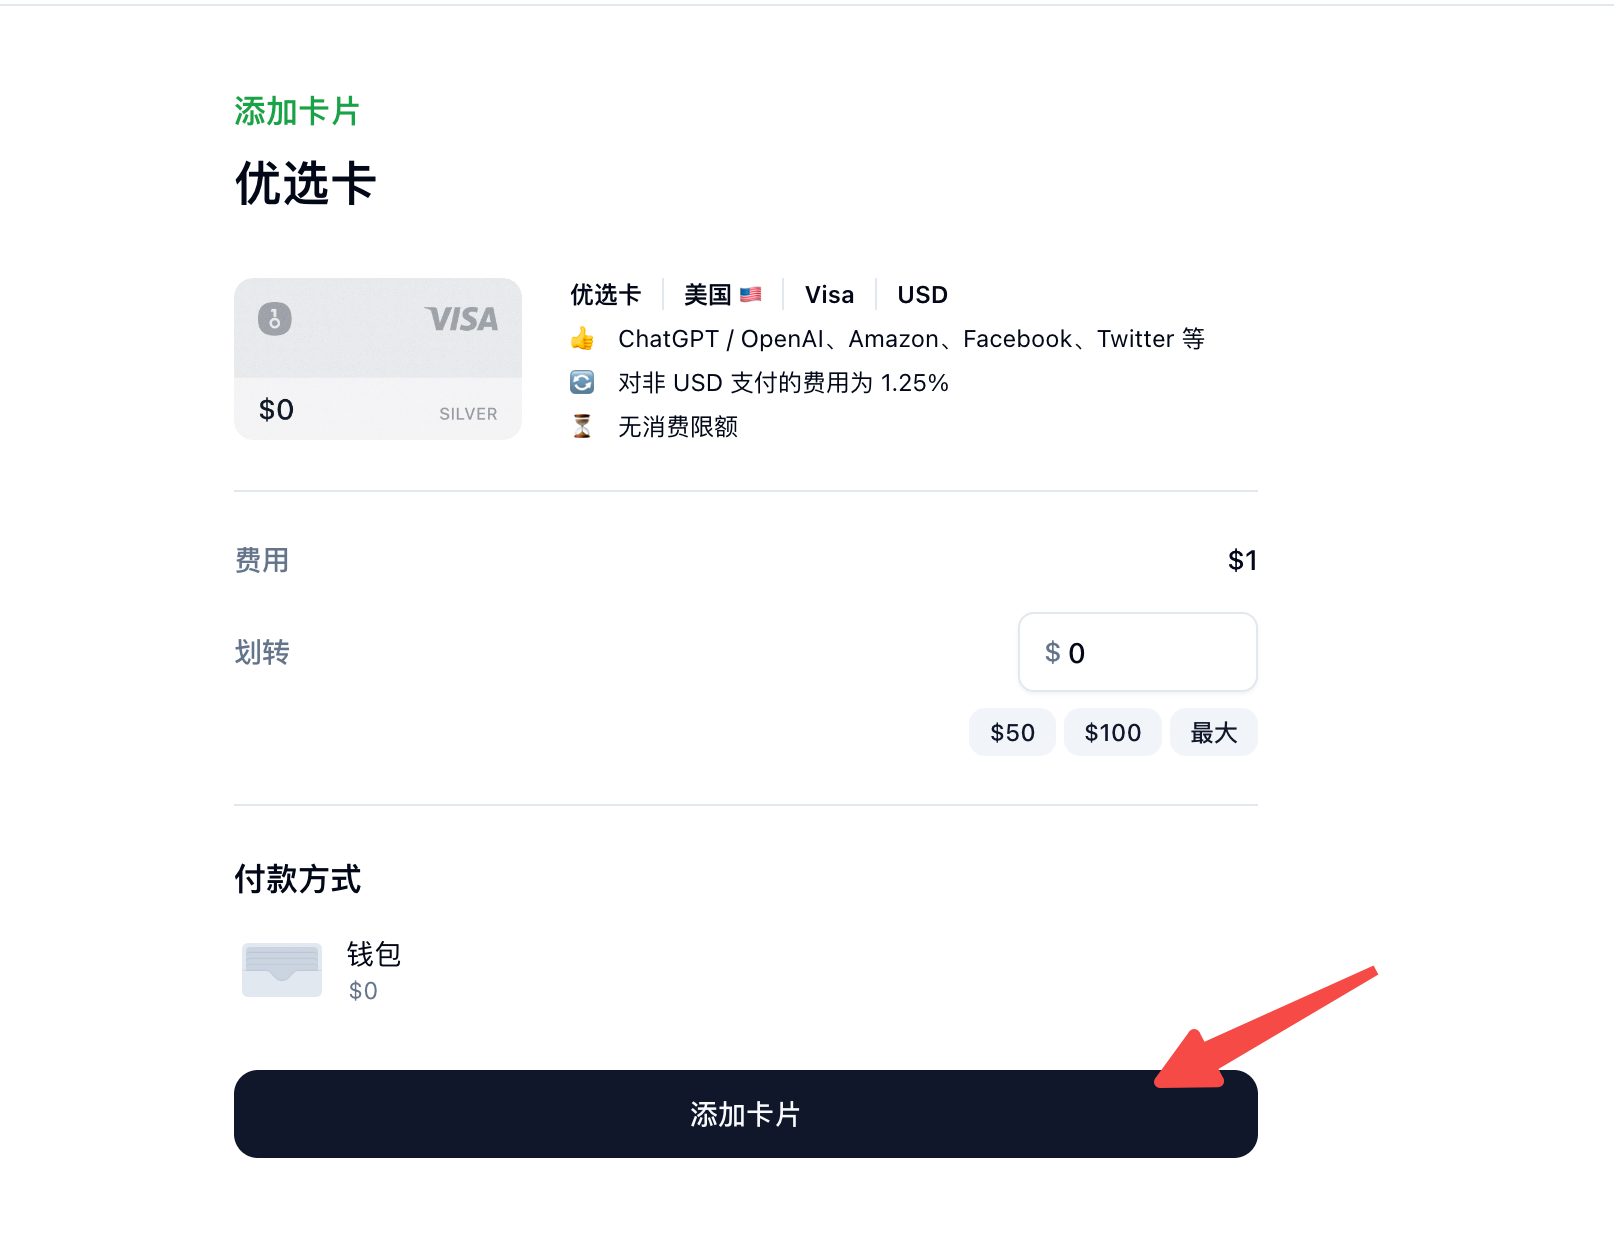
4.View card details
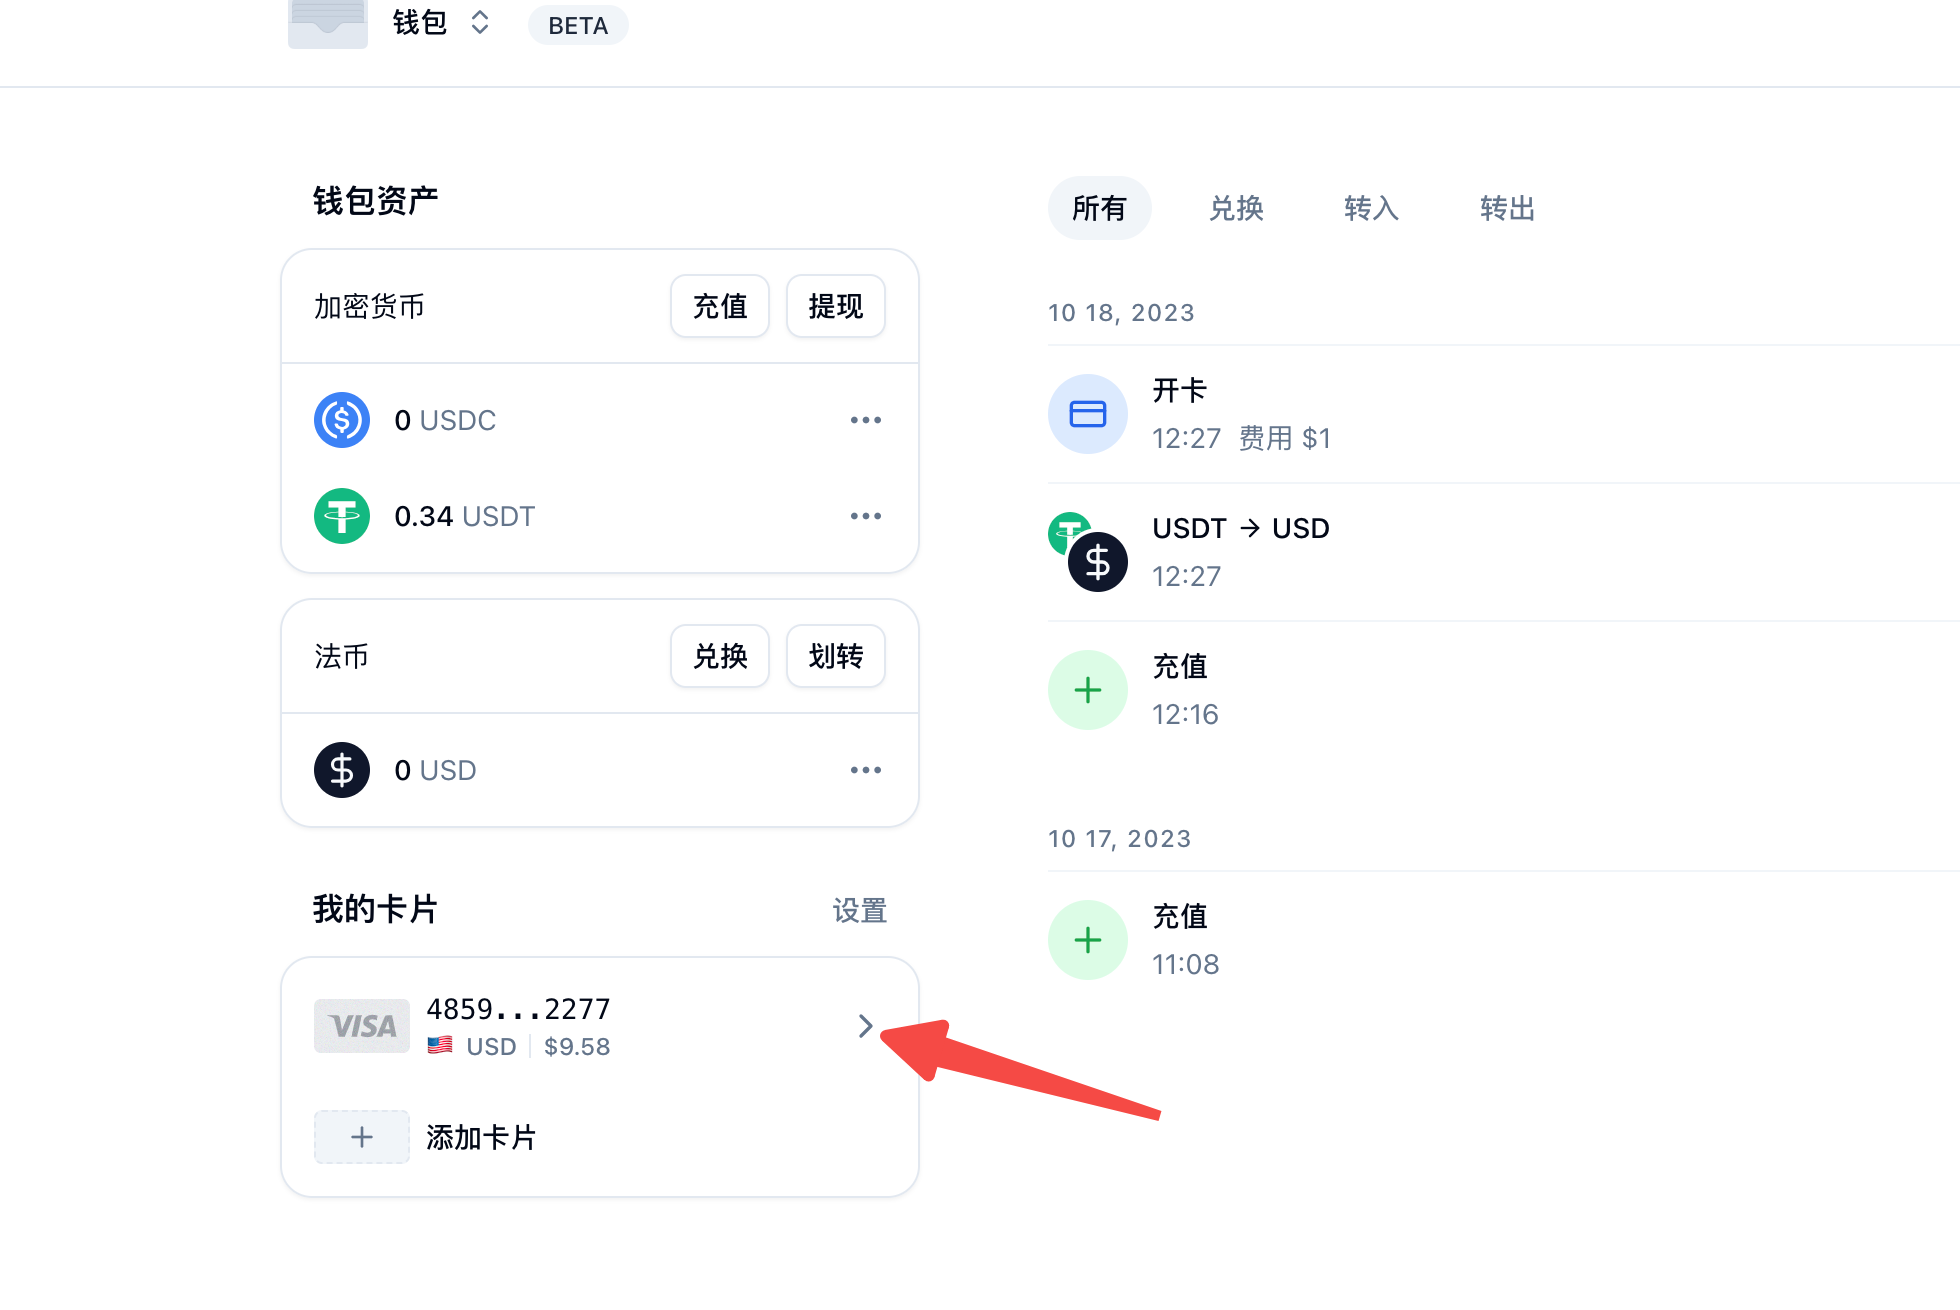
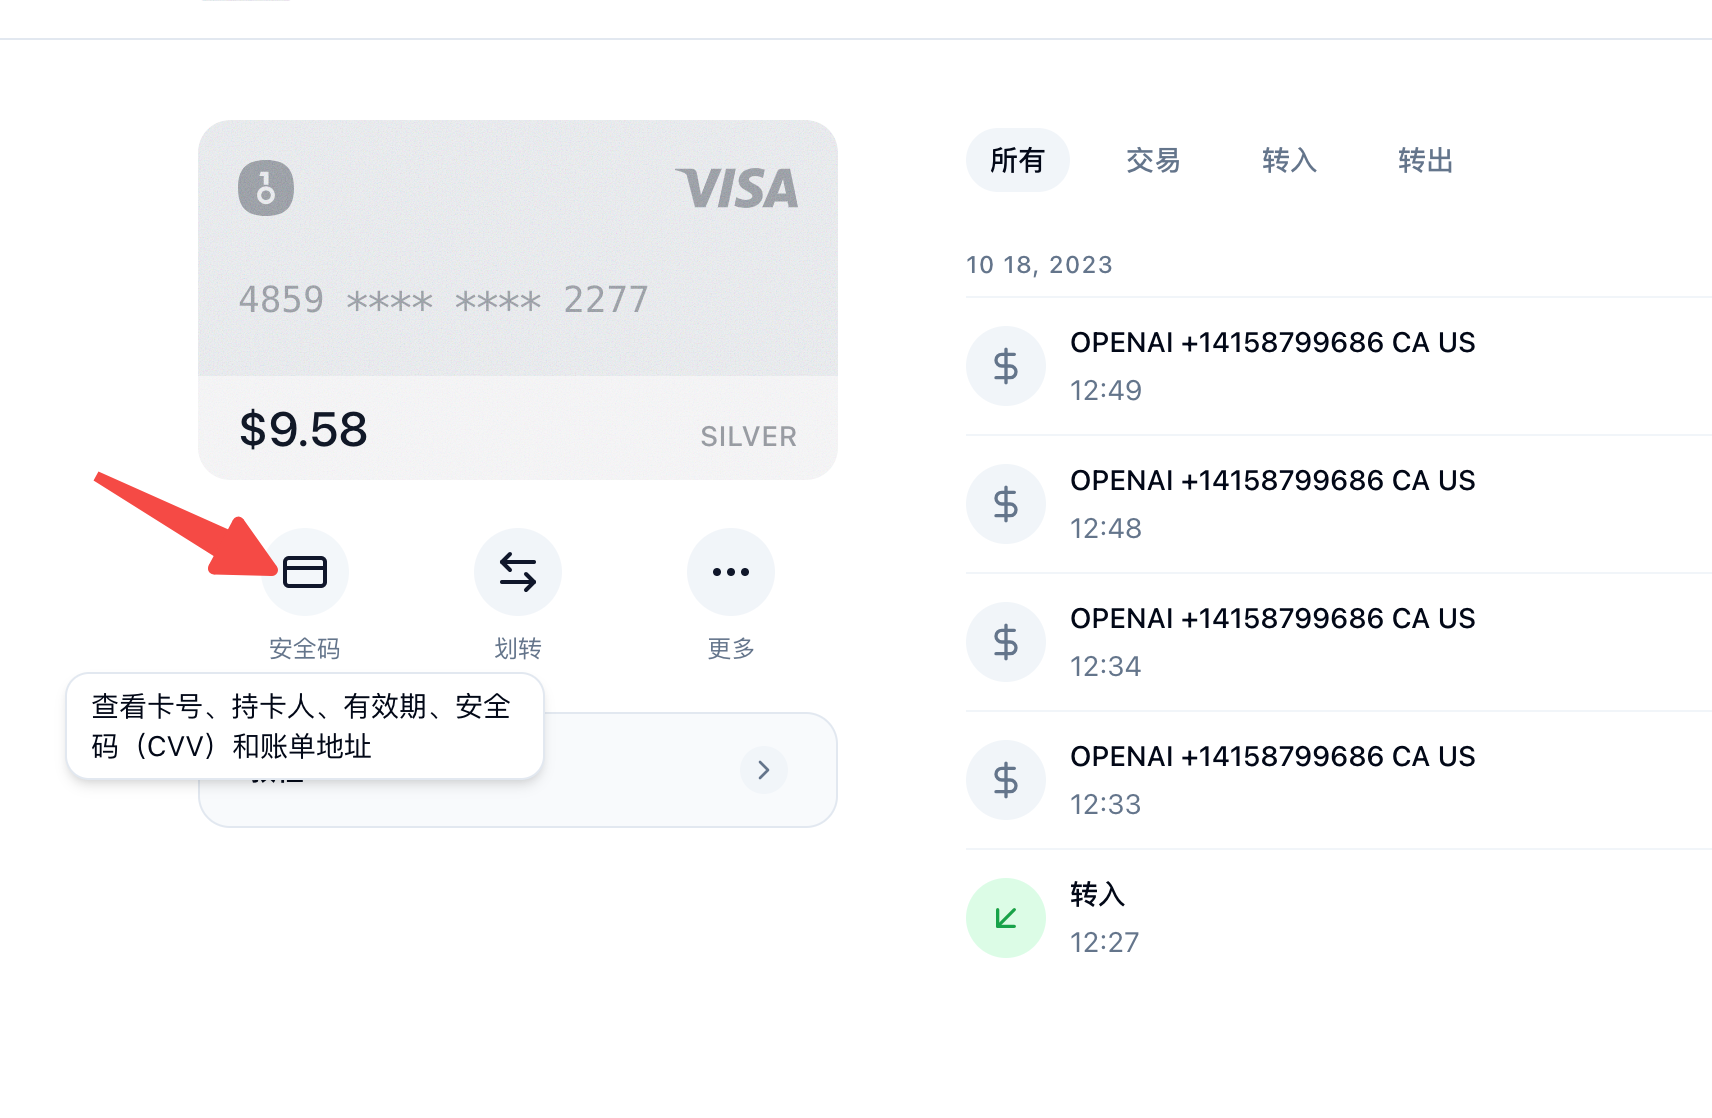
nobepay workflow
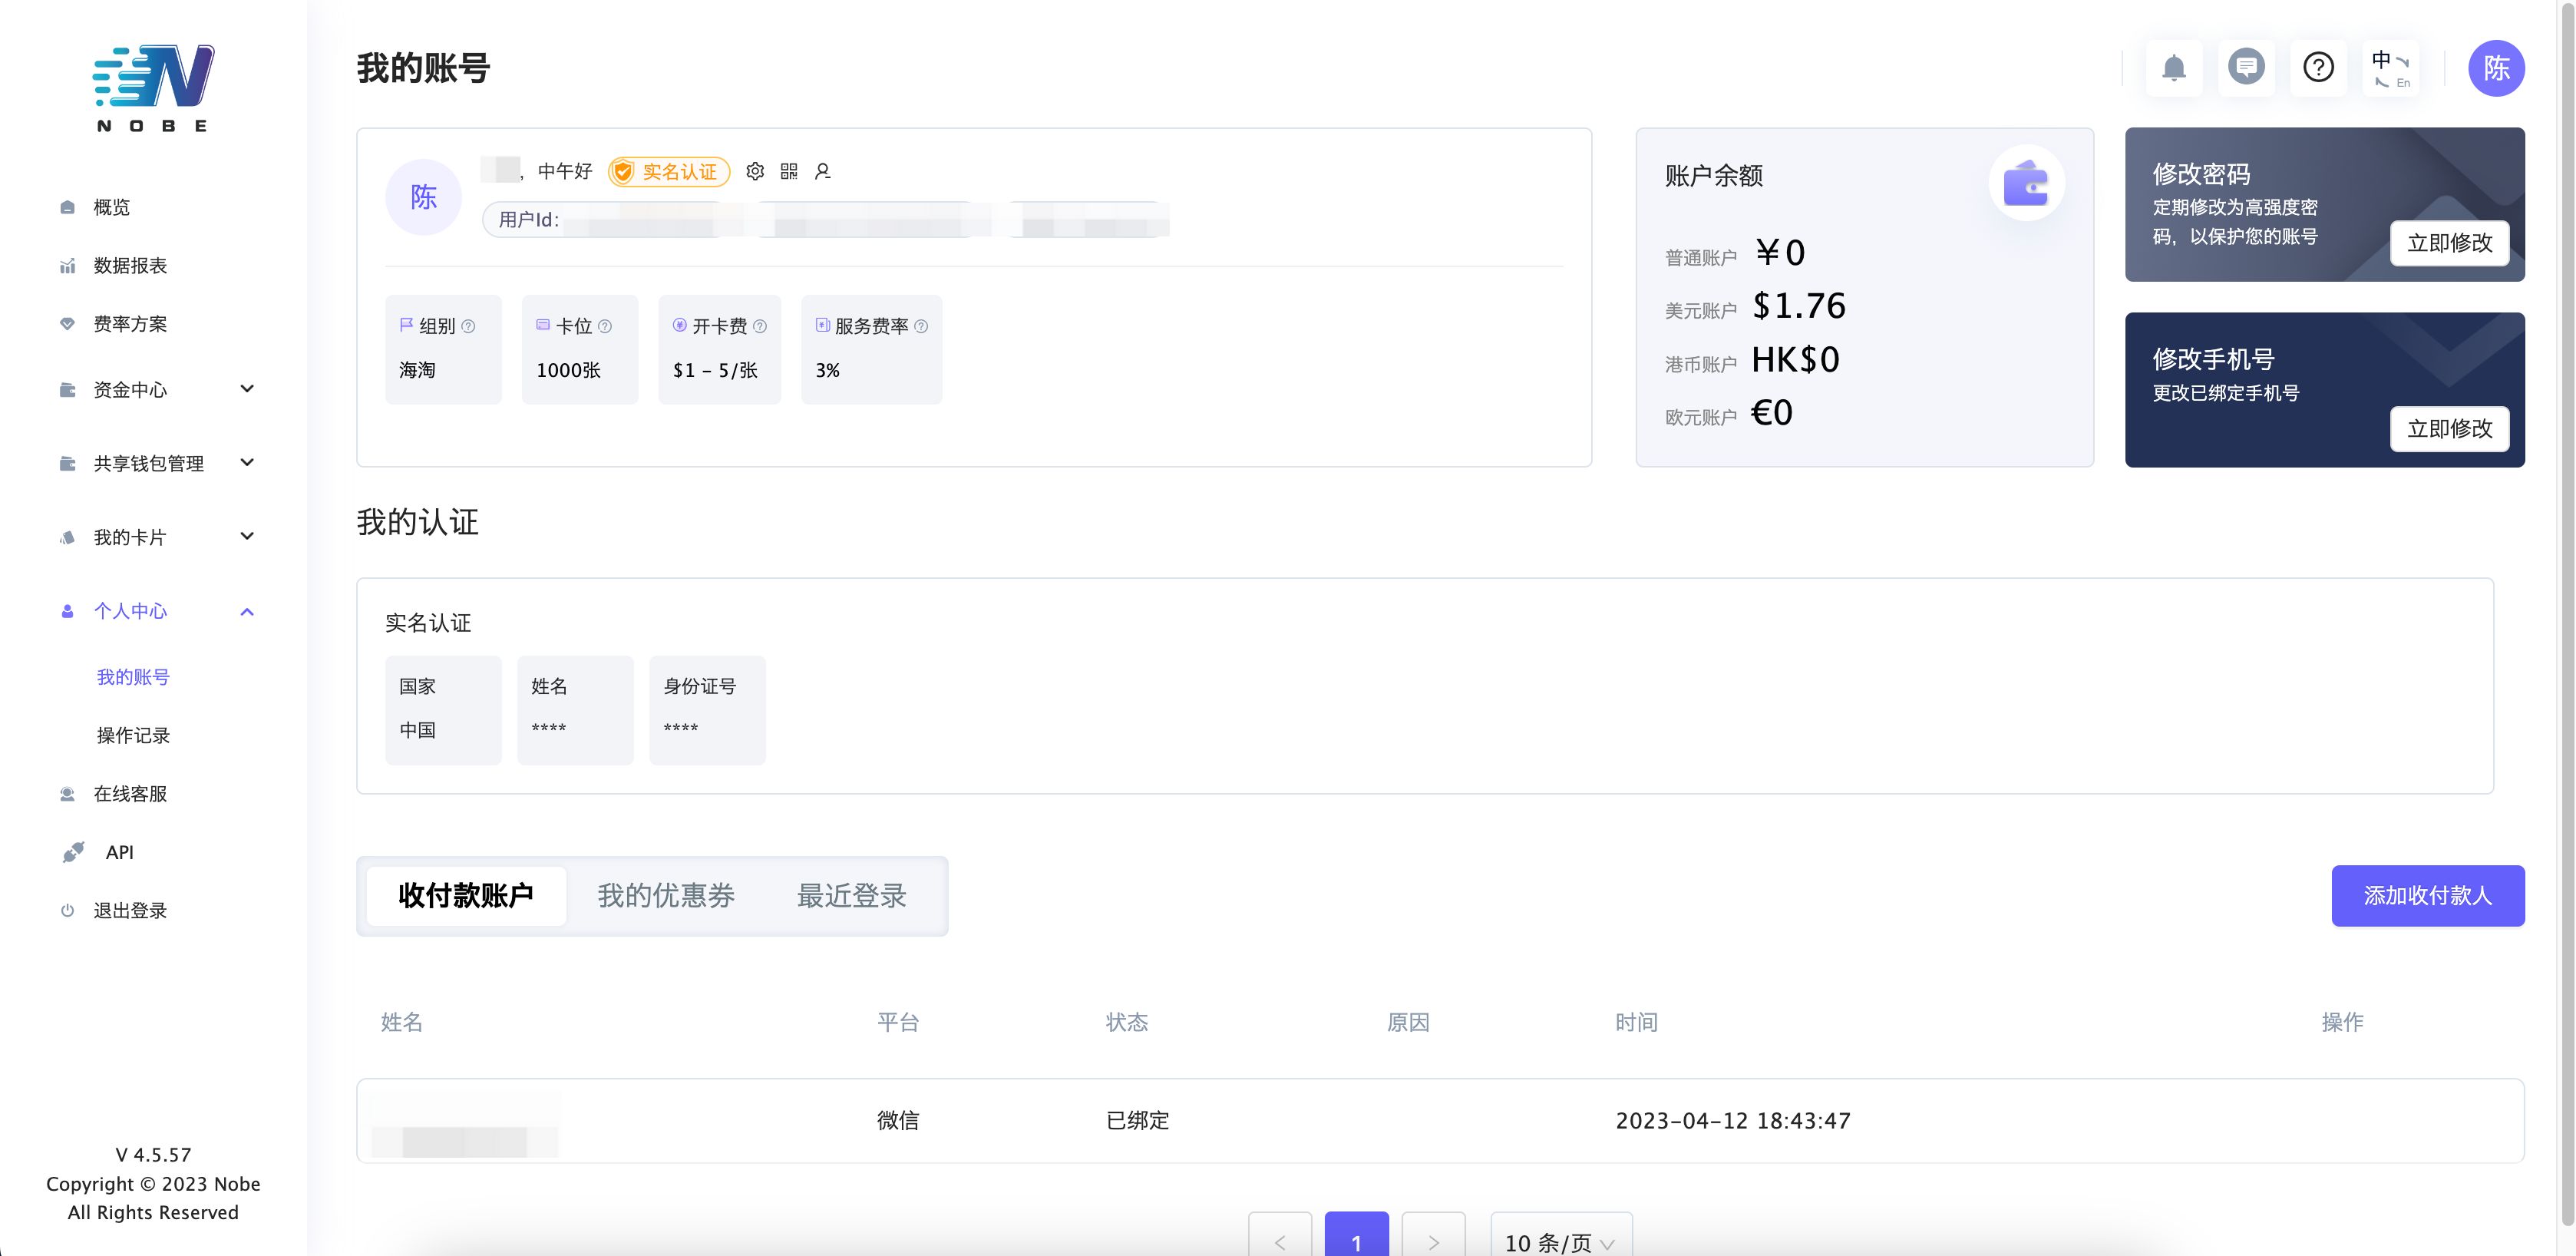
(1) Real-name verification is also required after registration, but you don't need to photograph your ID. Just scan the QR code with your phone and complete facial verification.
(2)Deposit using a USDT wallet, since direct RMB deposits require a minimum of 500.
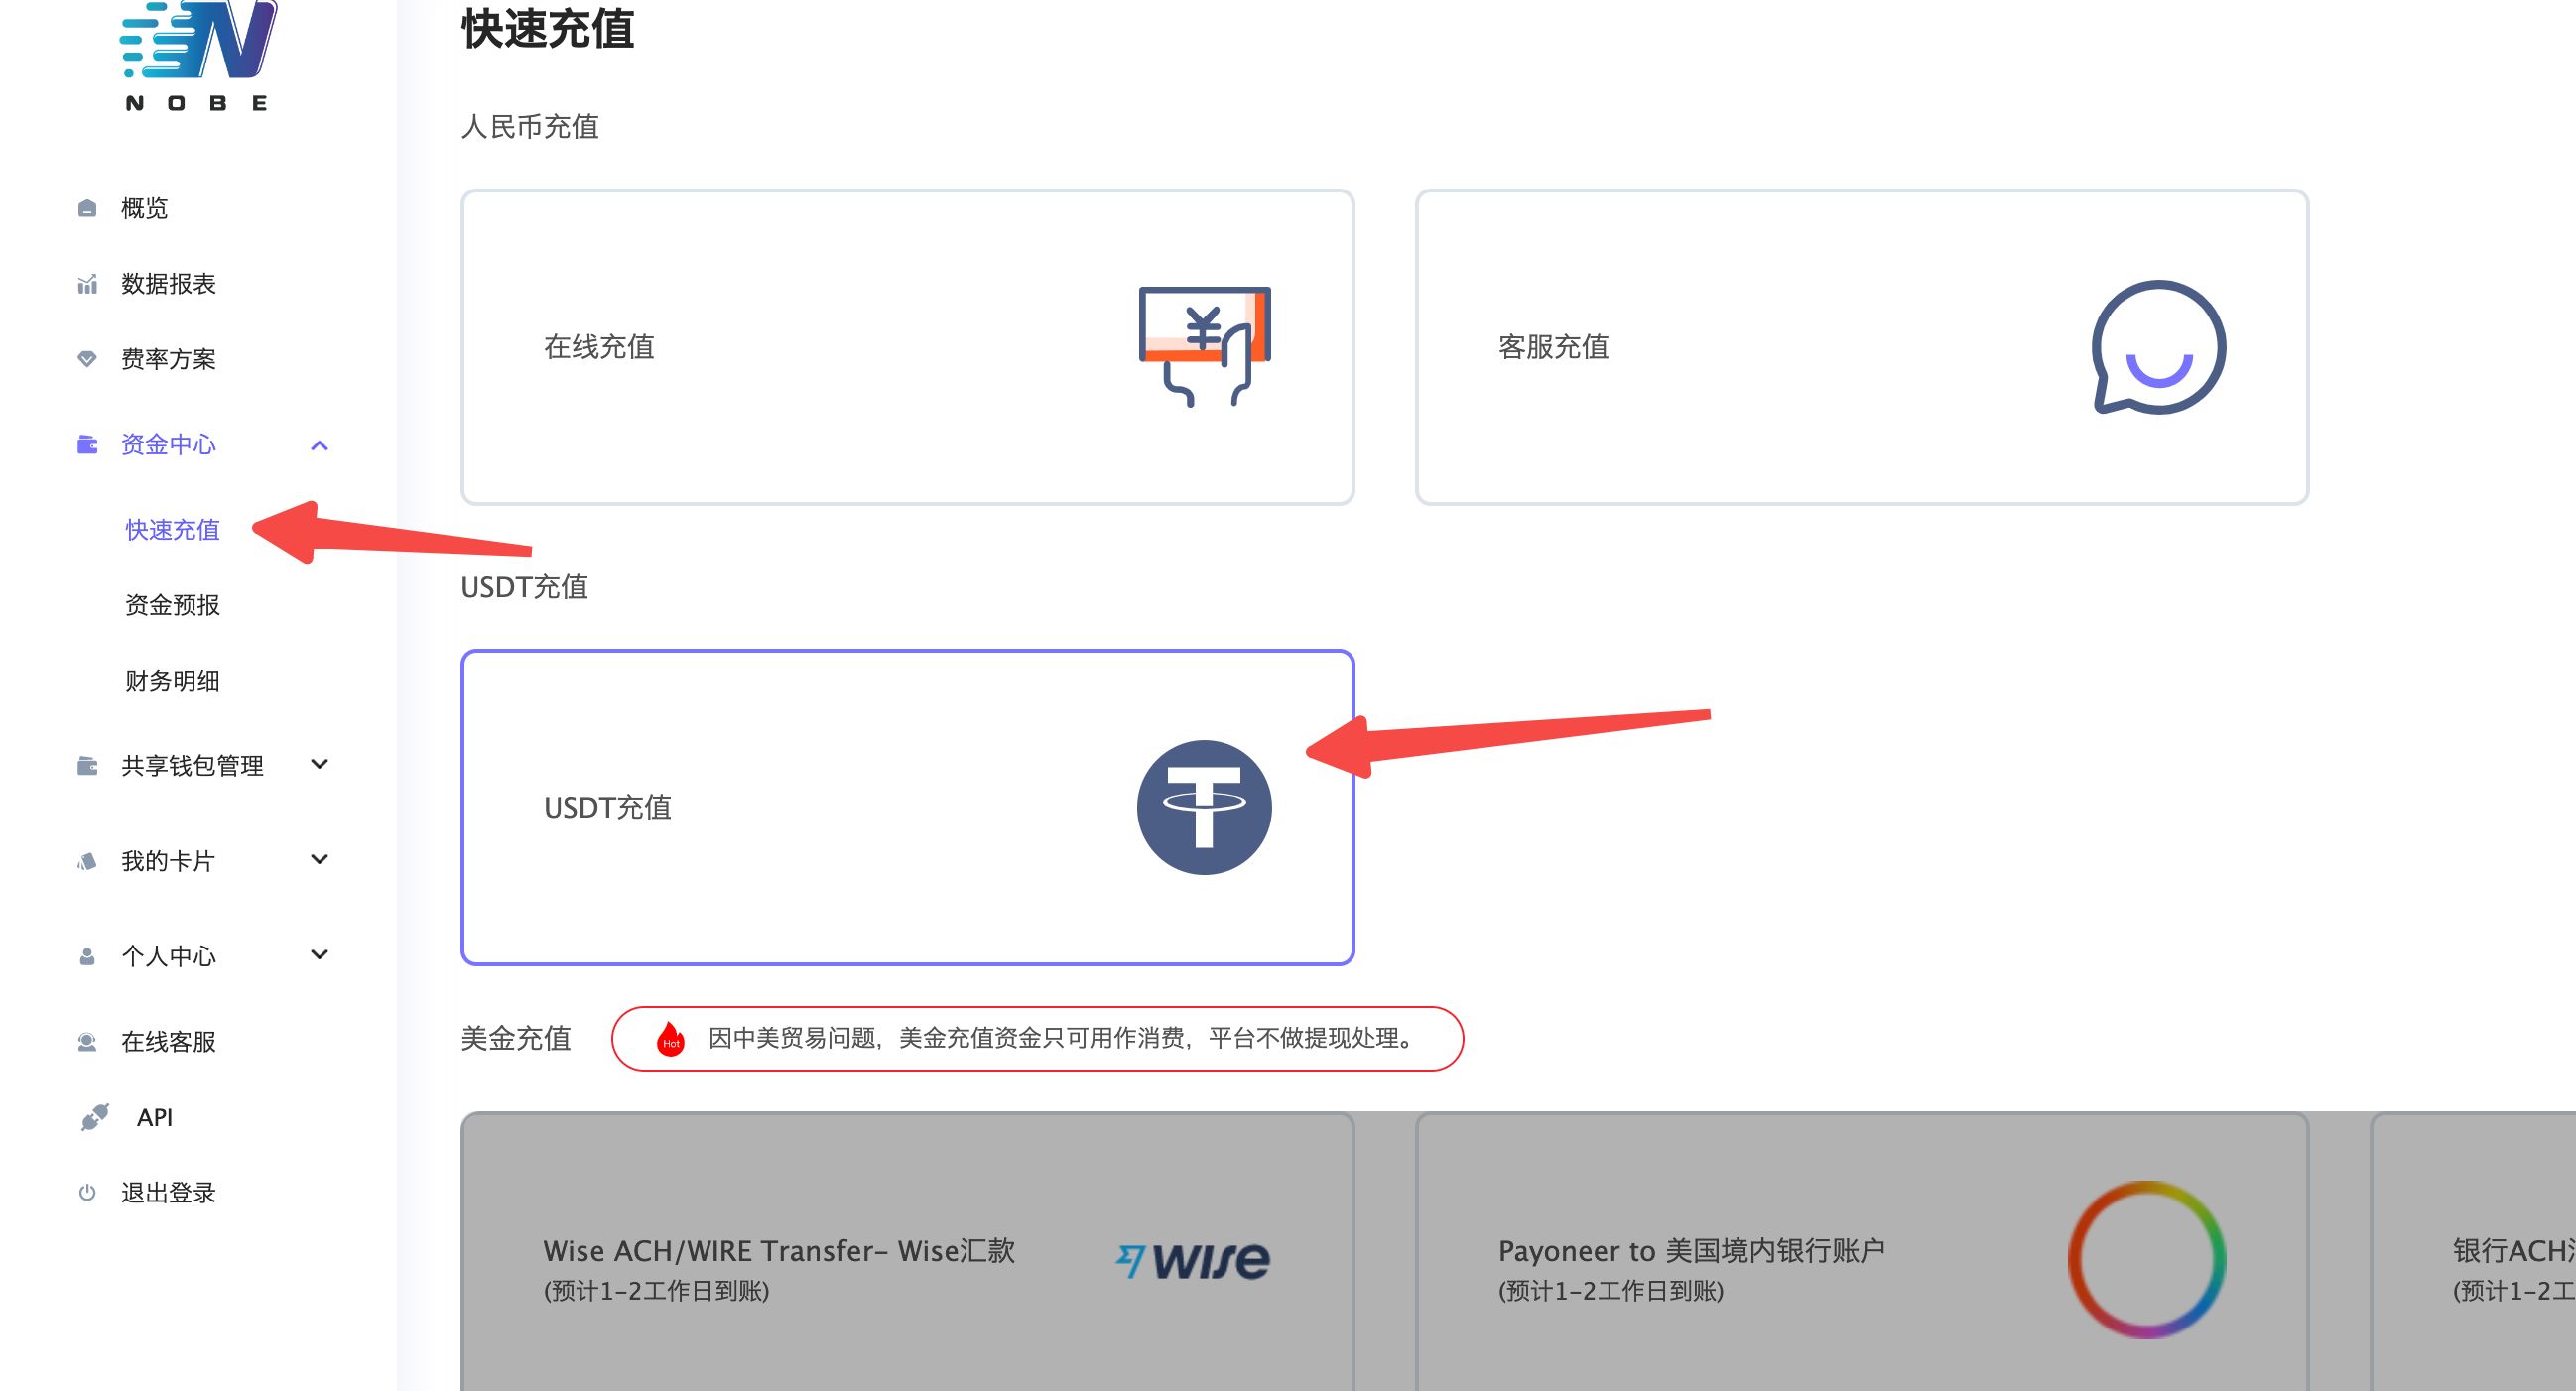
After you click, the platform generates a wallet address specifically for you.
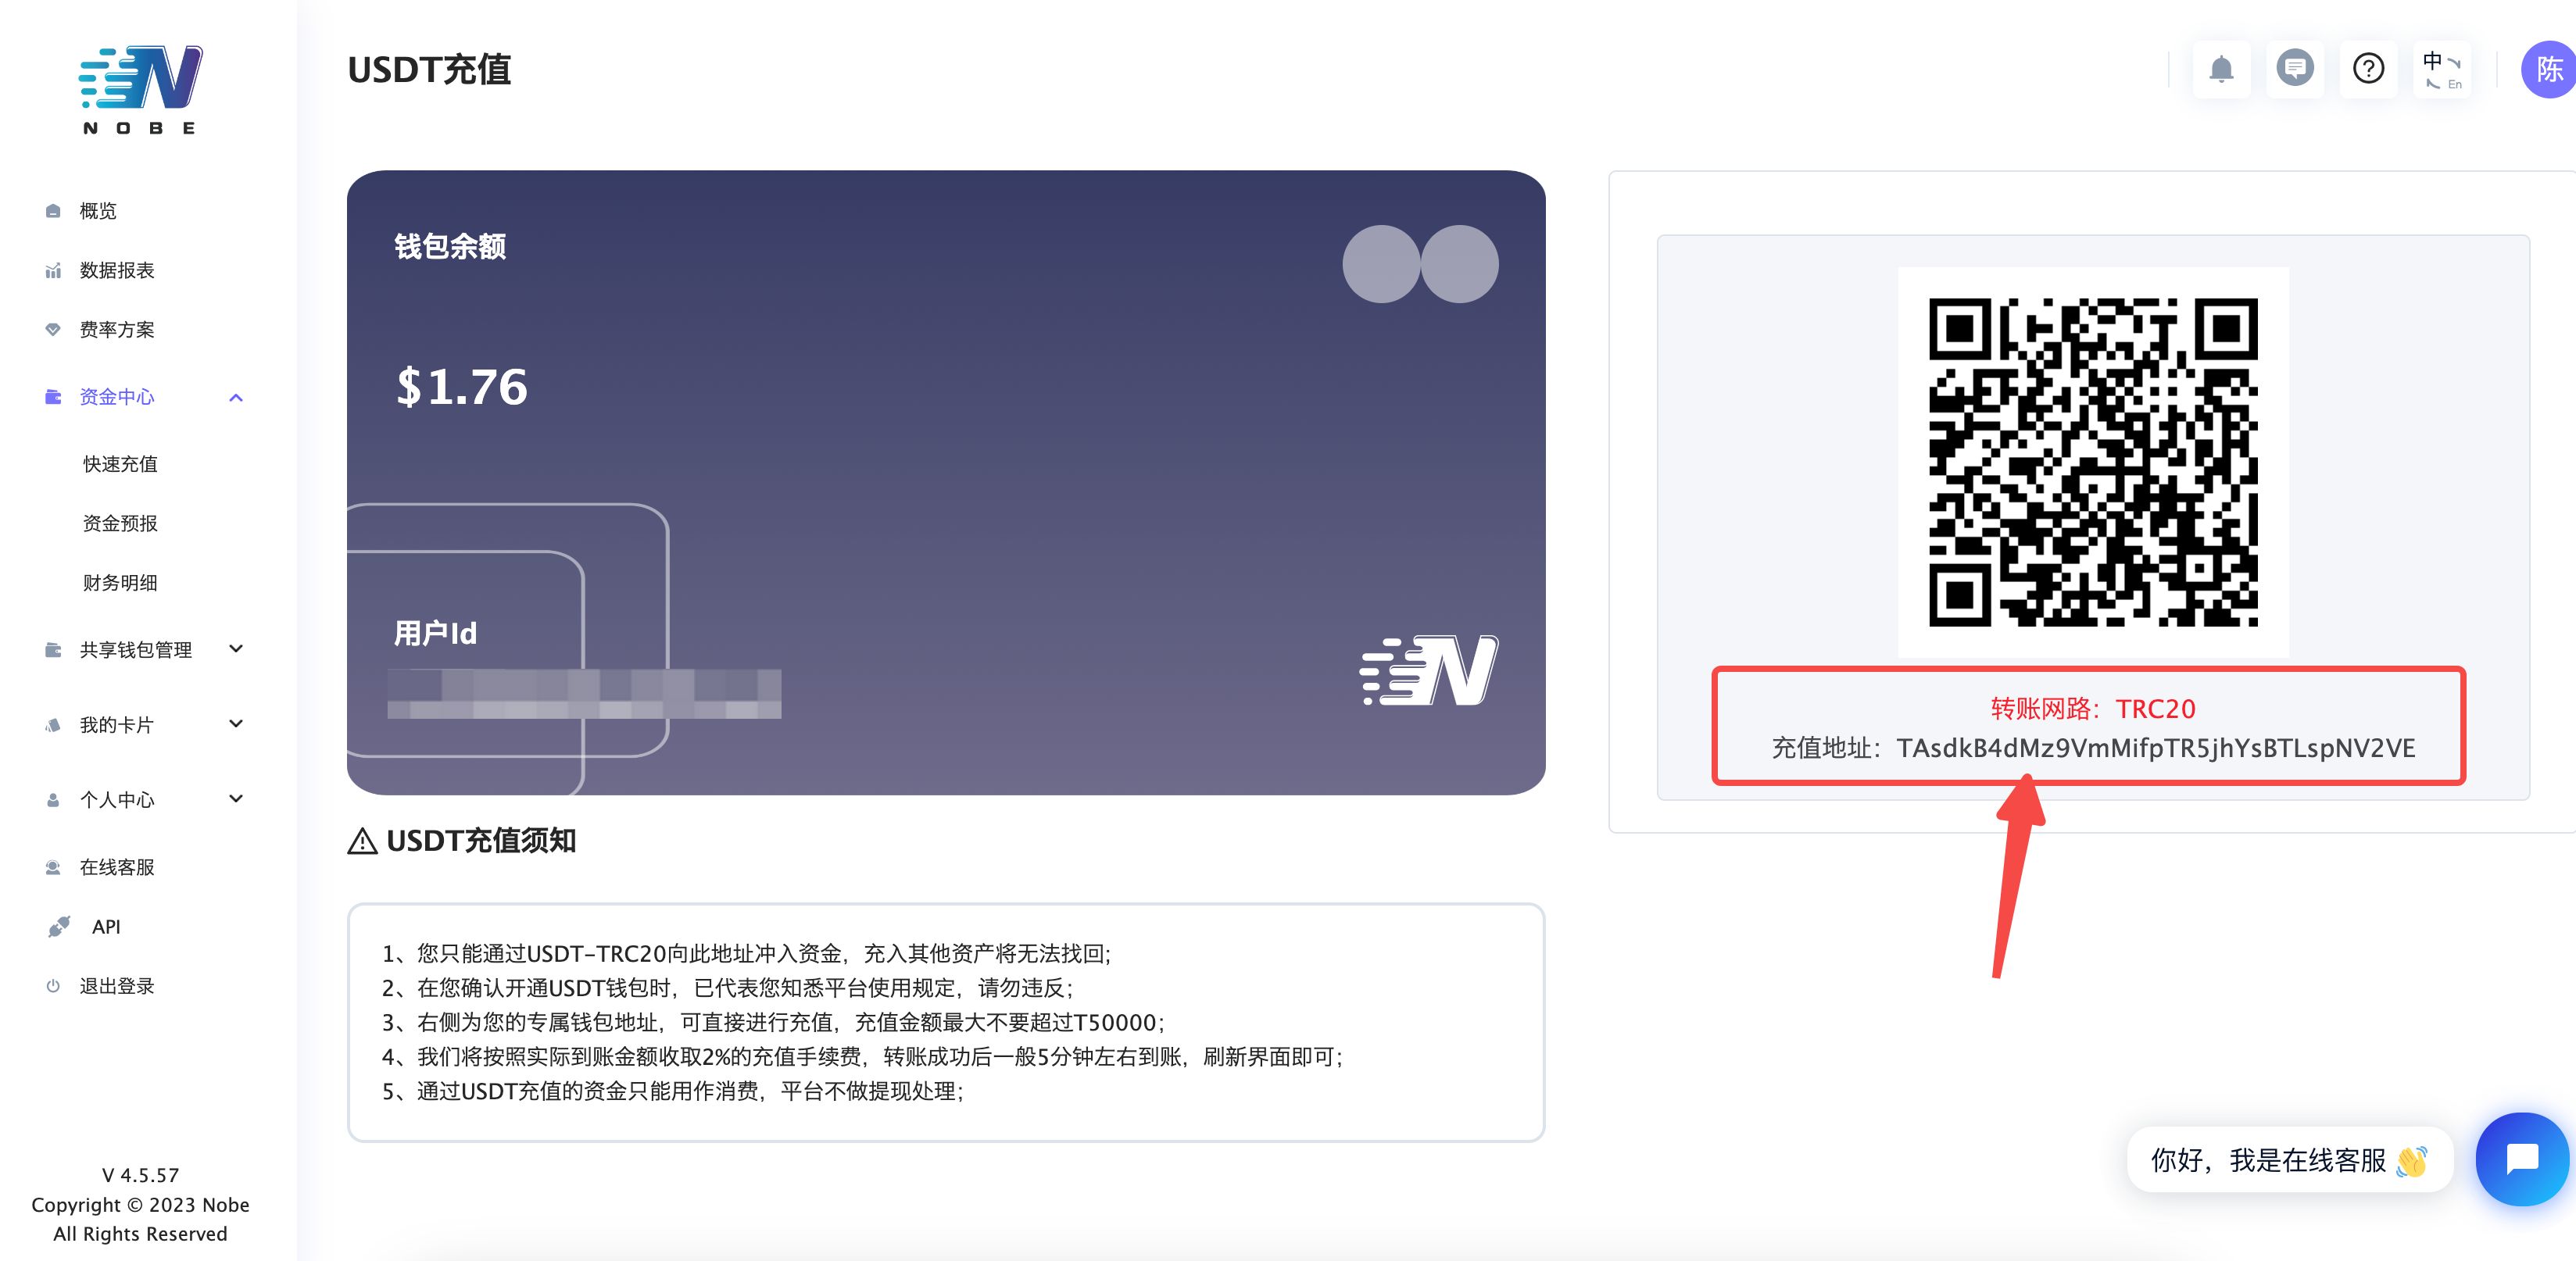
Note that a 2% fee is also deducted from the deposit here. That's why I recommend depositing 110 RMB; otherwise, you'll end up like me, with only 13.06USD credited when issuing a card from the new range requires 13.3USD😂.
The next day, withdraw from Binance to the wallet address provided by Nobepay
- Make sure the transfer network is: TRC20
I withdrew 14.3USD. With a 1USD fee, 13.3USD arrived, and after Nobepay's 2% fee, the actual credited amount was 13.06USD. (What a rip-off.)
Now for the most important part: issuing a Nobepay card
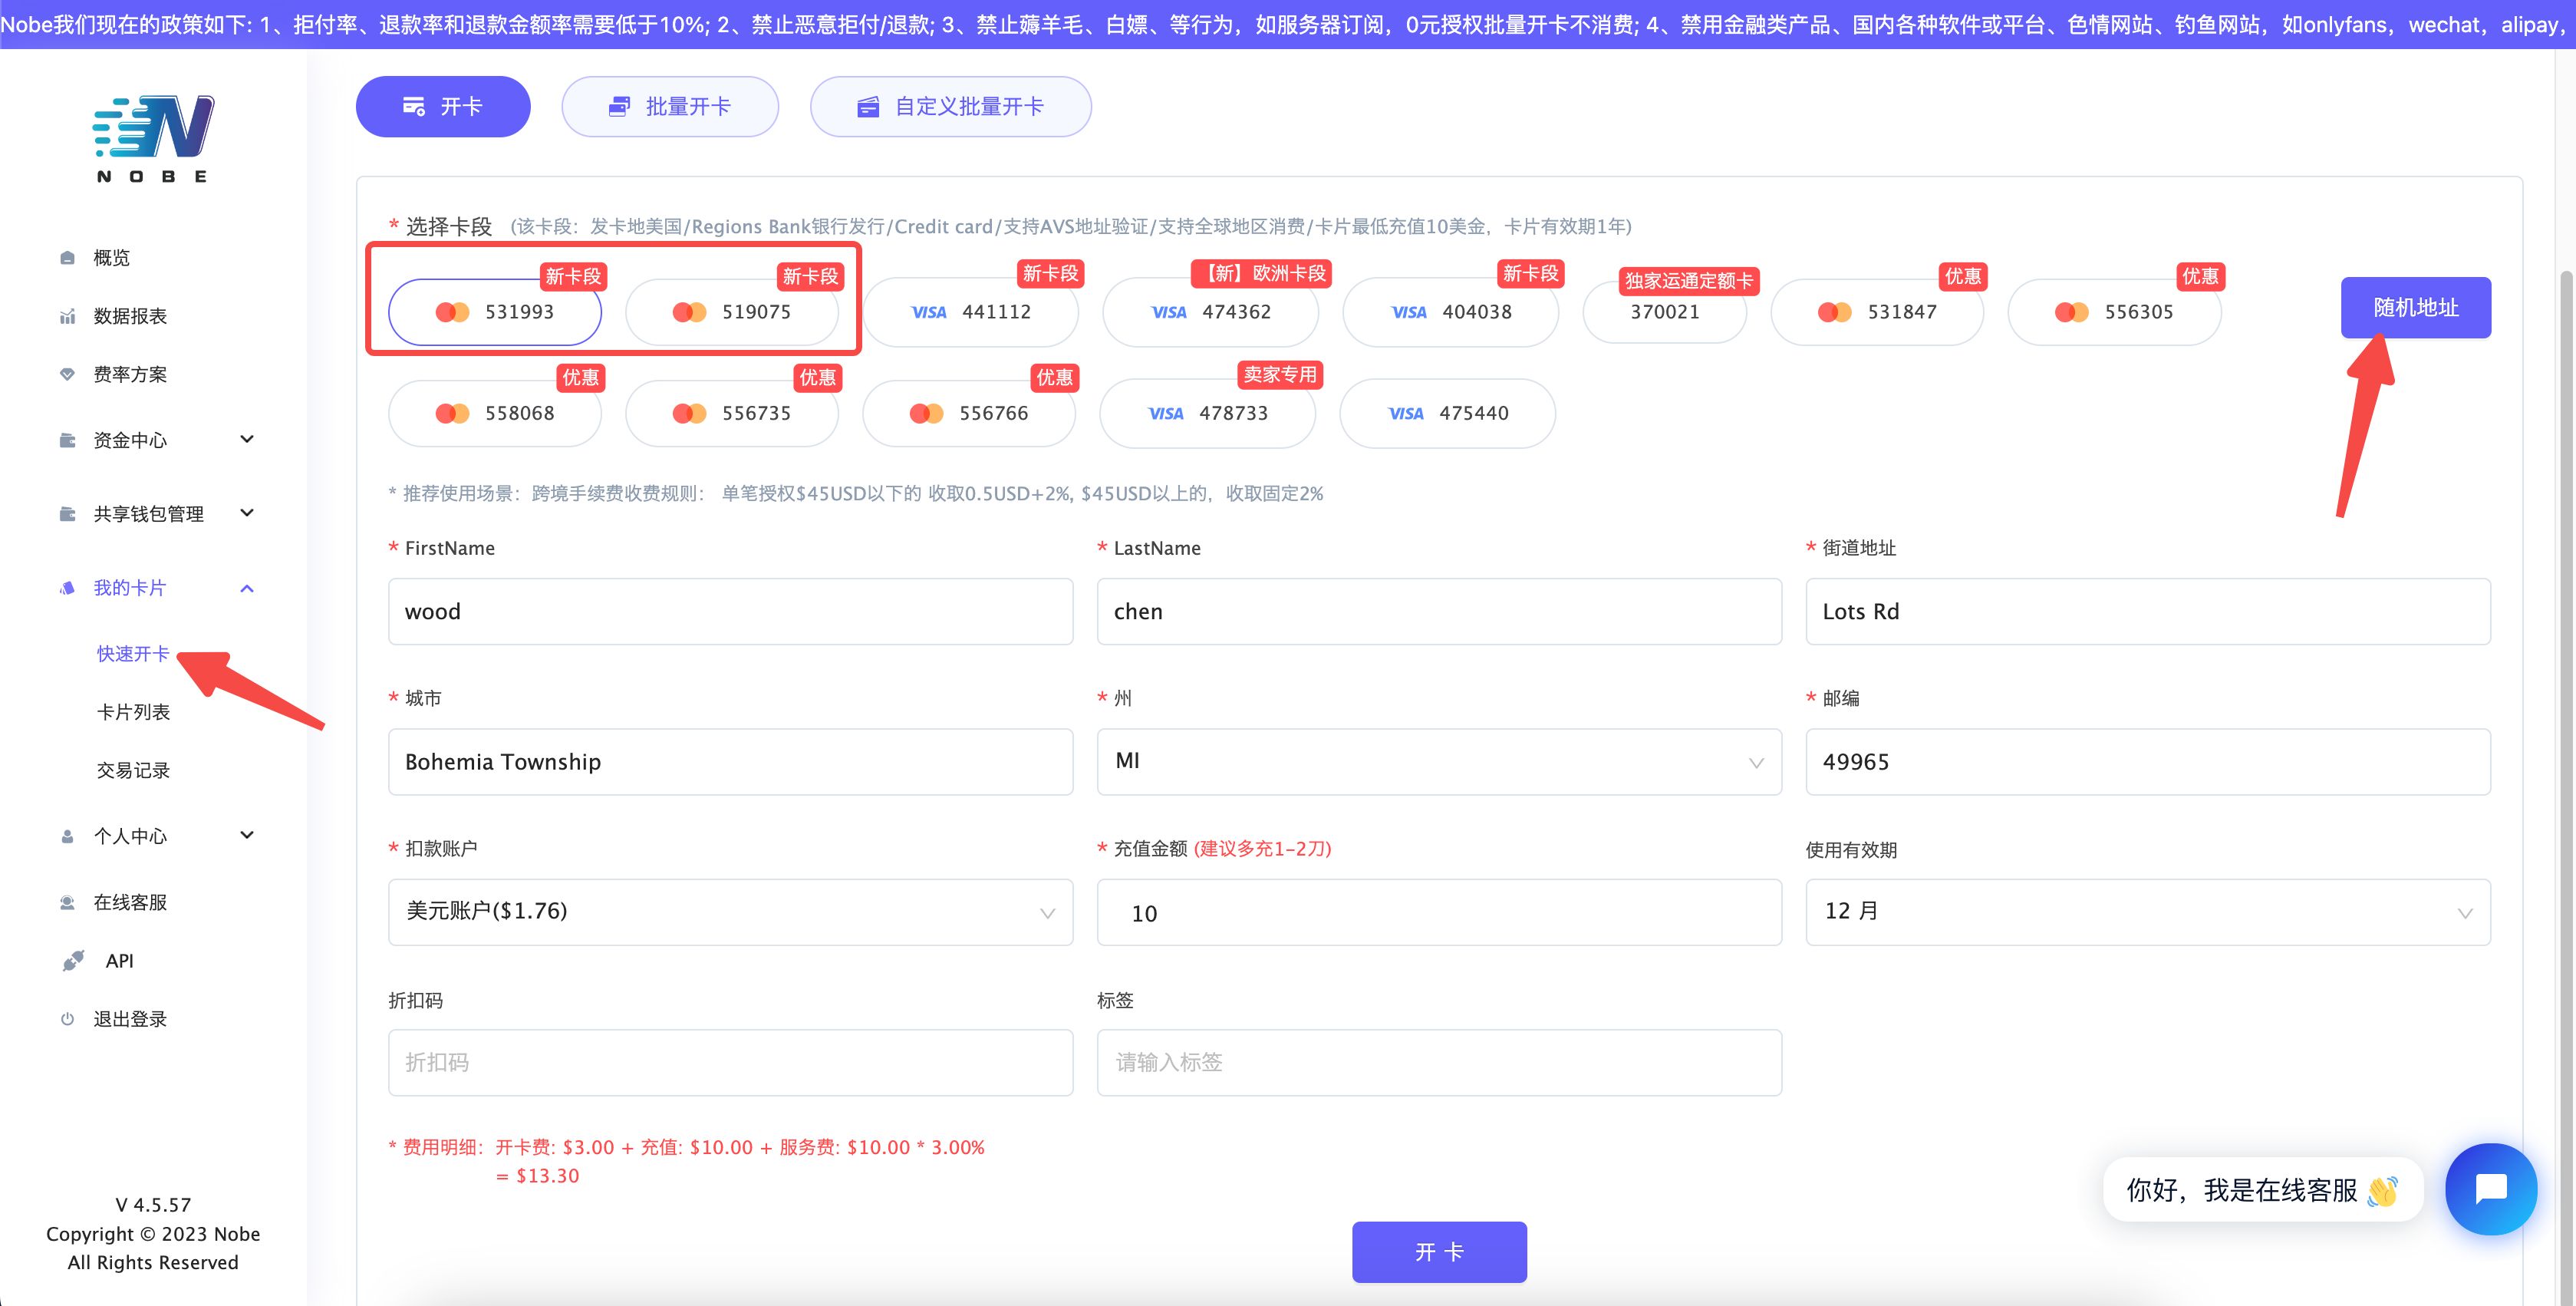
(1)My Cards - Quick Card Issuance
- I recommend using a new card number range, and not visa
- I recommend using a random address
- It's best to change the name to your own
- Card issuance costs 13.3USD
- If you only deposited 100 like I did, you'll have to use the discounted old card number range. I used the 531847 range
- Customer support said almost all cards except European ones should work, but I'd still recommend following my advice. If linking fails, you can cancel the card and the funds will be returned to your wallet.
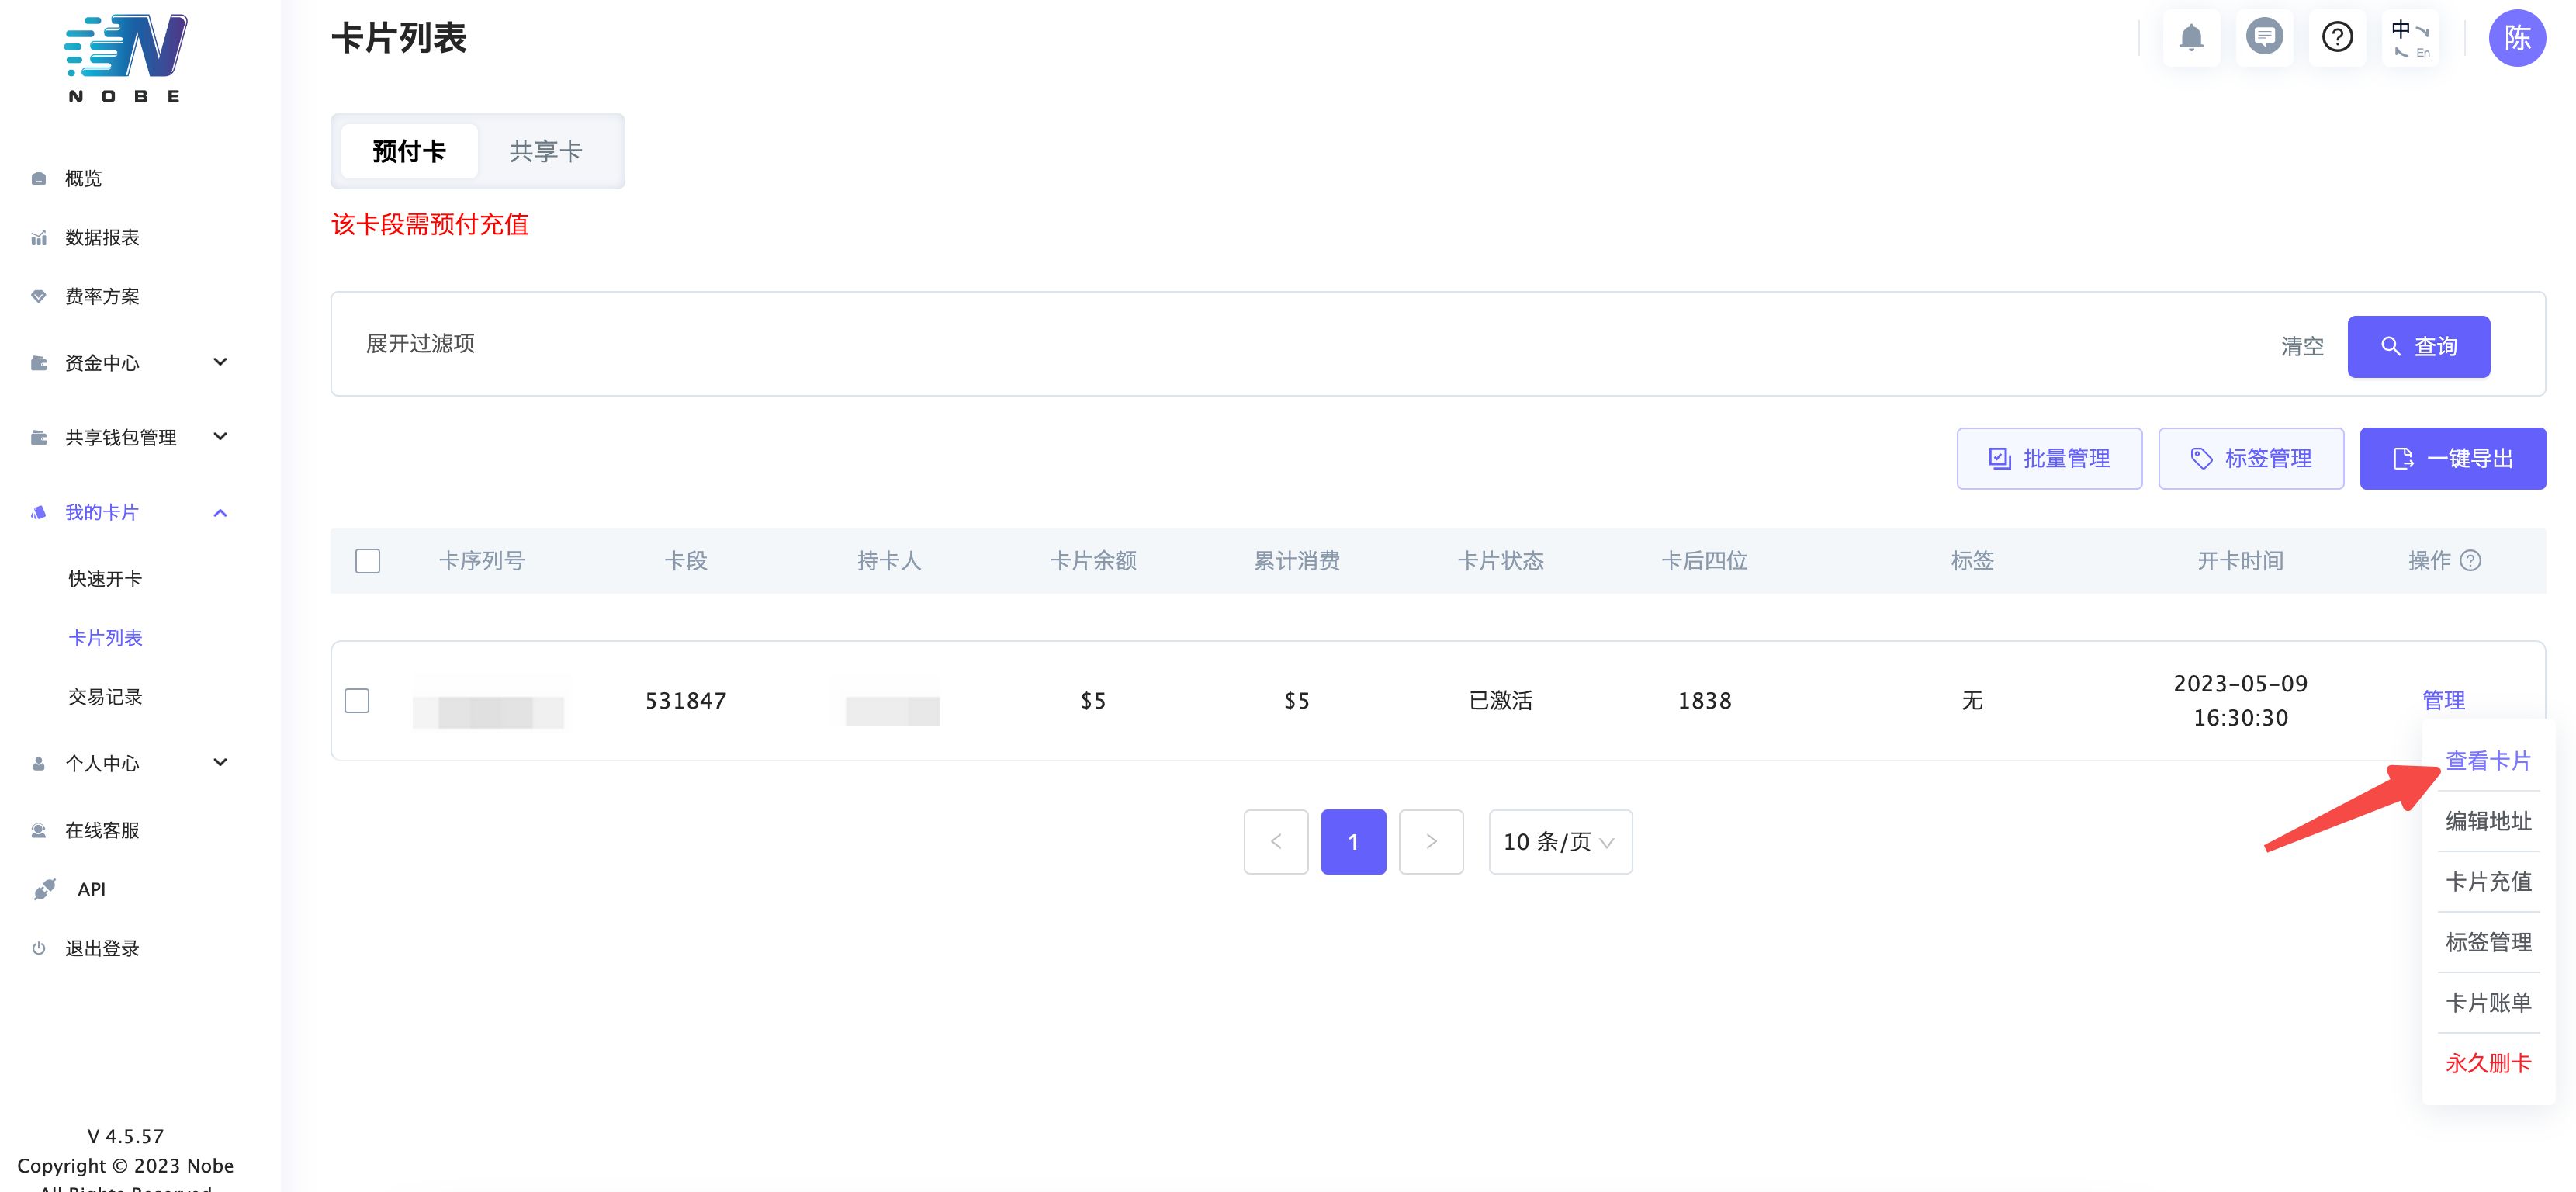
(2)View card details
If everything is fine, wait a little for the card to be issued. You'll then see a success message; refresh the page to view it.
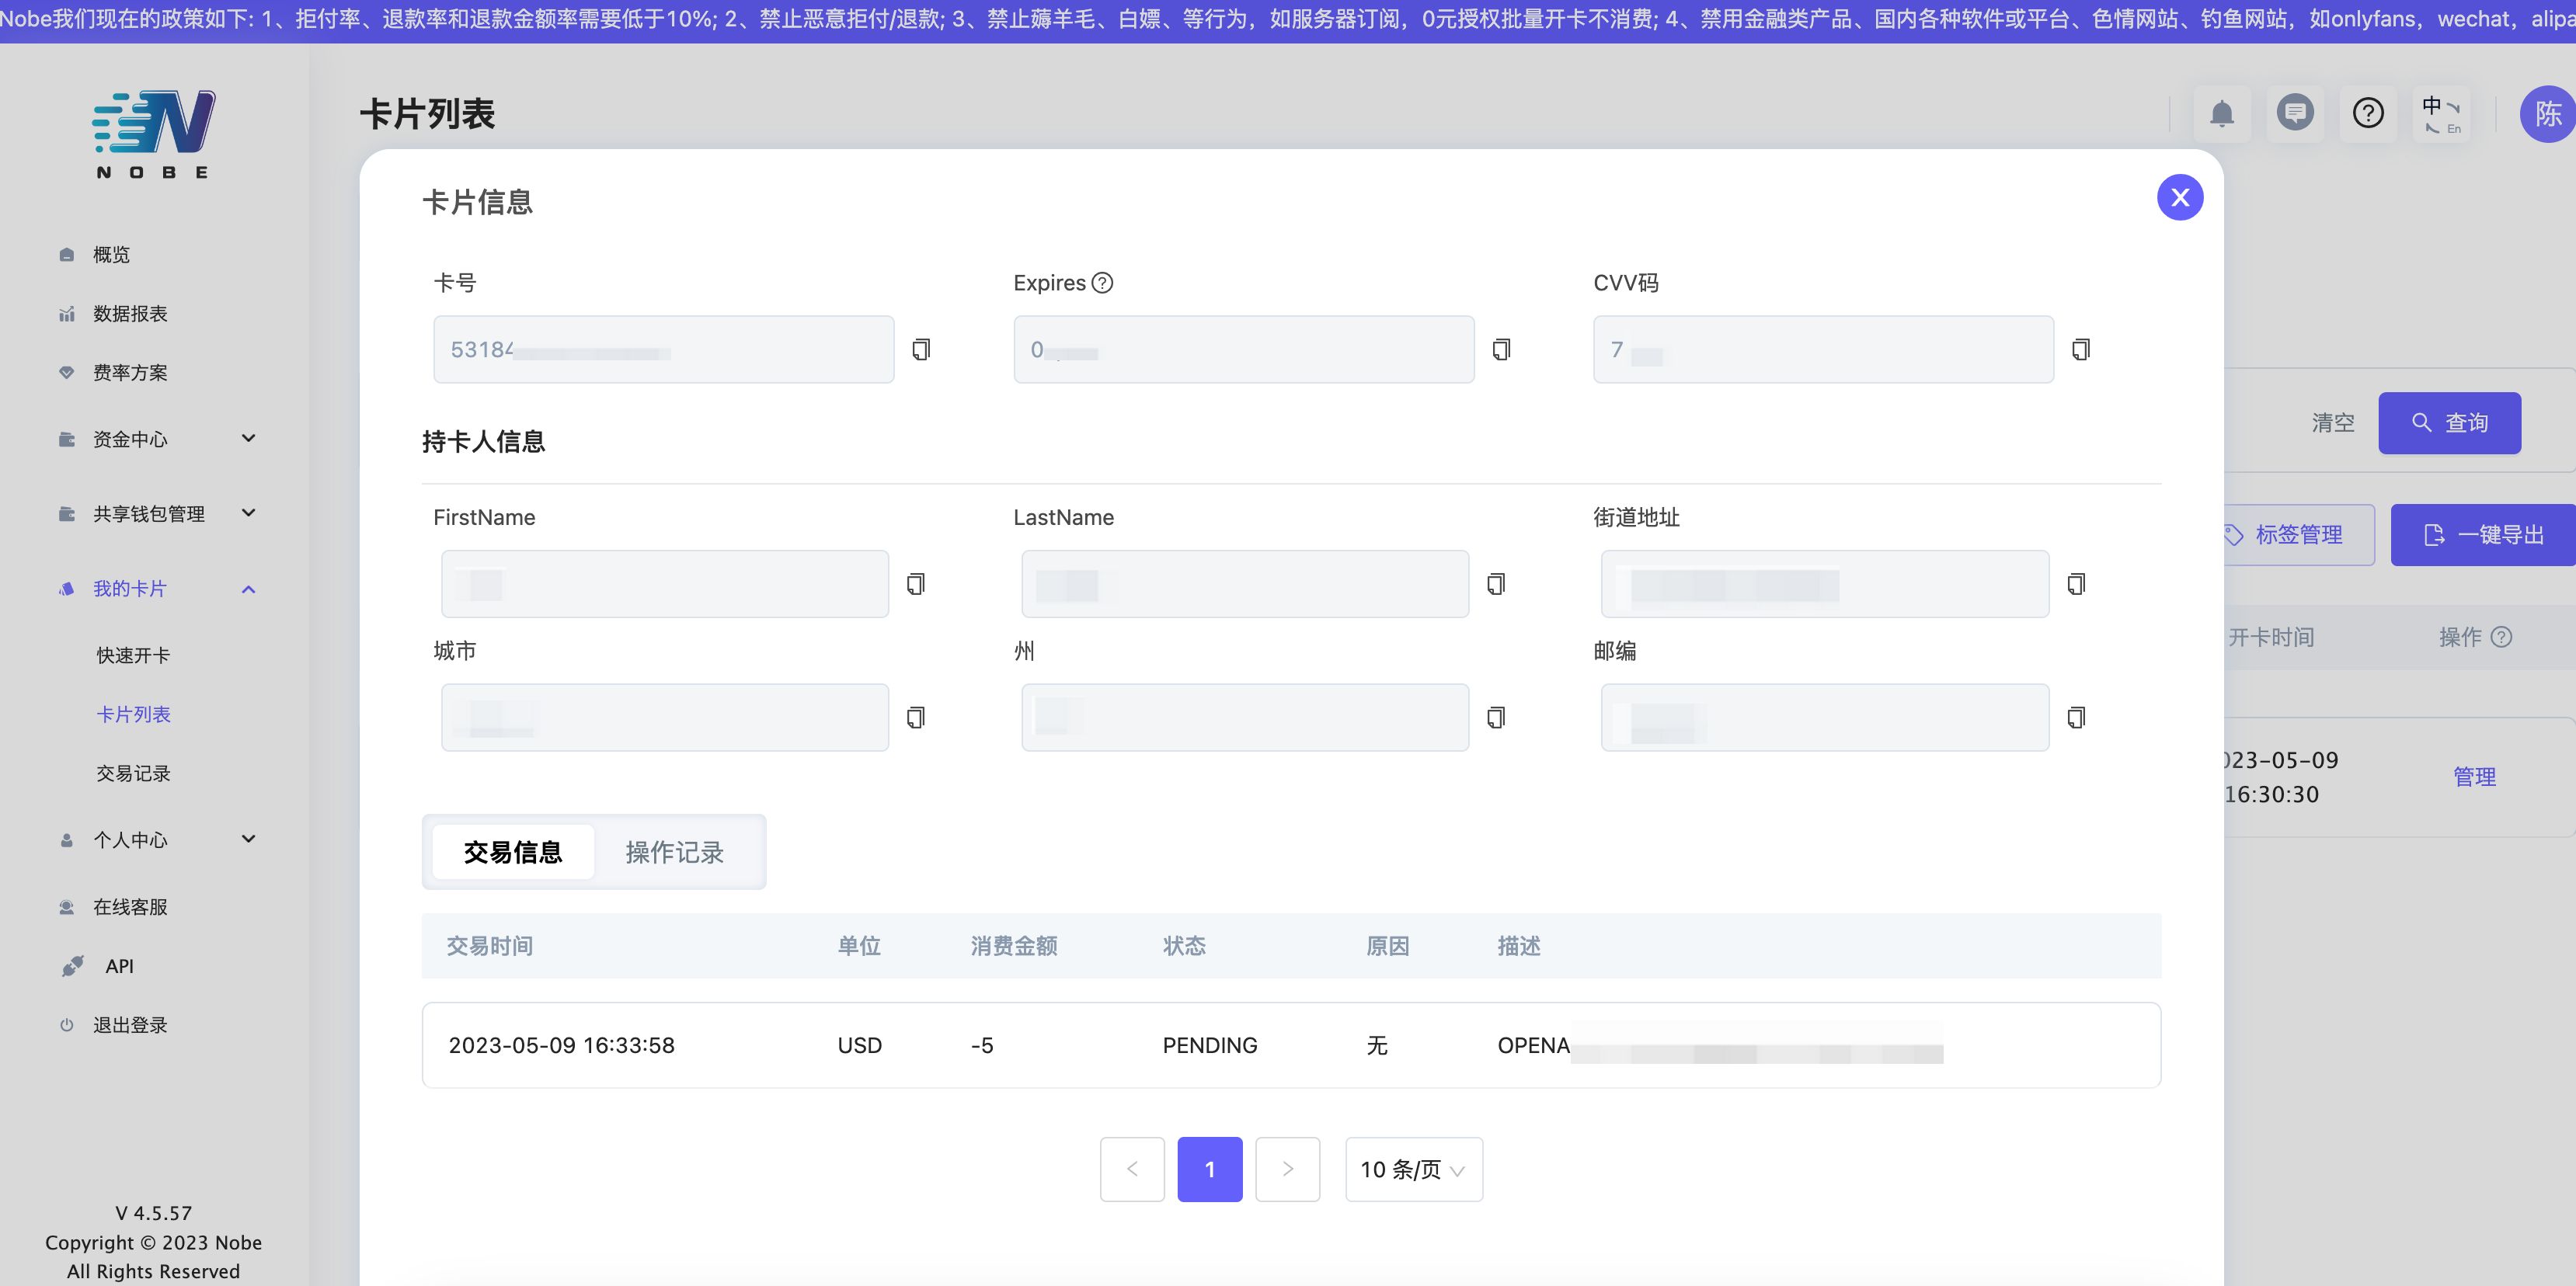
The card should have a 10USD balance. Here, OPENAI placed a 5USD authorization hold when verifying the card, which will be refunded later.
- Click to view the card
- Once the details appear, leave the page here
Add the Card to OPENAI
❗️Important: Use a clean IP address. I recommend creating a US virtual machine on Microsoft Azure and adding the card via Remote Desktop. It doesn't cost much. If you sign up for a new account with your own domestic visa card, you also get 200USD in free credit for the first month, which is plenty.
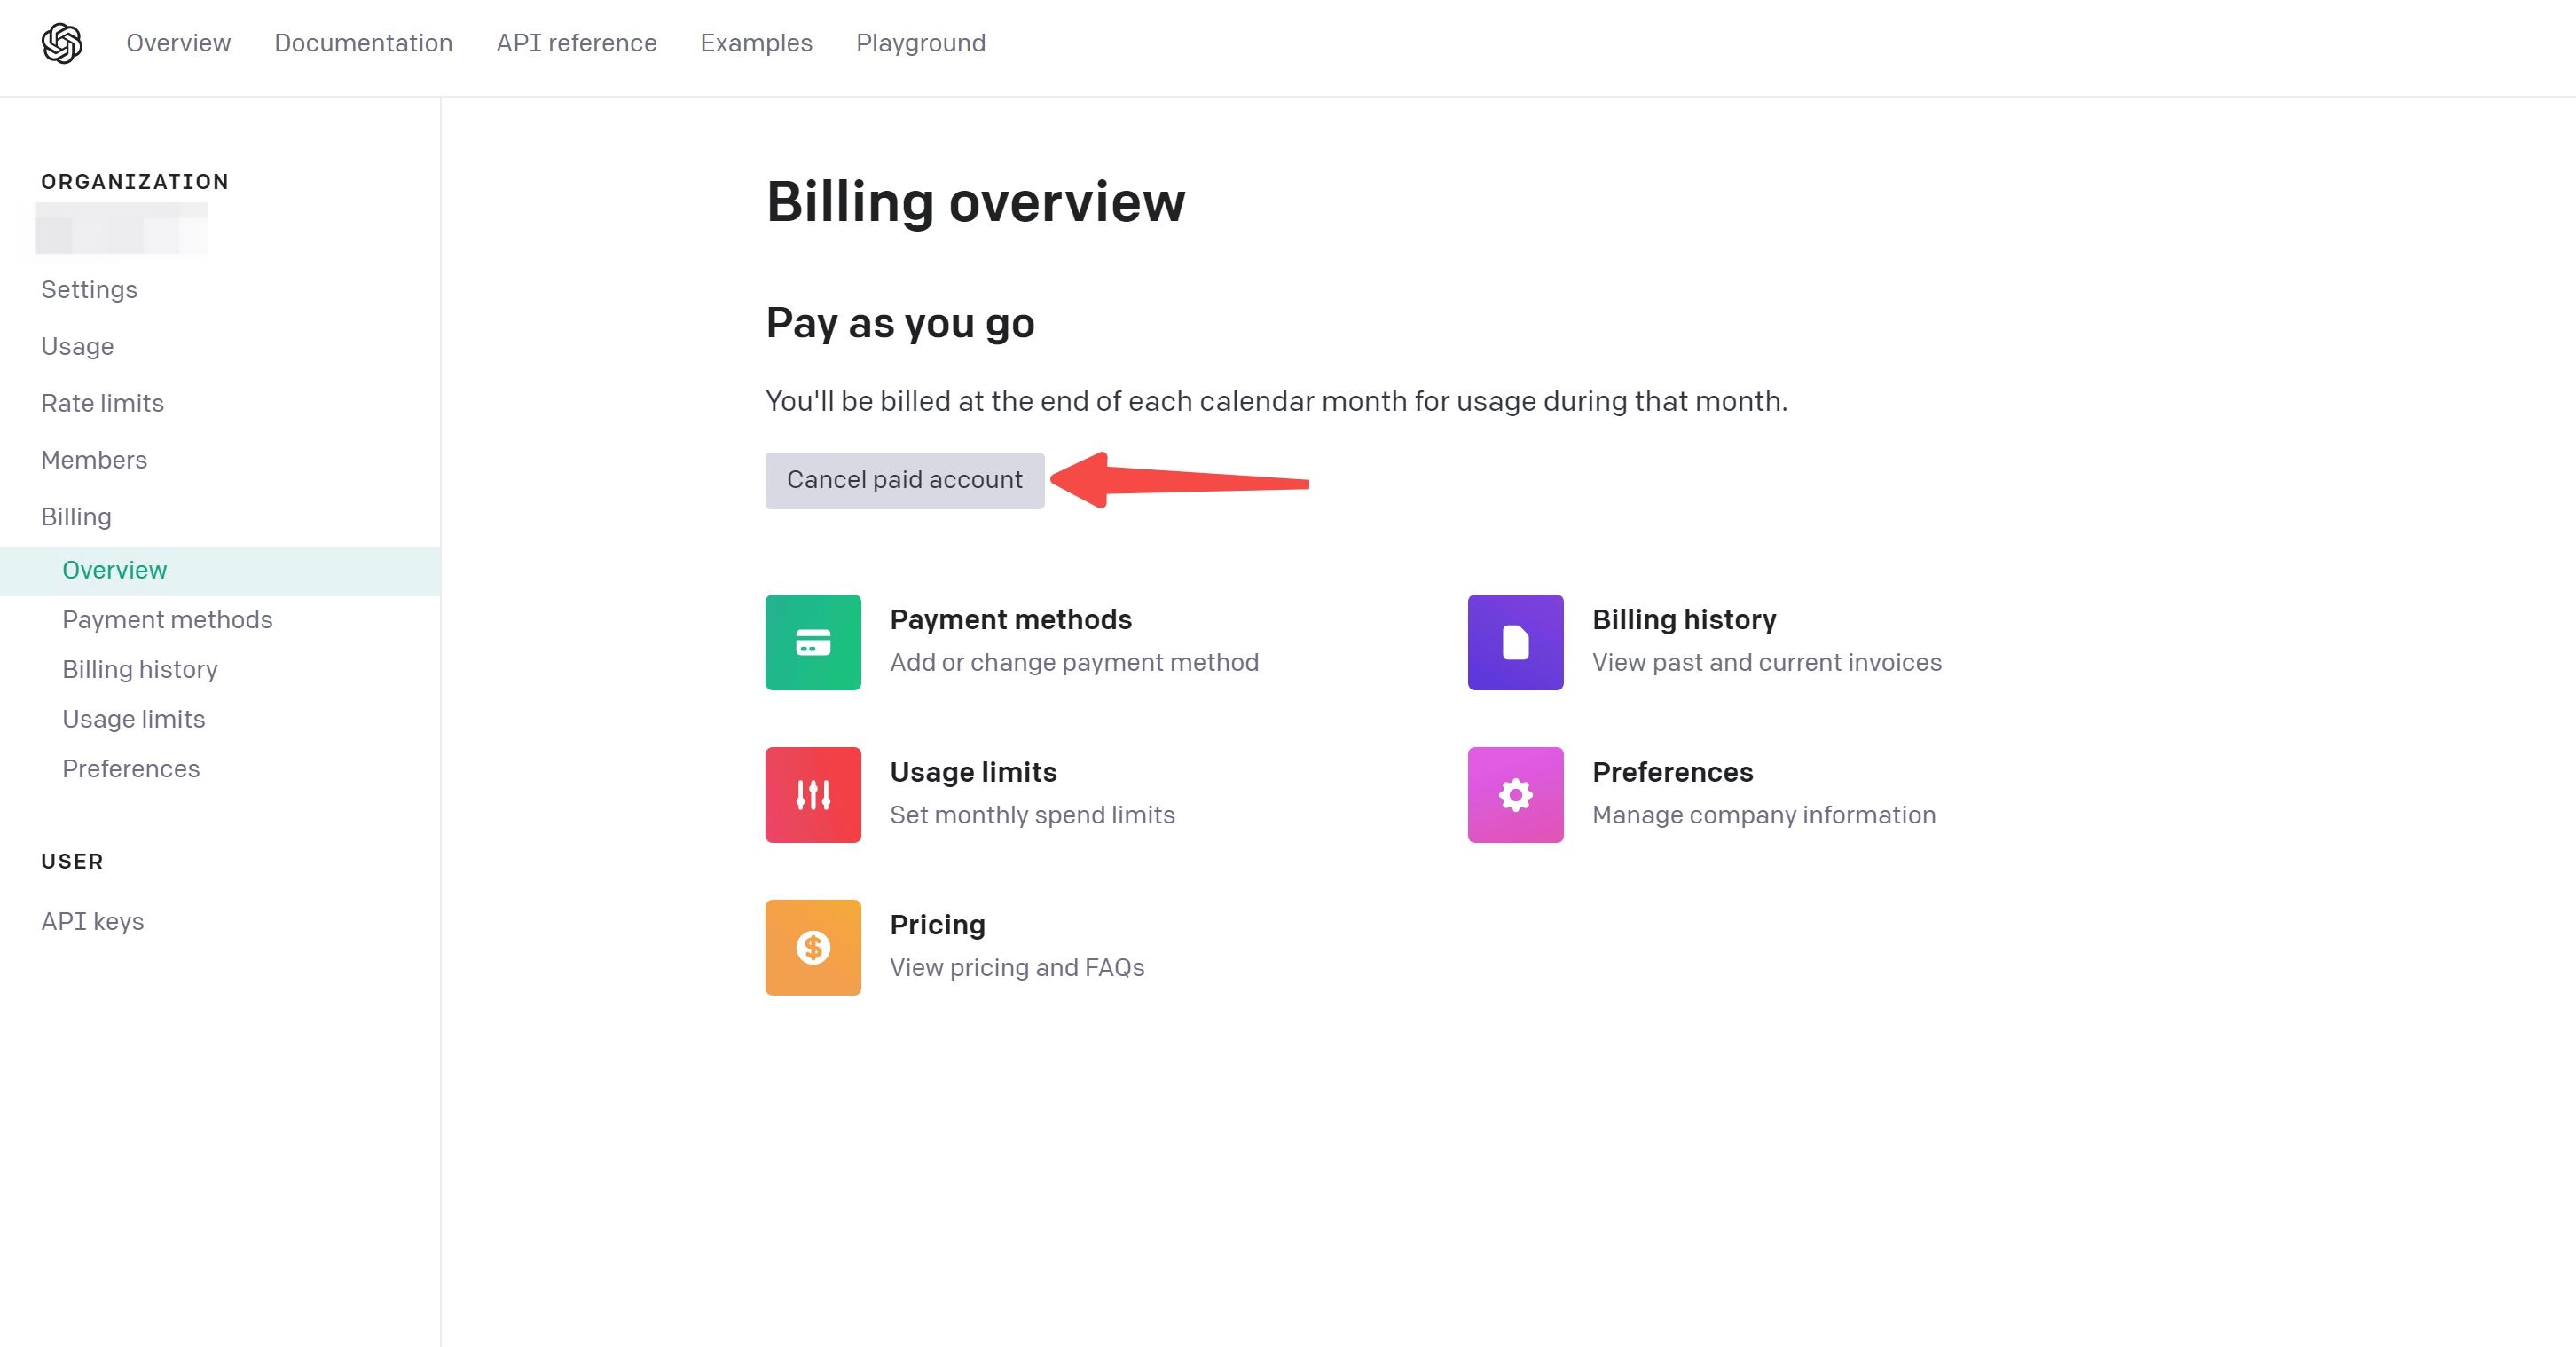
OPENAI link: https://platform.openai.com/account/billing/overview
(1) If you haven't added a card before, click here to add one
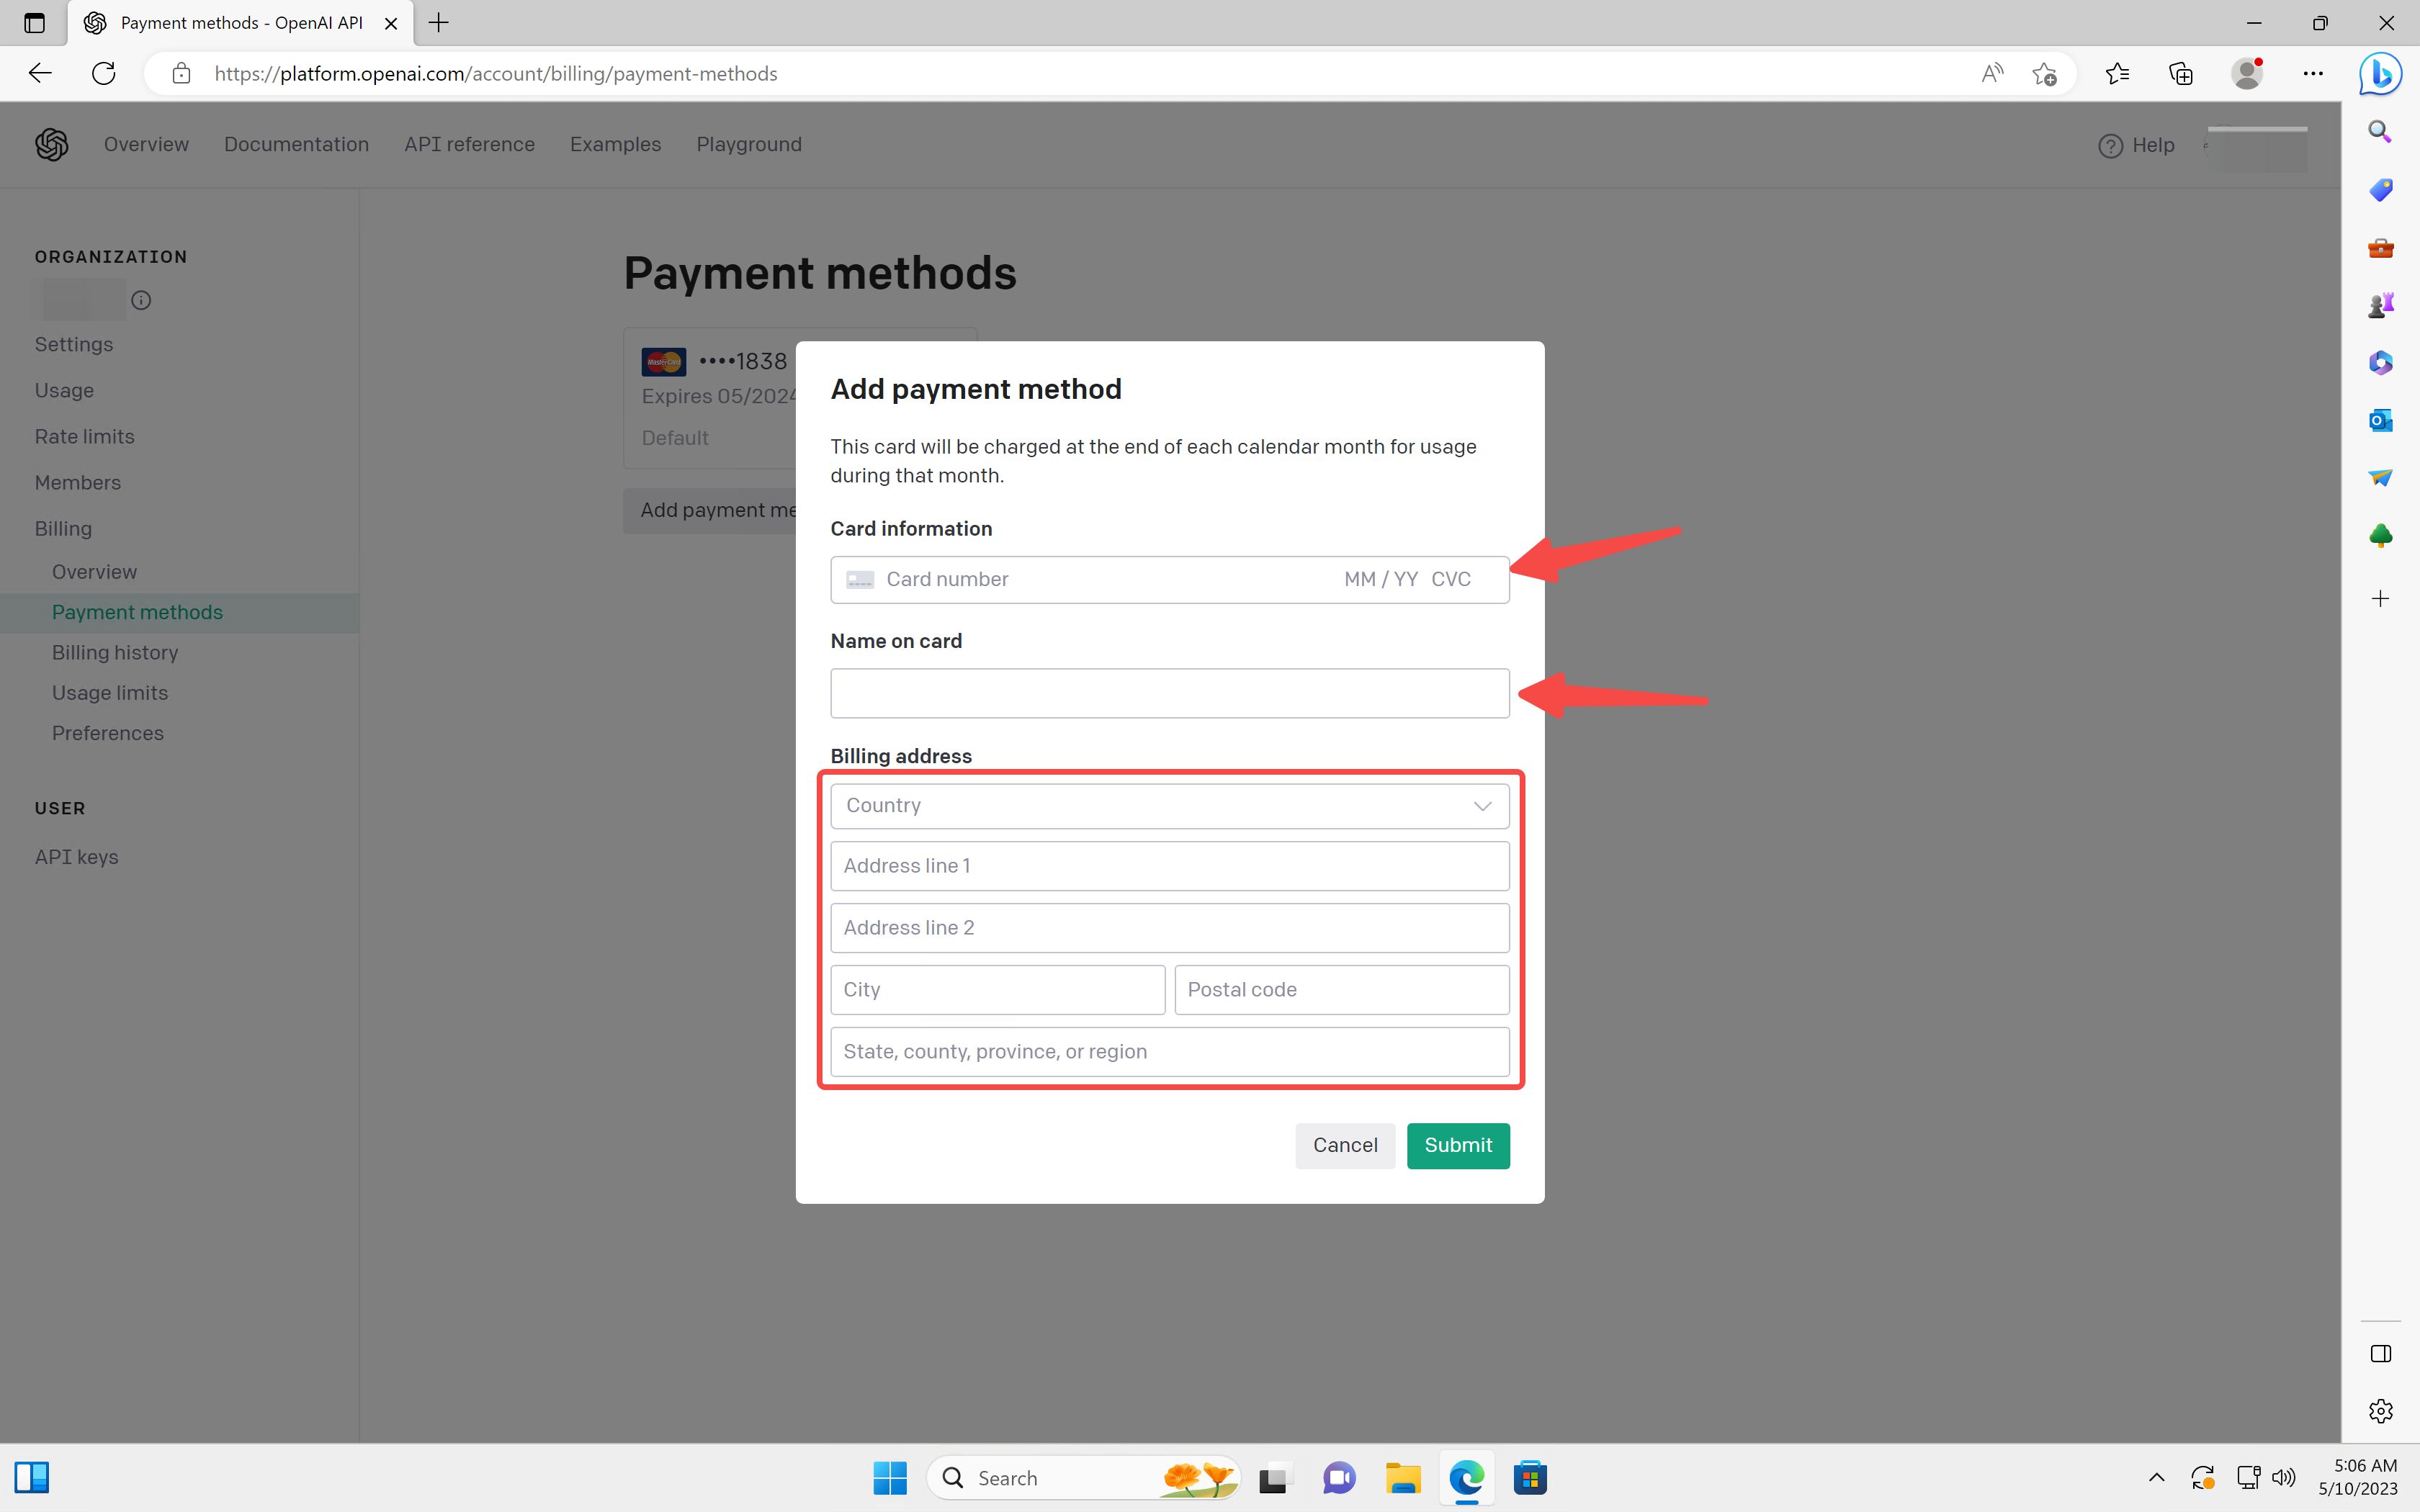
(2) Enter the card details. If a zip code is required, use the postal code from the address
(3) Click Submit. If it fails, check the error message and try again. After switching cards, you can also try another 2-3 times, but don't overdo it—too many attempts in one day could get your account banned❗️. If it still fails, delete the virtual machine, create a new one, and try the next day.
If Everything Went Smoothly, You're Done—Congratulations
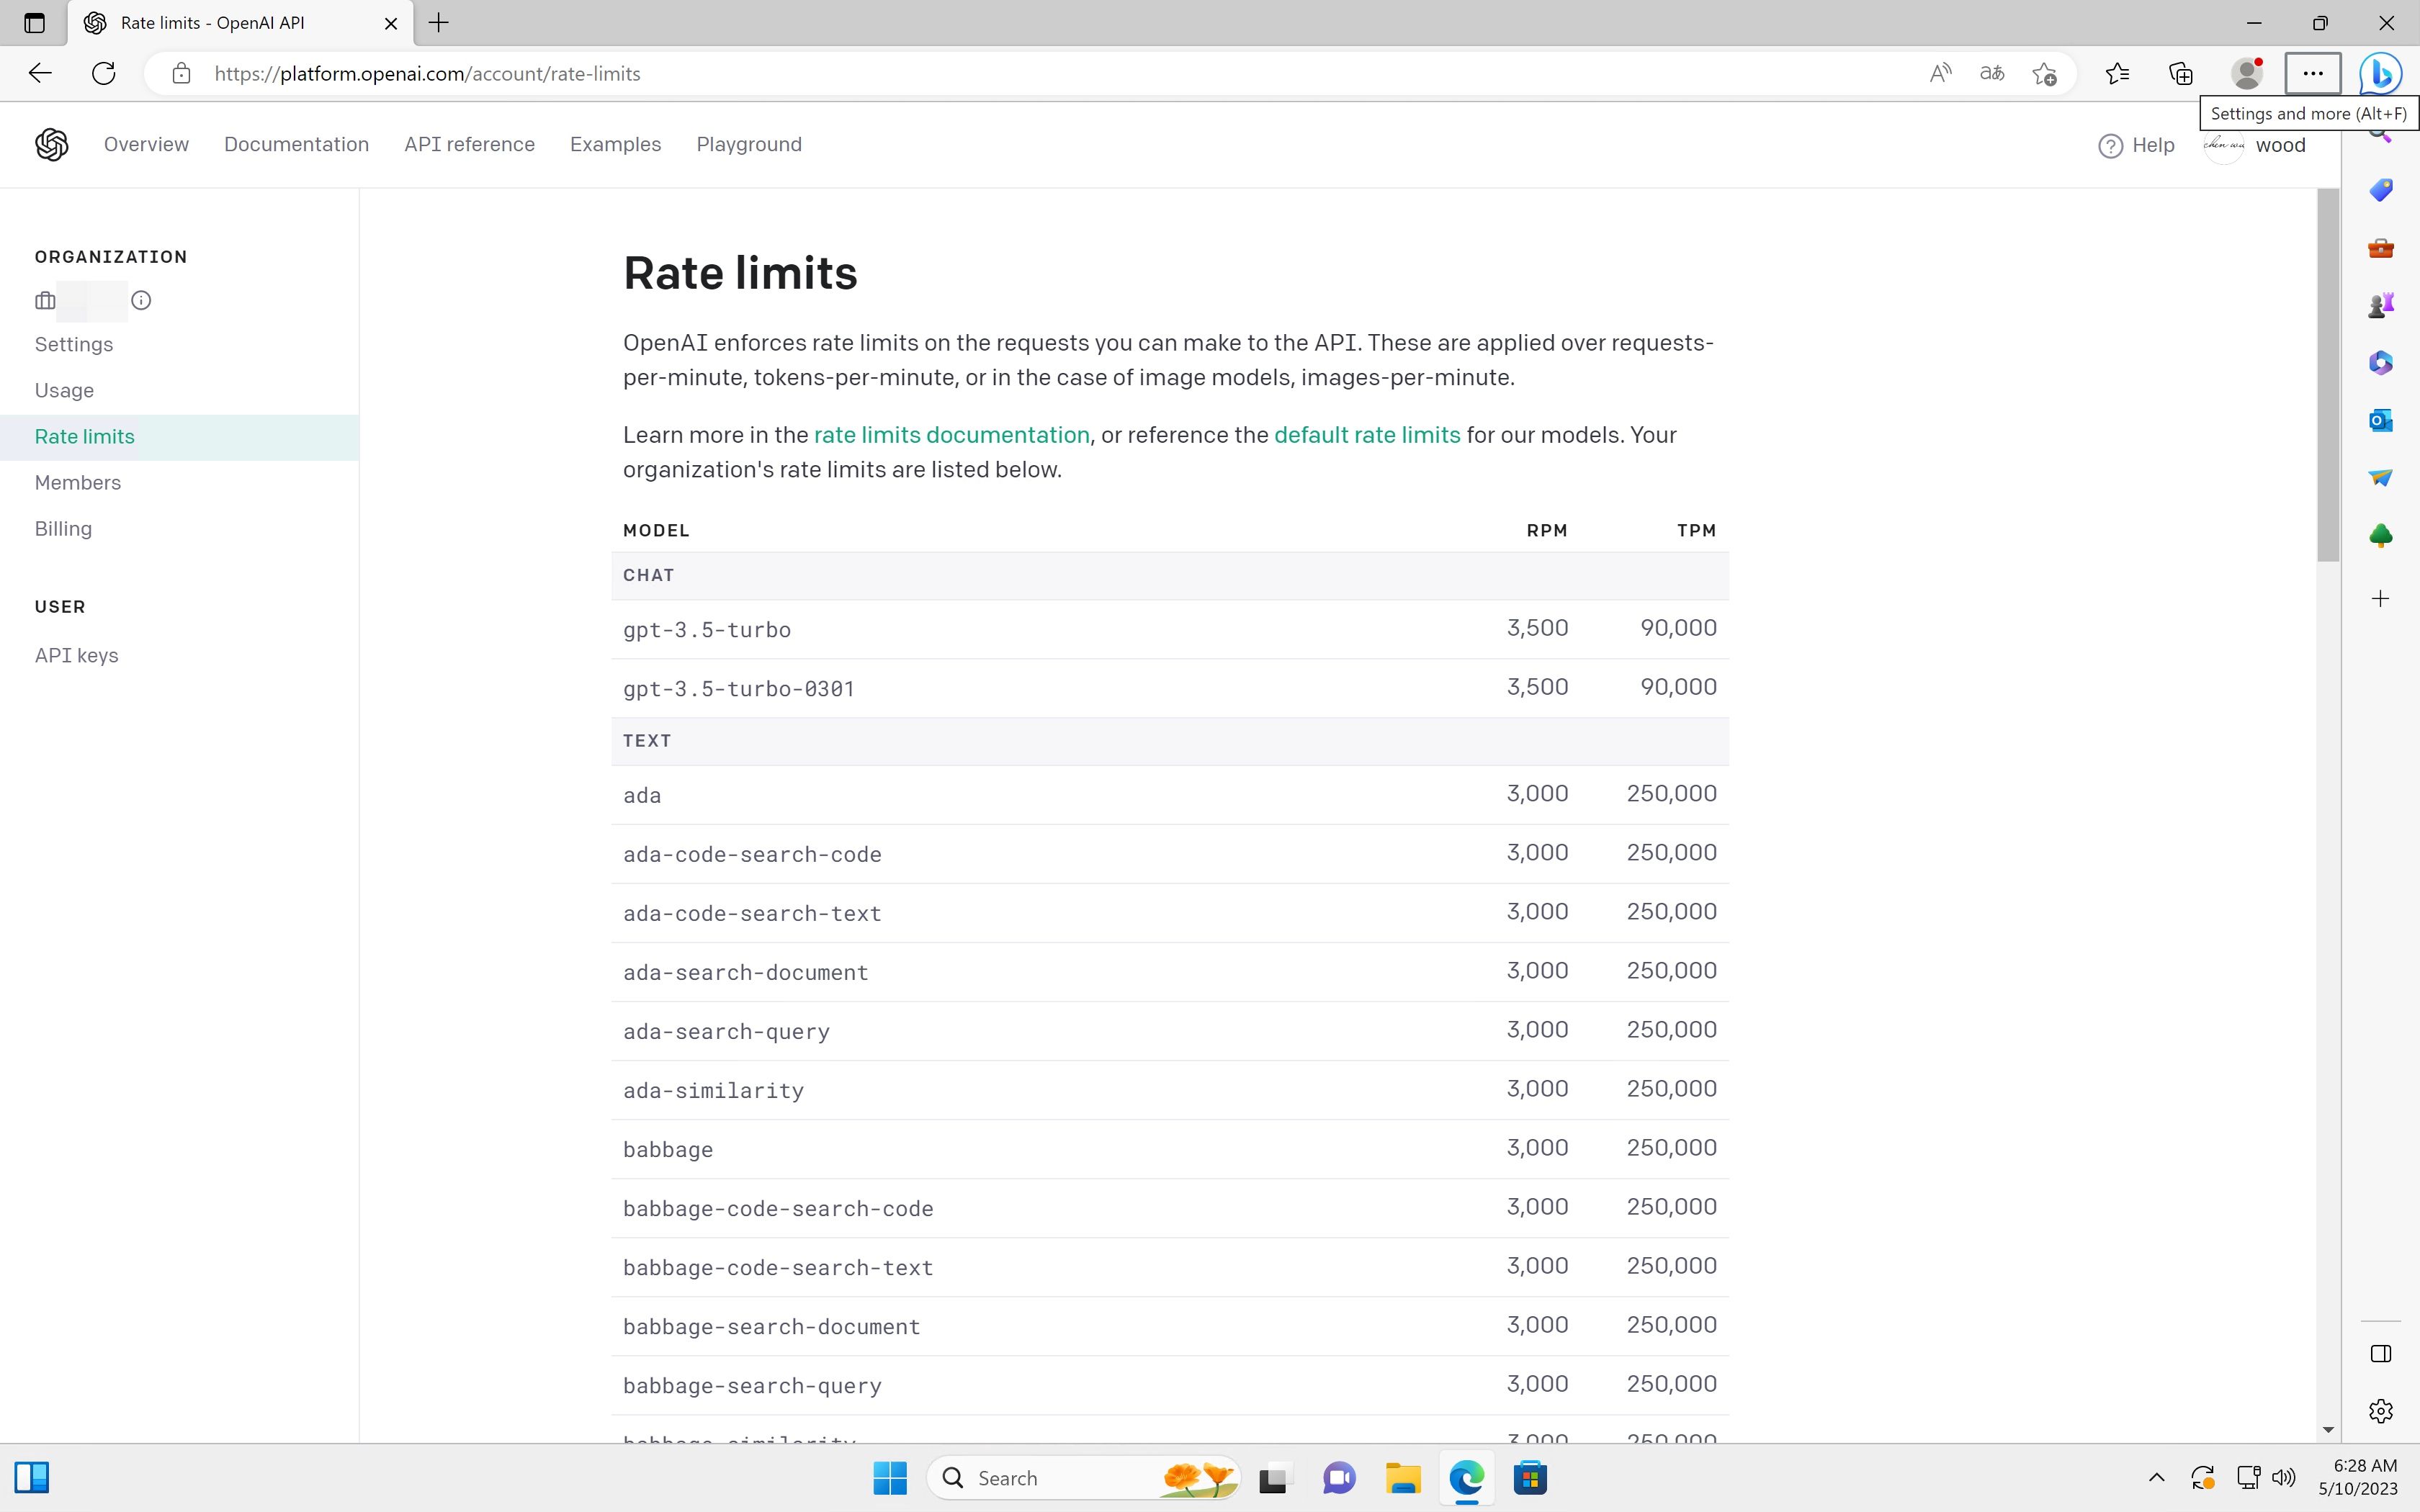
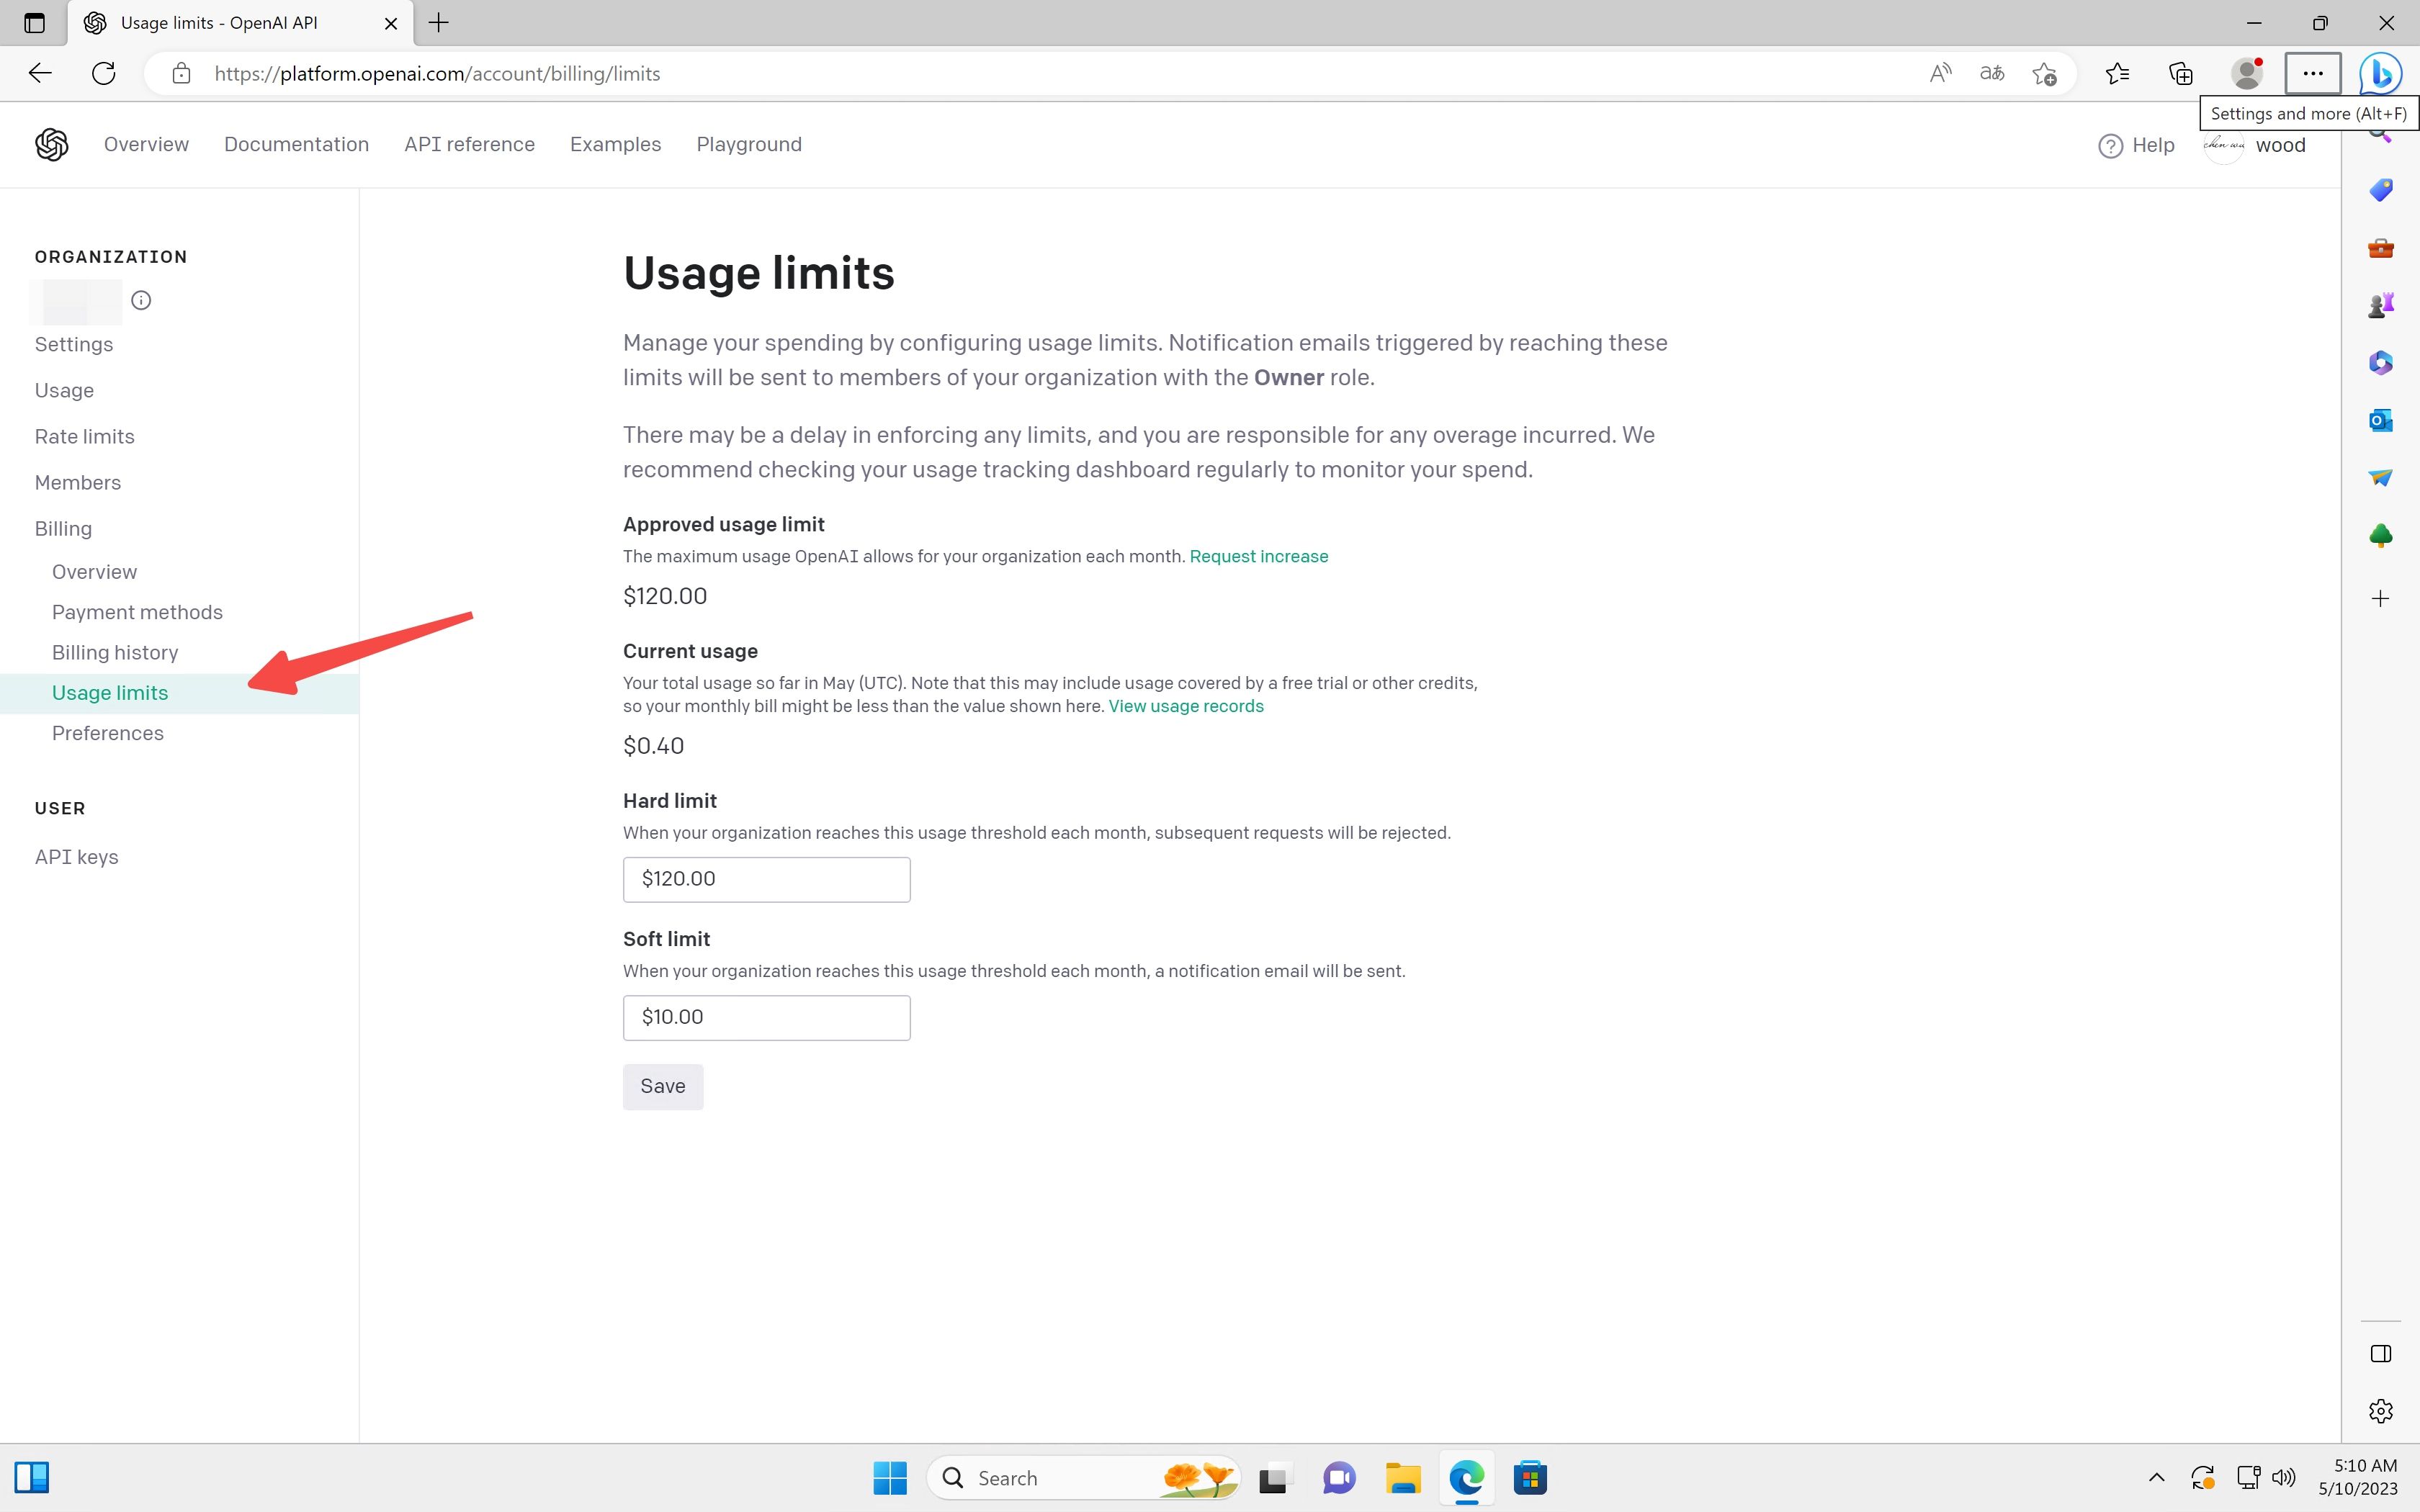
Here you can set a spending threshold to receive an email alert when your usage reaches it.
Last updated 2025-06-25
Comments 0